|
home |
back |
BANDIT2 | page 11 |

| < | 1 | 2 | 3 | 4 | 5 | 6 | 7 | 8 | 9 | 10 | 11 | 12 | 13 | 14 | 15 | 16 | 17 | 18 | > |
25 February 2013
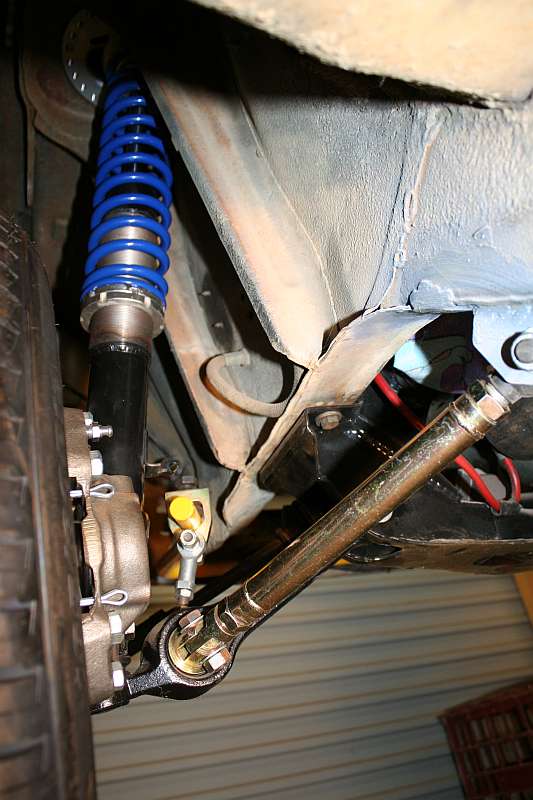
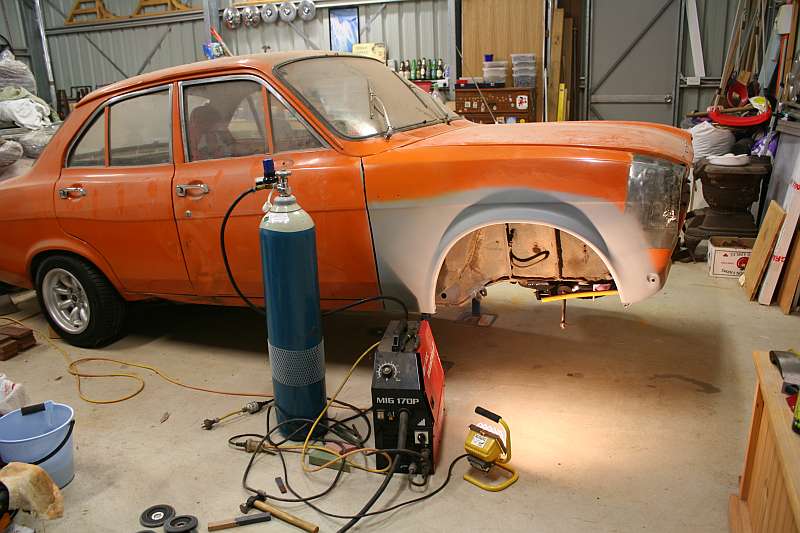
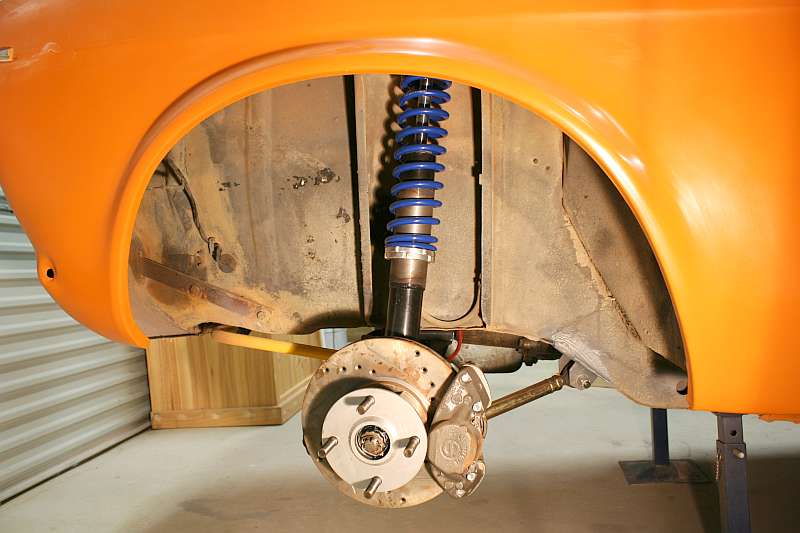
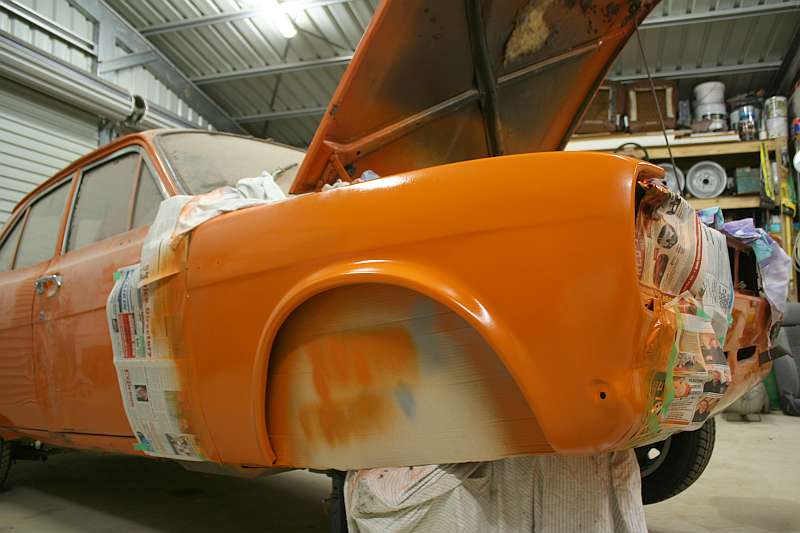
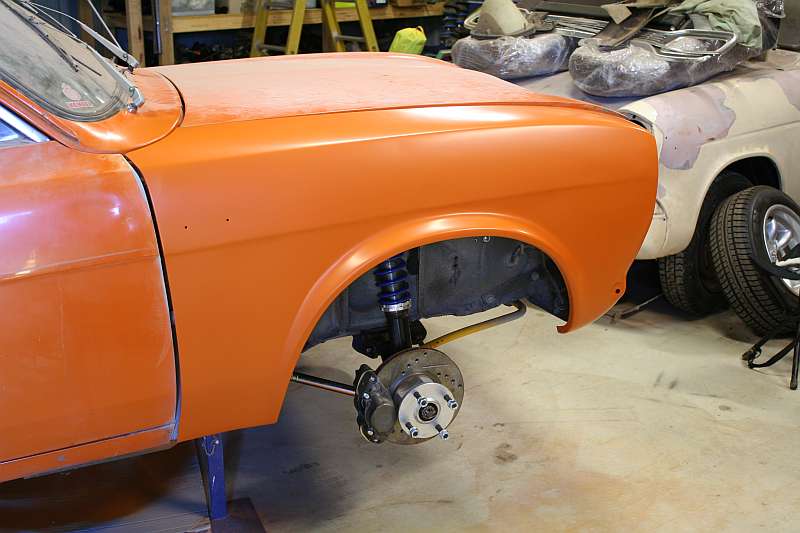
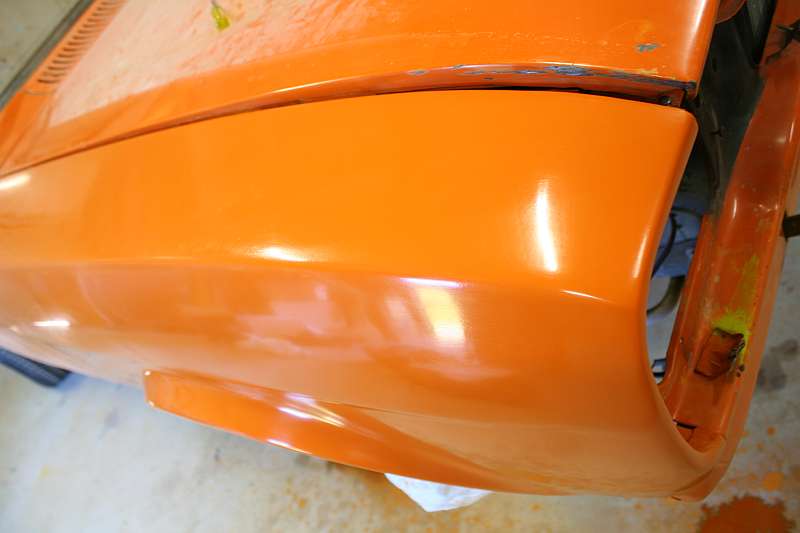
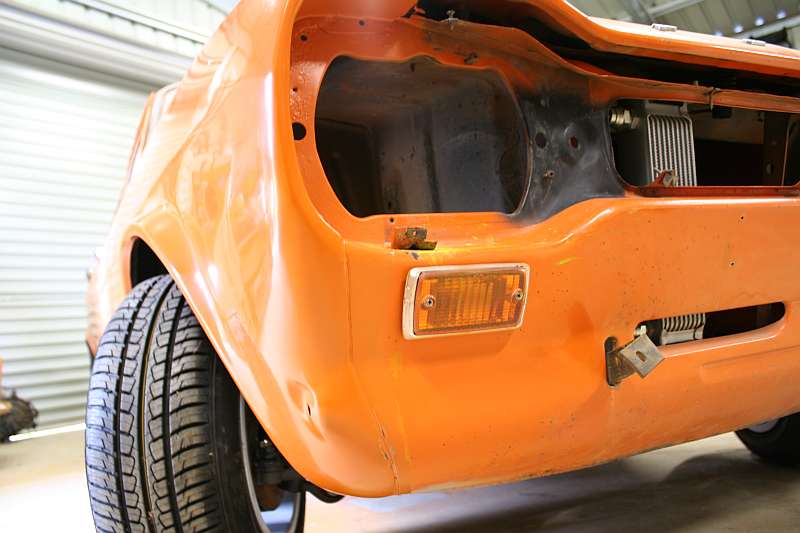
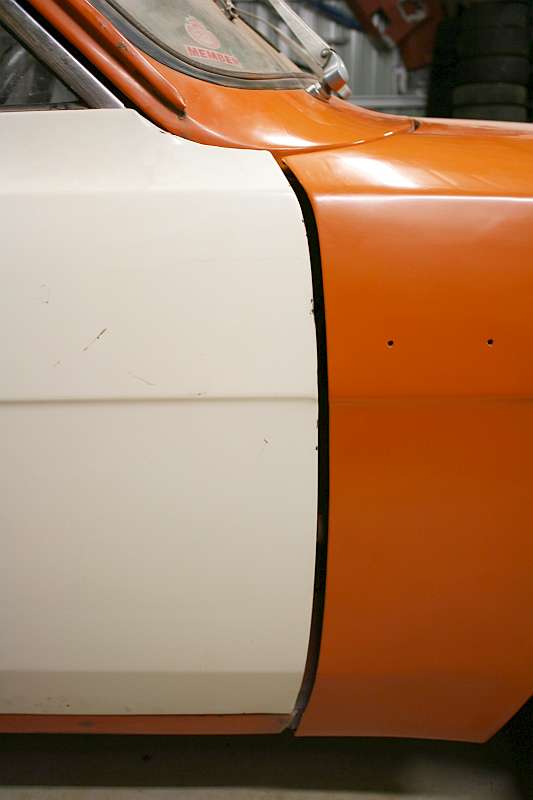
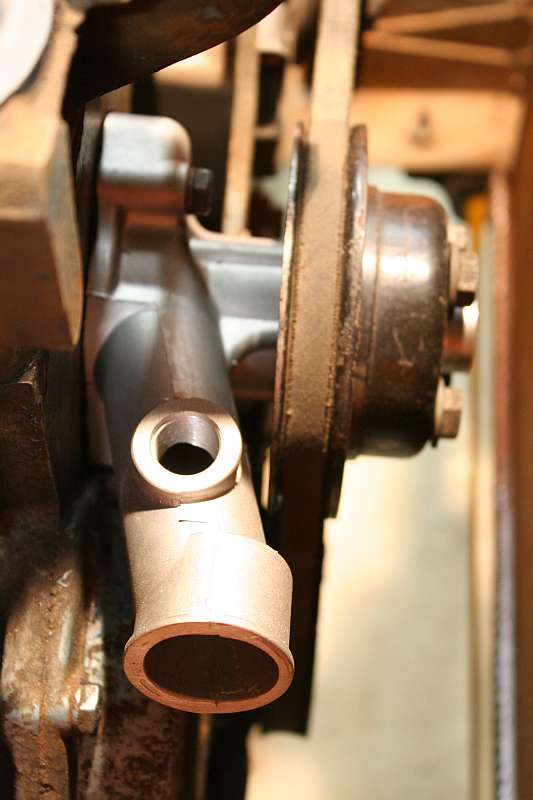
Matt offered to bring the welder back over, so we're under way again with some more metal melting. Before that though I gave the orange on the passenger side guard one more wet sand, then hit it with some cut and polish. Its still not prefect, but I kept looking at the rest of the car and its a bit better than 90% of it, so I sat back and called it done. And in celebration I bolted the strut back in and hooked up the compression strut and steering rack. And to make it look the part I stuck the wheel back on too. It looks like its sitting in the arch nicely, with a nice amount of caster.
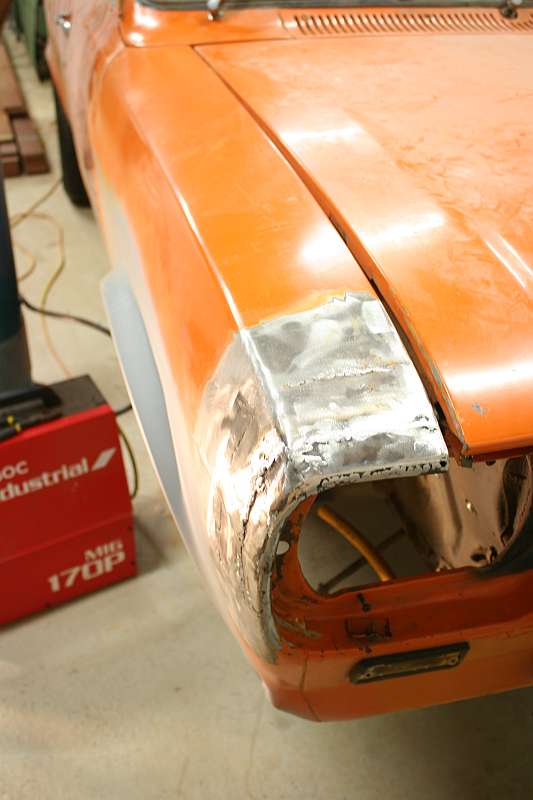
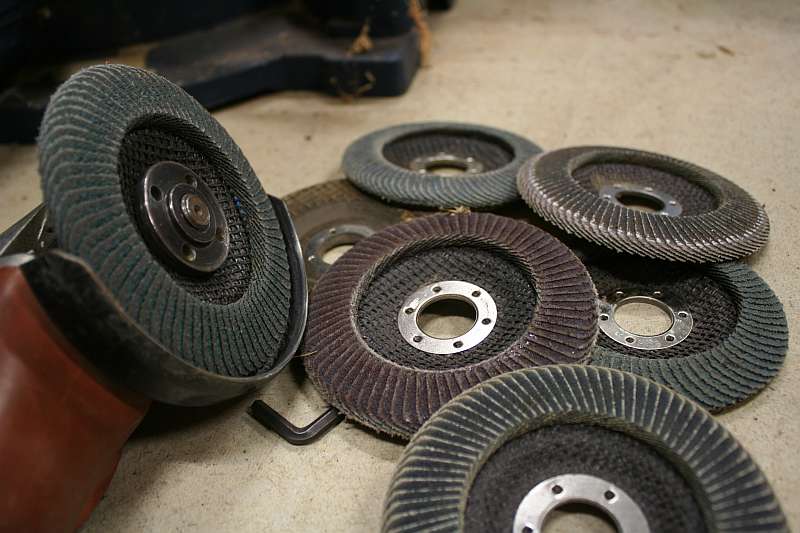
And then it was back to doing some welding. I fiddled with my patch pieces to fine tune them. And then arced up the welder and buzzed the lower one in. My welding hasn't gotten any better over the last few months! But its in there, and a bonus that the neighbours aren't living next door at the moment meant that at 10pm I could grind it back. Then the next night I was just going to duck down and have a fiddle for half an hour, but ended up welding the top patch in. So now I just have to check that there aren't too many big holes, patch any up, seam seal the back, paint the back, and then we can skim some bog on the front. I'm hoping my stock of flap discs can make it to the end the welding, they're getting a little worn. And all this shed activity is no good cause I seem to be drinking more beer now too. The beer to rattle can ratio is 7:1 at the moment, and that's just the bottles that you can see!
 |
 |
 |
 |
 |
 |
 |
 |
22 April 2013
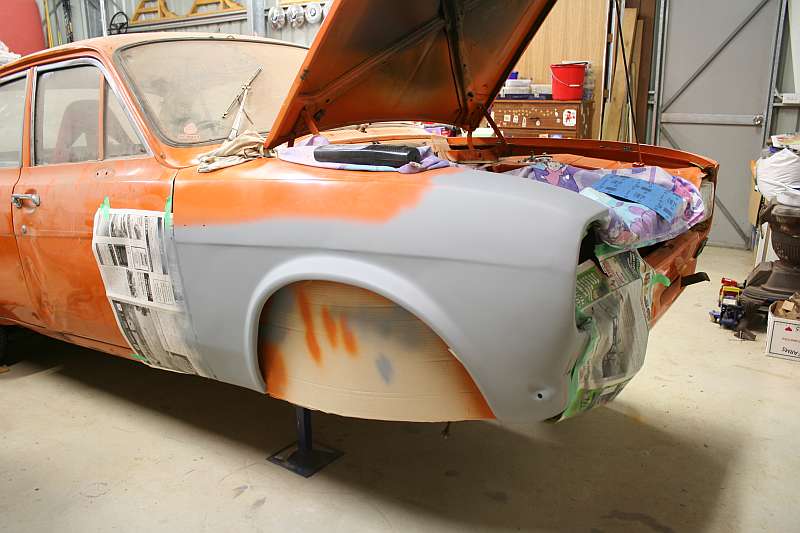
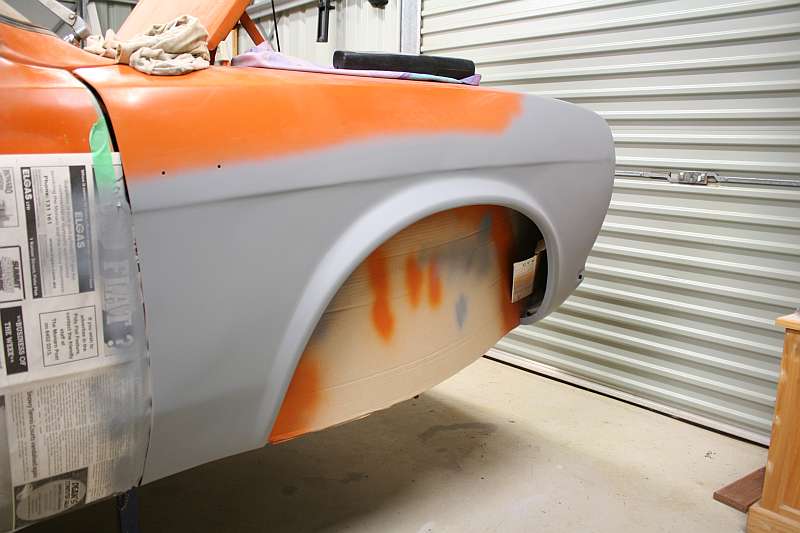
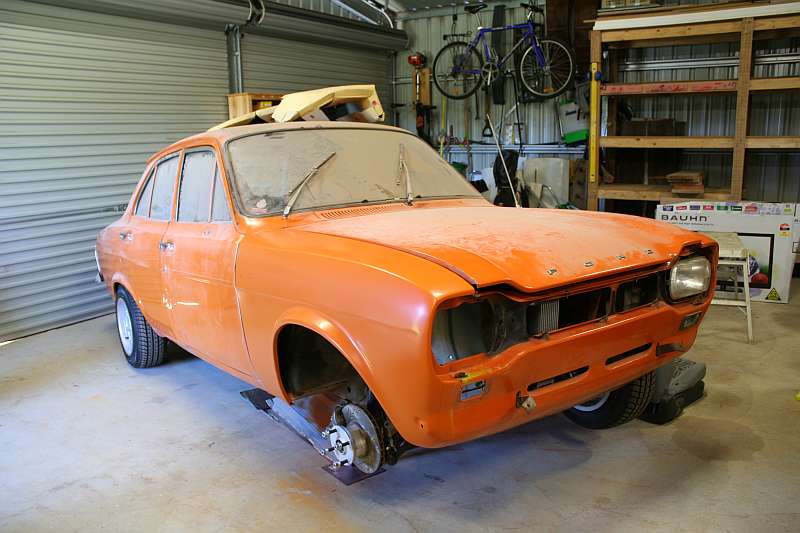
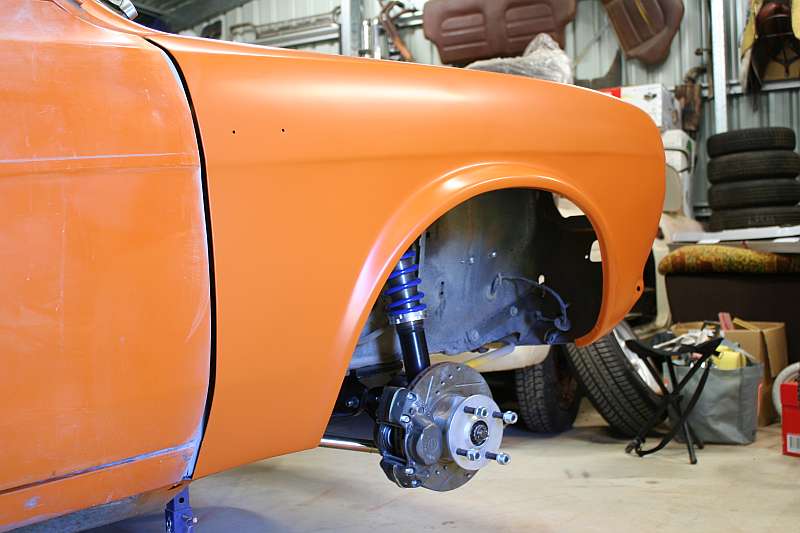
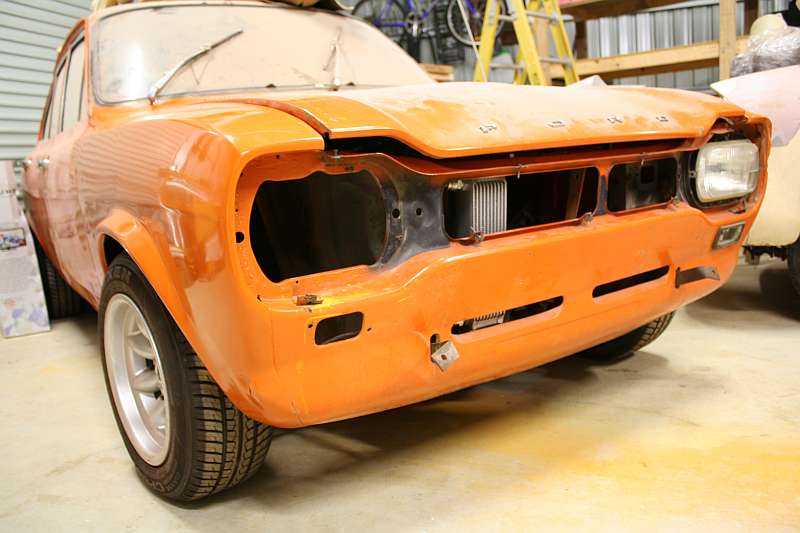
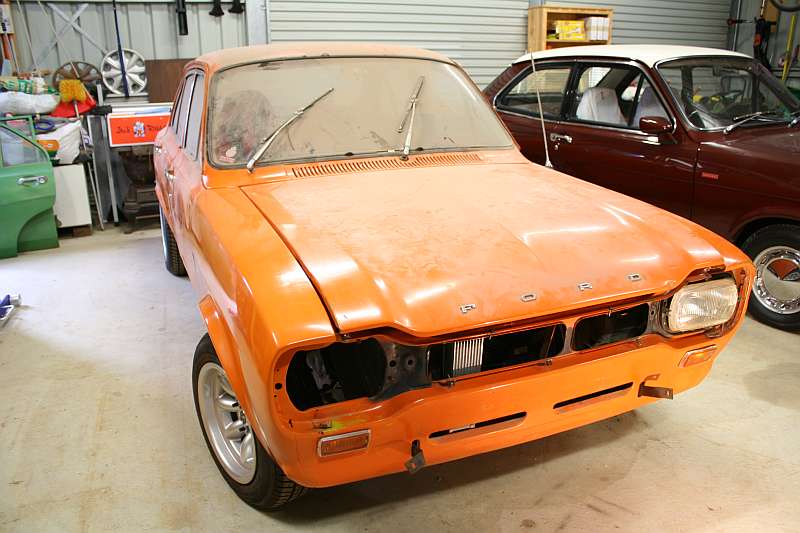
Again time is the shed has been eluding me. All I wanted to do was skim fill the guard and get a couple of coats of primer on. And finally I've managed to fill the last of the bumps and holes and then a coat of primer onto it. I also took the wheel off to get a couple of snaps of the passenger side strut all on and looking pretty.
 |
 |
 |
 |
6 May 2013
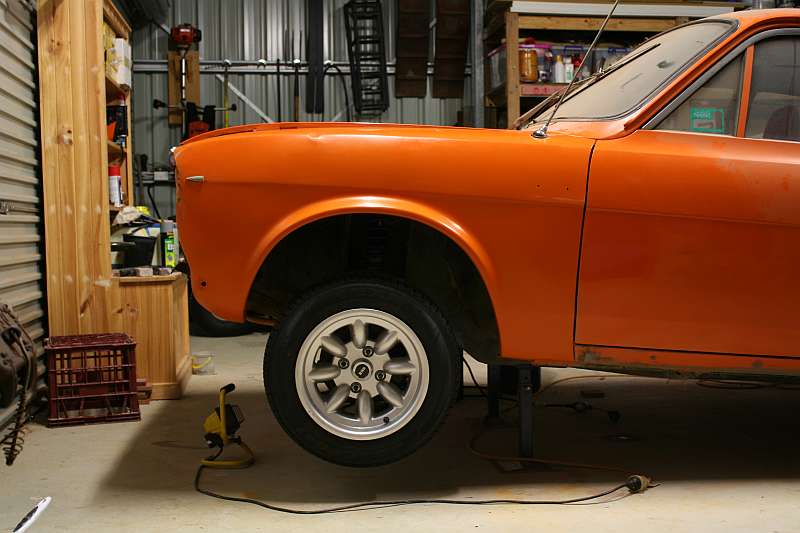
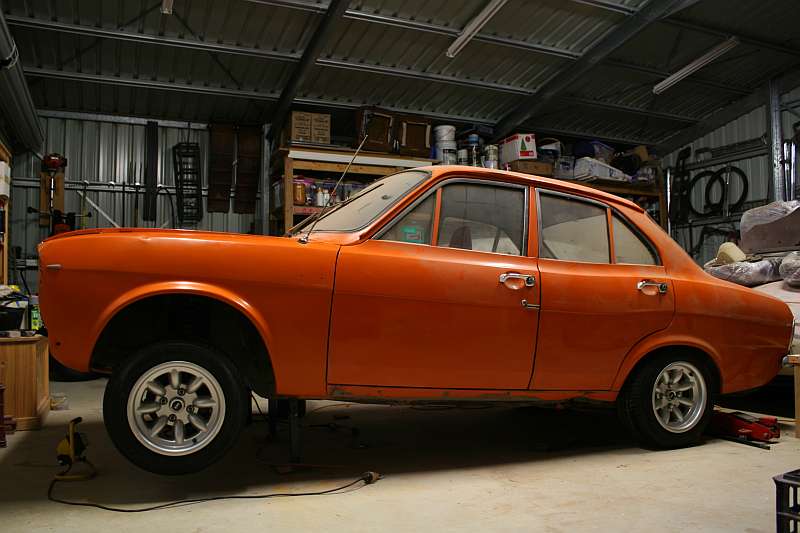
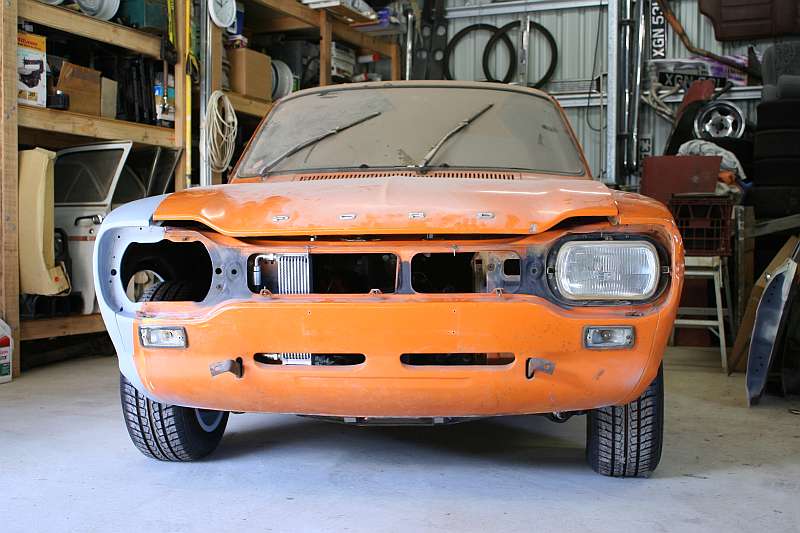
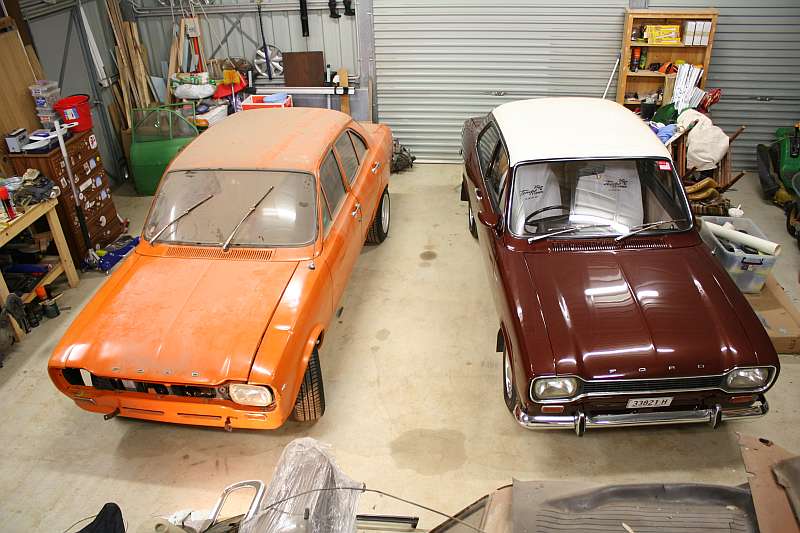
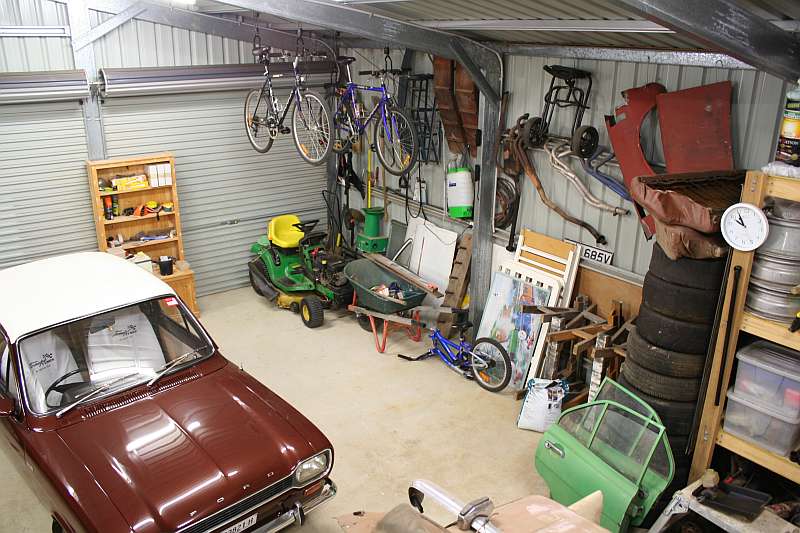
With our big combined 40th birthday parties coming around we needed to make some space in the shed so people could hang out. The Laser went up to Trev's, and I was hoping to have the final orange coat on before putting the strut and wheel on and dropping the car back to the ground. I managed to get the final coat of primer on, but it needs a wet sand and then a couple of orange coats can go on. I ran out of time for that. But at 10:45 on Saturday I still hadn't got the strut in either. Lucky Drew was here to help out. We chucked the strut in, bolted up the steering and compression strut and chucked the wheel on. Then for the first time in a couple of years the car was back on all 4 wheels! As people started arriving we pushed it back out of the way and that was it. I didn't even get time to push it out and give it a hose off.
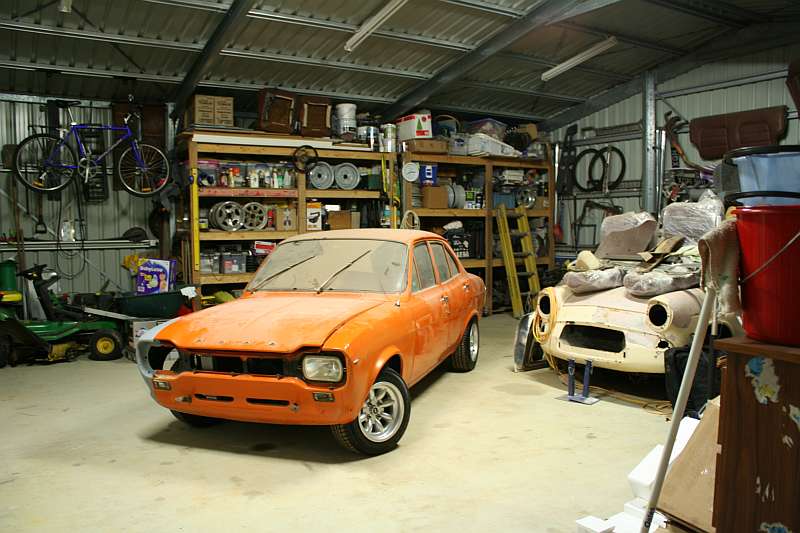
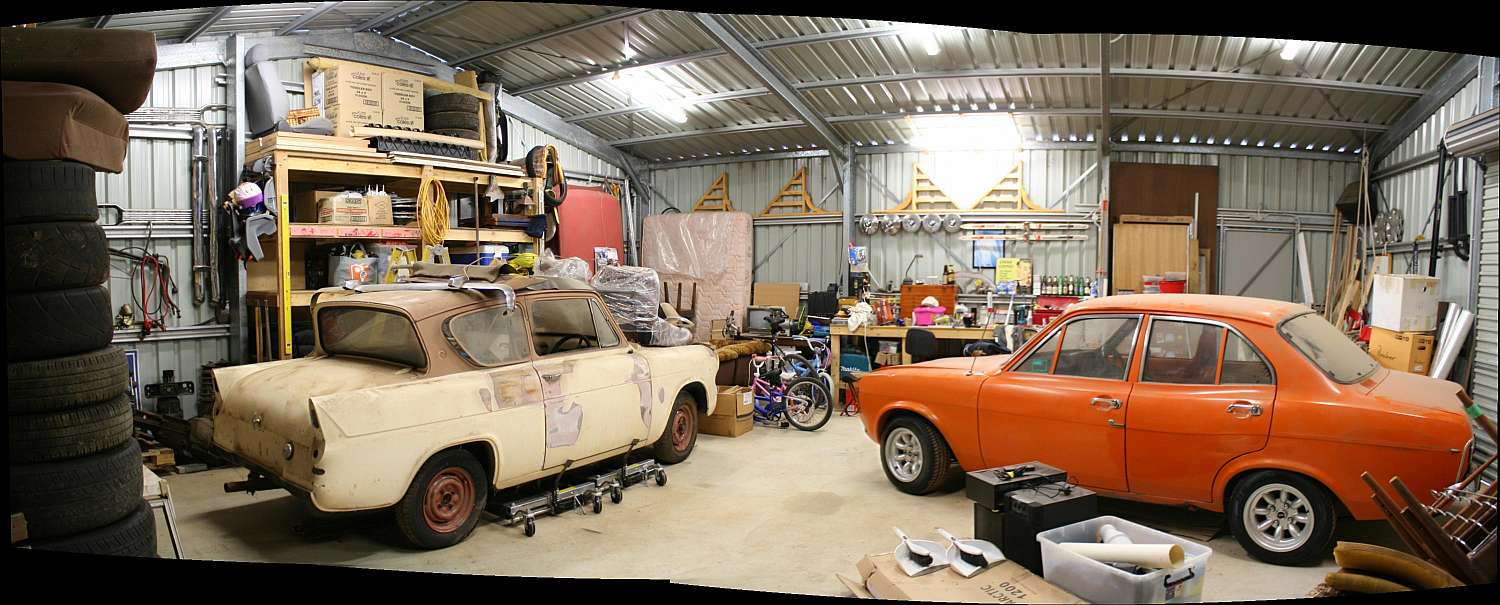
Then Sunday night I wanted to get the thing turned around for the next phase of the project, getting the engine bay sorted and trying to start it. So with a lot of pushing and shoving I did a million point turn and got the old girl facing the other way. Then the Anglia needed to come across a foot so I could move it back a foot to get more room for the Bandit. So another hour of unpacking the junk around it, pumping up tyres and pushing it back and forth I had it in the right spot. I also worked out I've got way too many wheels and tyres, so some will be given away, or chucked to the tip. Flynn also loves it down in the shed and was keen to have a romp in the car. You never know, it might be done by the time he gets his license!
 |
 |
 |
 |
 |
 |
7 May 2013
I'm keen to get some time in the shed to tidy up a bit and try and make more space so we can maybe fit 4 cars down there. Its not looking good cause the shed is just that little bit too short. I should have done 10 or 12 meters instead of the 9 I went for. I'm kicking myself now that I didn't plan ahead back when we built the thing. I had one shot at getting it right and I blew it! But it does mean I get to chuck some of the crap that is sitting around down there. But before I started sorting I wet sanded the drivers guard with 800 grit, cleaned it up again, and then threw some orange on. It was probably way too cold to be painting, but I had to get something on. I'll give it some time to dry, then sand and paint again. And then the same again. And then that might do me I reckon.
 |
 |
14 May 2013
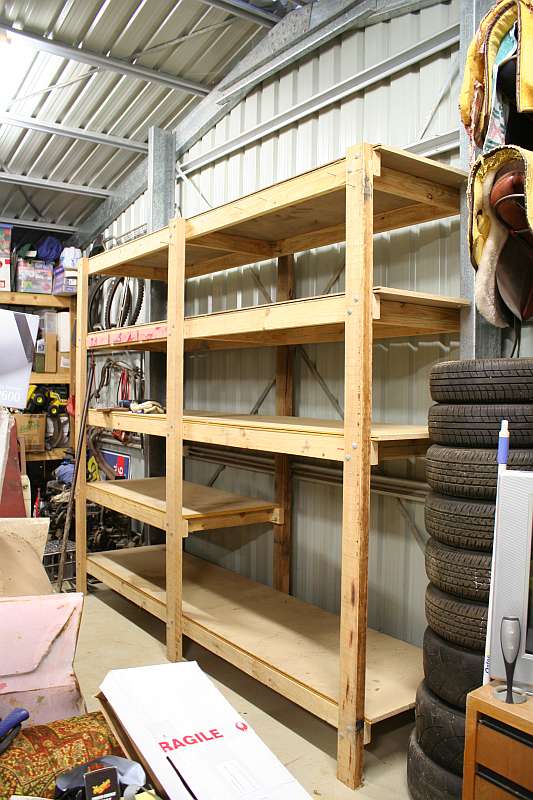
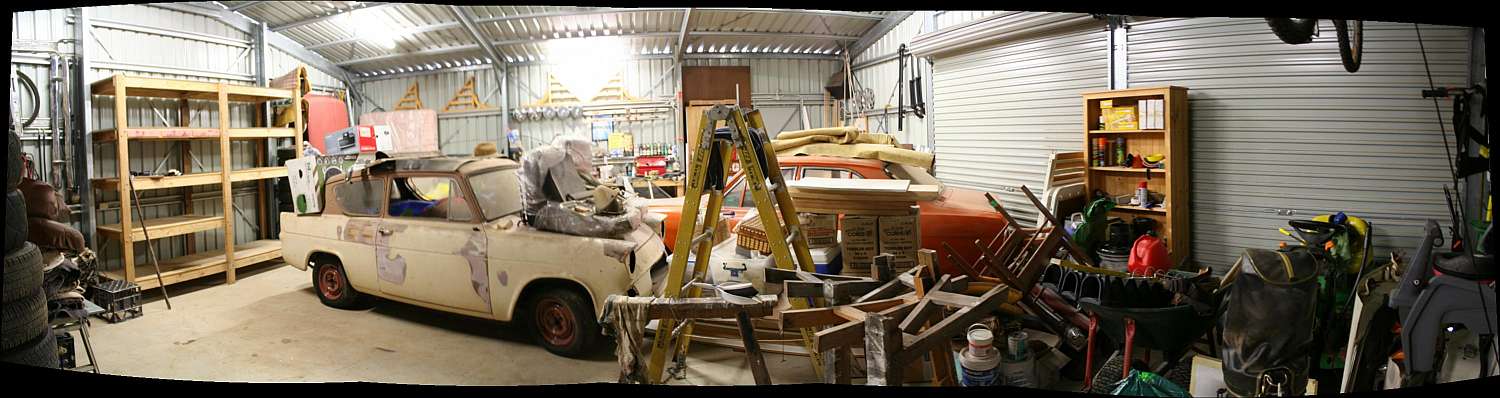
The final coat on the drivers guard is now on. I snuck down there at lunch today and gave it a wet sand with 1200 and then 2000. Then I couldn't find my new tin of polish so used the old dried out one. Came up very nice though. Only got a small bit done, but it looks great. Good enough anyway. I'll polish up the rest of the guard soon and then the front end can go back in. Then I'd better wash the rest of the car. In the evenings I've been slowly unloading the 2nd shelf unit so I can move it to the back wall. There is a lot of crap there, but most is repacked on the 1st shelves, some is on the floor and there is a big throw away pile too. Hopefully this move will give e room to fit 4 cars in the shed, since we inherited the Mustang for our 40th birthday presents.
 |
 |
 |
 |
 |
15 May 2013
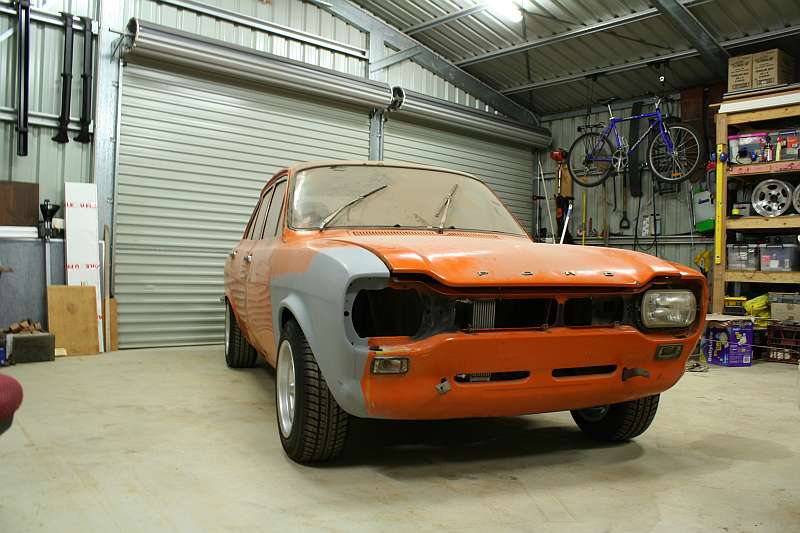
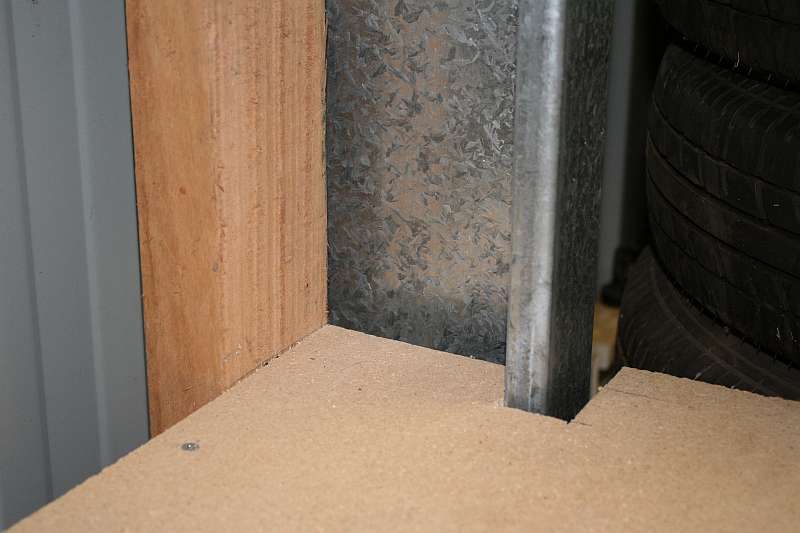
More shed time, I'm on a roll at the moment! Its the motivation to get the shed organised to fit the Mustang in and get the garage back for the Commodore. Its out in the weather at the moment. So last night I went back down, stuck the wheel back on the car and dropped it back on the floor. Then broke out the new cut and polish and gave it a onceover. Its not perfect, but I can redo it later on when the car is finished and working. Then i got to more moving stuff to get the shelves out. Piled the junk up everywhere and got the shelves out. This morning I went down just to take a couple of photos, but got carried away cause I just wanted the shelves in place. So using the crowbar I slid them into position. The gap between the posts was slightly too small, so a bit of custom trimming of one end was needed. After that, all sorted and in place. now to clean up the mess and do a tip run.
 |
 |
 |
 |
 |
15 May 2013
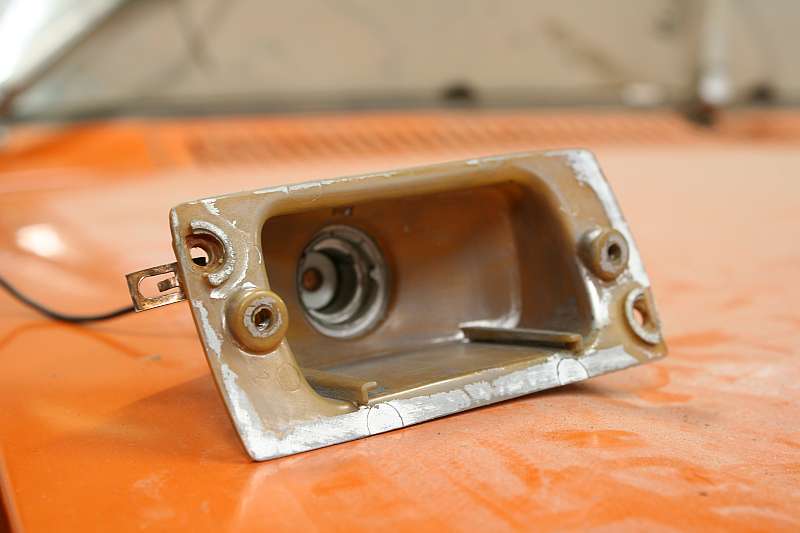
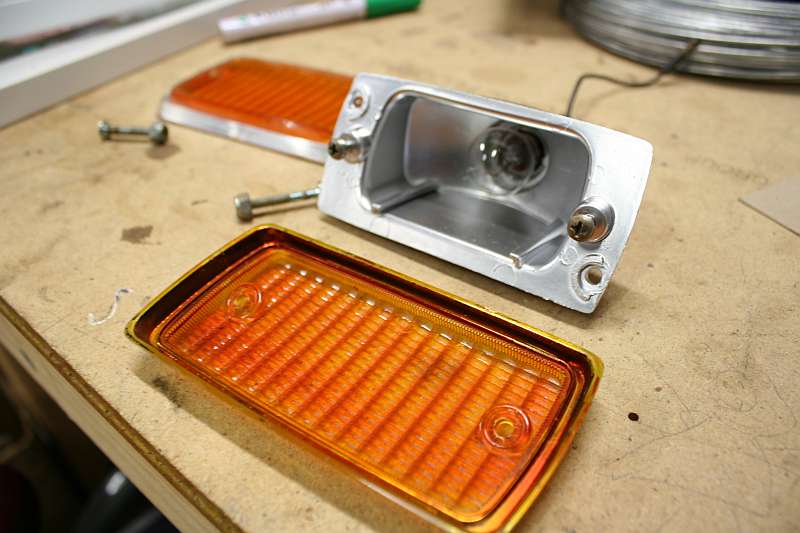
More time spent repacking the shed instead of working on the car. But it is quite good to go get things packed away and re-organised. I need to get the trip to the tip done to get rid of the piles, that will improve the look of the place. I did clean up on if the indicators ready for some paint. I bought a can of model chrome spray, so we'll see what that looks like as a reflector. The back can just go black. And I got some clear orange for the lens too. I need to wait for it to warm up a bit before I paint though.
 |
 |
 |
 |
28 May 2013
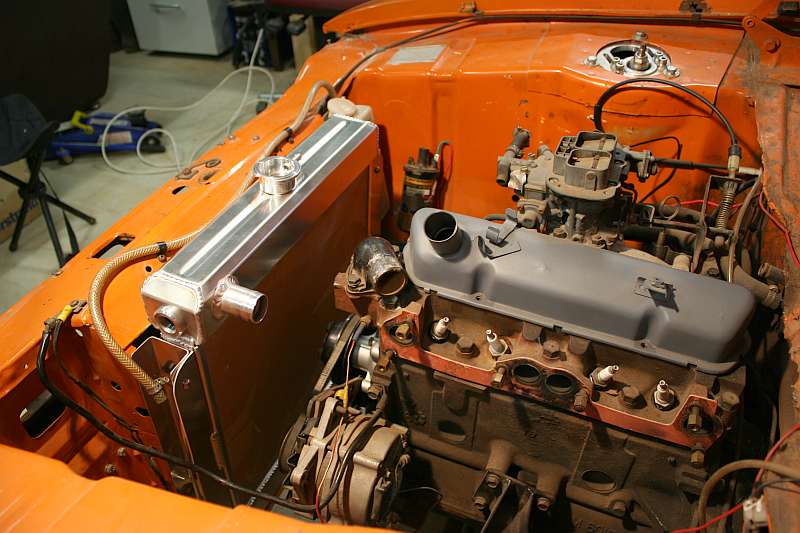
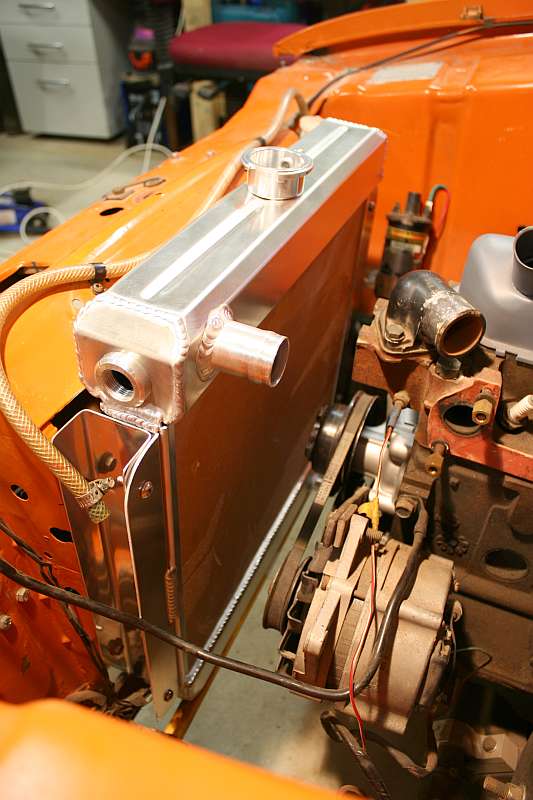
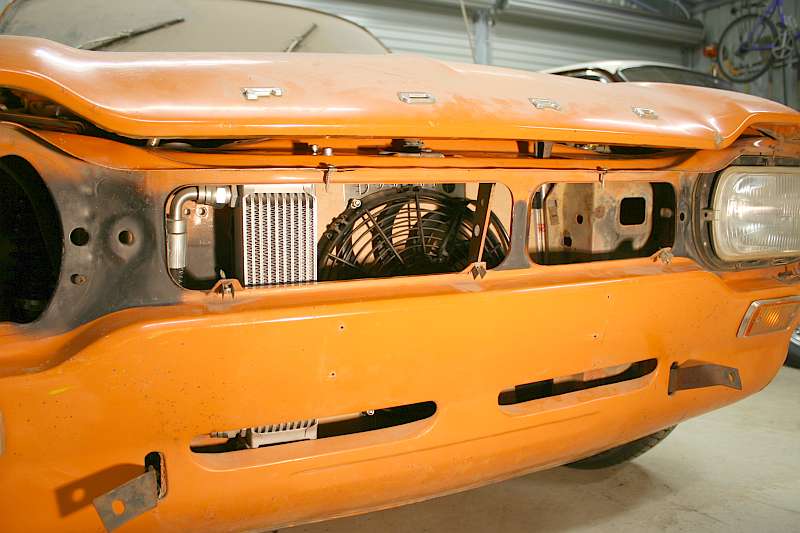
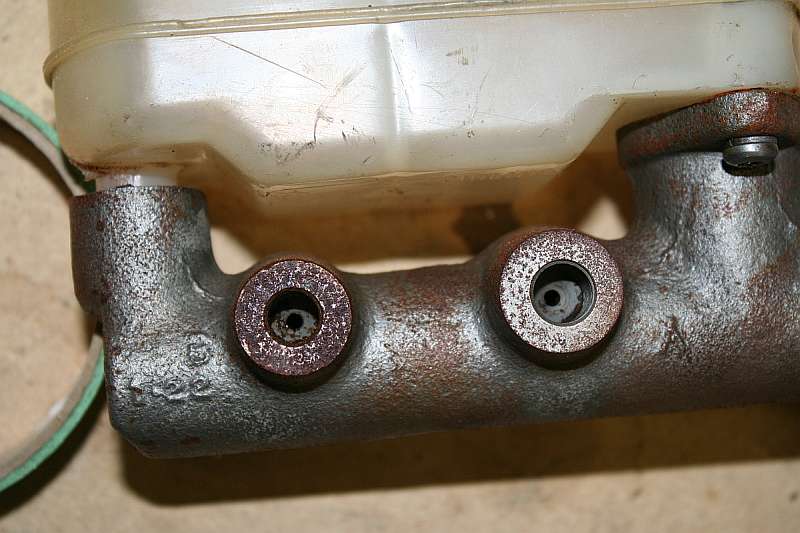
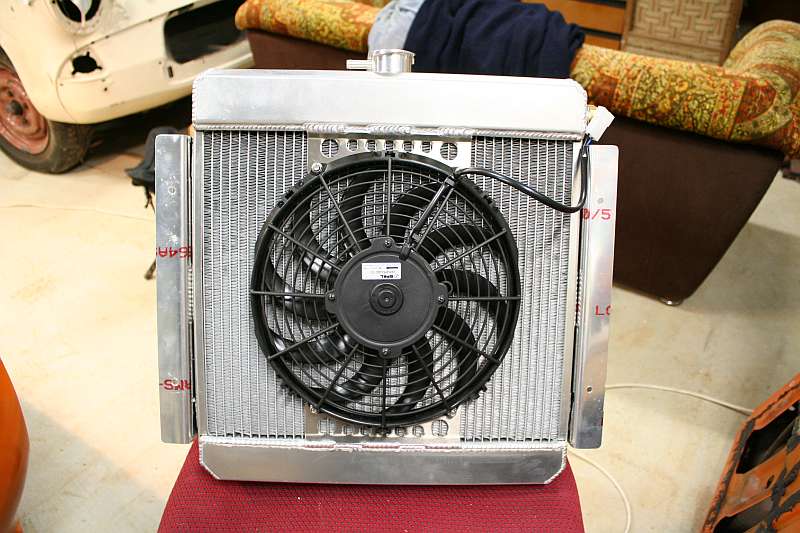
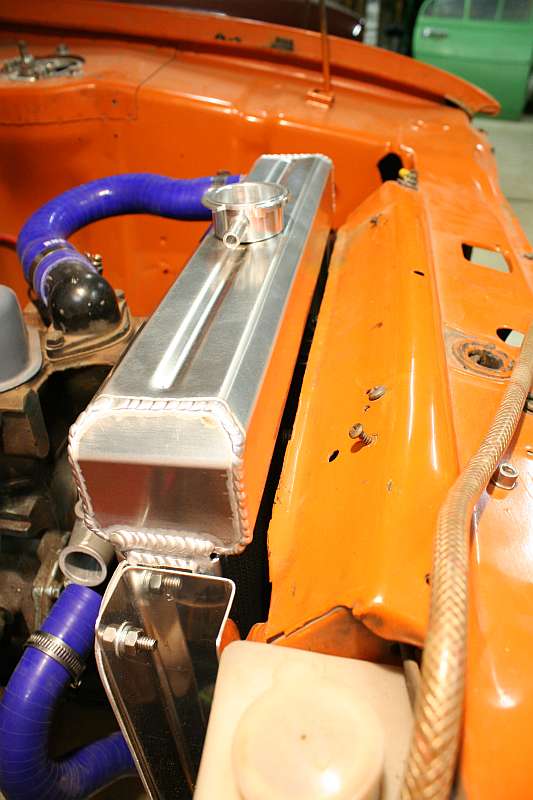
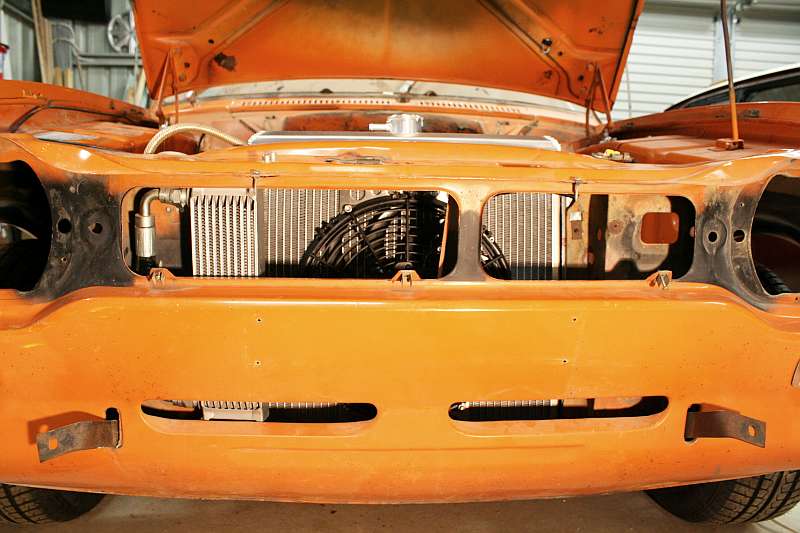
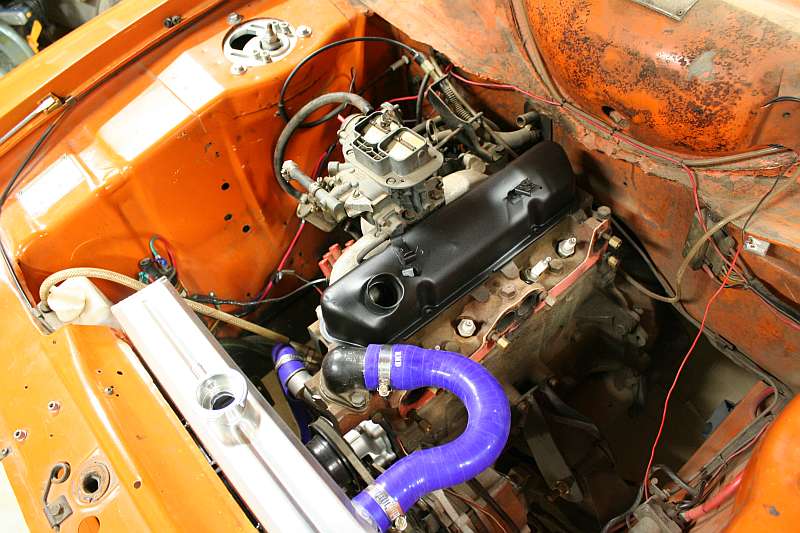
I've had a bit more time in the shed fiddling and getting bits and pieces done. In between building outside on the weekend Talia and Maya spent some time playing in the shed, so I sorted the other indicator as well. They're both back on the car now and look better than they did. Then the other night I got to sorting out the radiator mounting brackets. I wasn't keen to cut the radiator support like they do when fitting a 2L to a mk1, so I needed the c-section brackets to mount the alloy radiator. It all looks like it should work ok, I may need to seal up around it so the air goes through the rad and not around it. Betty came down to live with old Bandit now too. Hopefully I don't go and drop something on Betty's decent paint. After finalising the radiator I think the next step is sorting the brakes. The master cylinder I had reconditioned a while back has suffered a bit of surface rust. I may have to get that cleaned up before putting it on. A question for the internet experts.
 |
 |
 |
 |
 |
 |
 |
 |
 |
28 May 2013
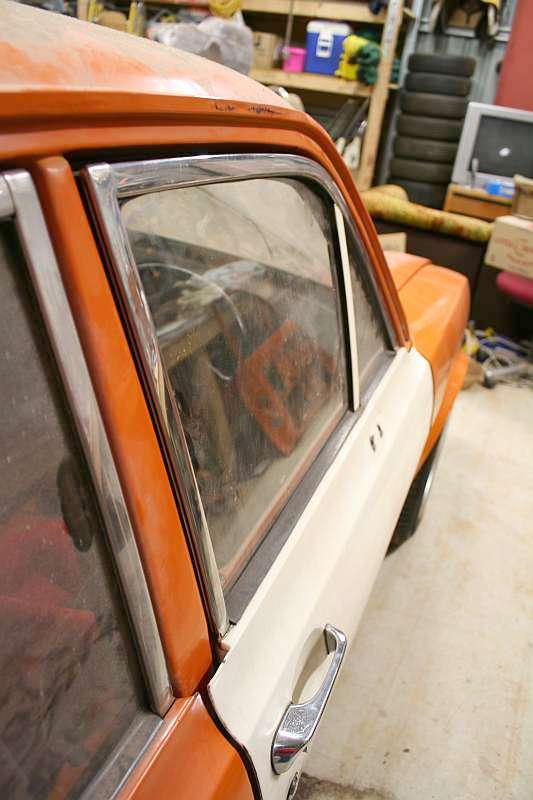
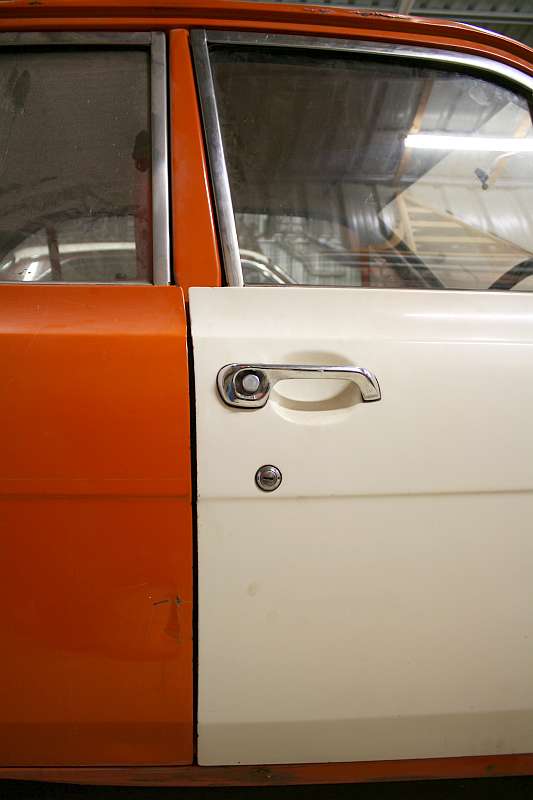
Last Friday Flynn and I were down in the shed having a wander about. He was keen to hop in the drivers seat again, and while he was happy pottering there I straightened the front wheels, then pulled the steering wheel off and straightened it up too. Flynn was still happy playing with spanners and a ratchet, so I pulled the bent and wobbly drivers door off. I got the new one on. Over the last few days I've been down there in bits and pieces, and have been trying to work out how to get it lined up properly. It just doesn't want to sit right though. It looks kinda ok, but the front of the door seems to sit too high, but I can't really lower it cause the bottom look ok as it is. Plus the bottom of the door pokes out past the sill a bit too much, and the top of the window frame also sits out a bit. The door rattles about on the latch when its closed too. I'm not sure how to pull it in either. More fiddling needed :)
 |
 |
 |
 |
 |
 |
7 June 2013
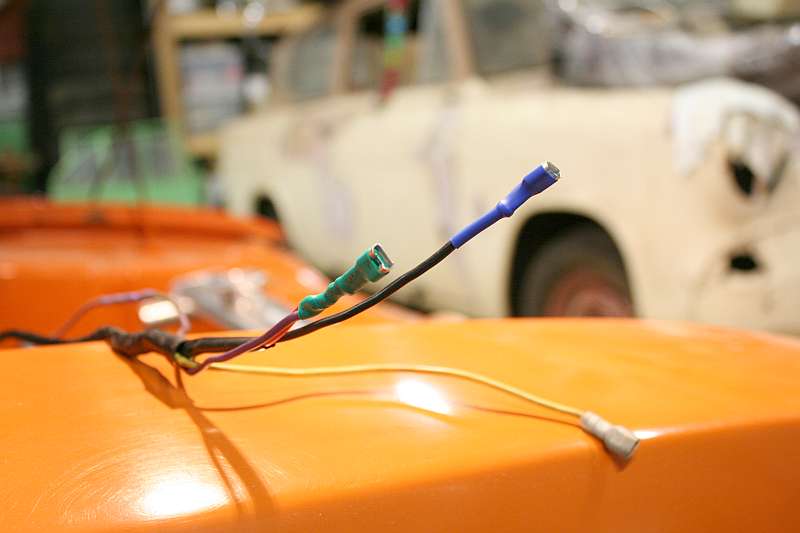
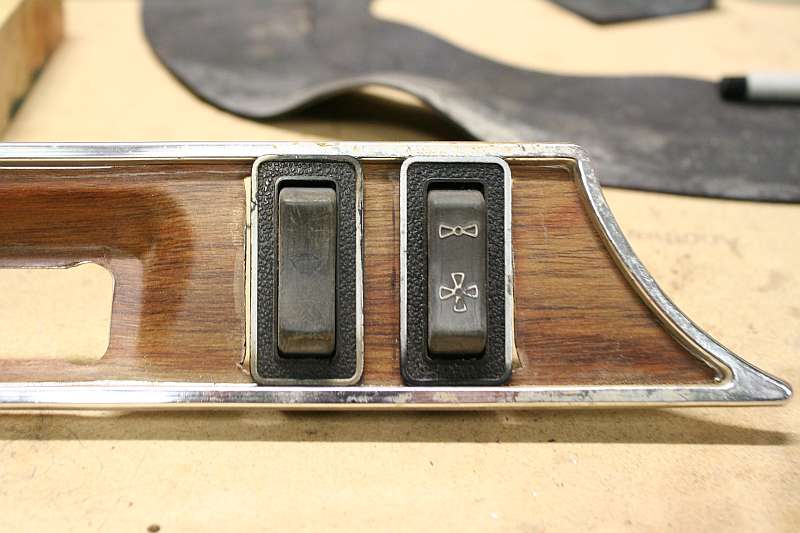
I'm going to try and move this thing closer to being able to start it. Trouble is I'm kinda at a loss as to what to do next to move things on. Seems there is too many jobs that need doing. So I have written a list and will go through and tick those ones off. Then make another and do the same. Last nights, take radiator back out. Bolt fan on properly, bold back in. Check out hoses. Things bolted in fine, but the silicon hoses don't work so well. The top one is ok, but the bottom one has no chance of fitting. I also need to work out how the thermo switch needs wiring up. All I have is 2 plugs at the moment. I did put the connectors onto the coil wires too, so that's another job ticked off. And I need to work out if I need to block off the gap at the top of the radiator so the air goes through the rad and not over the top of it. I've been having a play with my fan and wiper switches too. I'm going to mount them in the dash like in the pic below. This will simplify the wiring up a lot, and I can still reach them while harnessed in the seat. I have wrecked my spare panel cause I cut the holes in the wrong spot. I've got another, but its not quite as nice.
 |
 |
 |
 |
 |
 |
 |
 |
 |
12 June 2013
I hate it when you have a long weekend and you get nothing done down in the shed. At least I got the rocker cover painted, that was about it. Last night I spent a while digging out my box that had the gaskets in it. Found one for the rocker cover and exhaust. I started to take the old fuel filter and lines off, but then I managed to let the petrol run out of the line all over the floor cause I didn't realise it was coming out. I want to work out where to put things now so that when I put the sidedrafts on things will be in the right spot. I also stood and looked at the wiring for the fan switch. I think I've worked out a plan for that too. I stole the ute, now Trev and Carol have left for their trip, and took the pile of crap to the tip. I still don't know how I'm going to fit a Laser in that spot though.
 |
 |
 |
| < | 1 | 2 | 3 | 4 | 5 | 6 | 7 | 8 | 9 | 10 | 11 | 12 | 13 | 14 | 15 | 16 | 17 | 18 | > |