|
home |
back |
BANDIT2 | page 18 |

| < | 1 | 2 | 3 | 4 | 5 | 6 | 7 | 8 | 9 | 10 | 11 | 12 | 13 | 14 | 15 | 16 | 17 | 18 |
2 December 2015
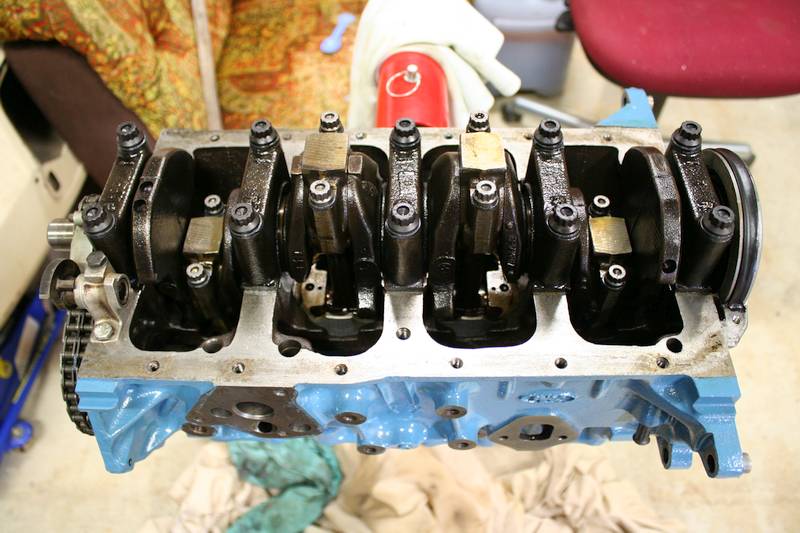
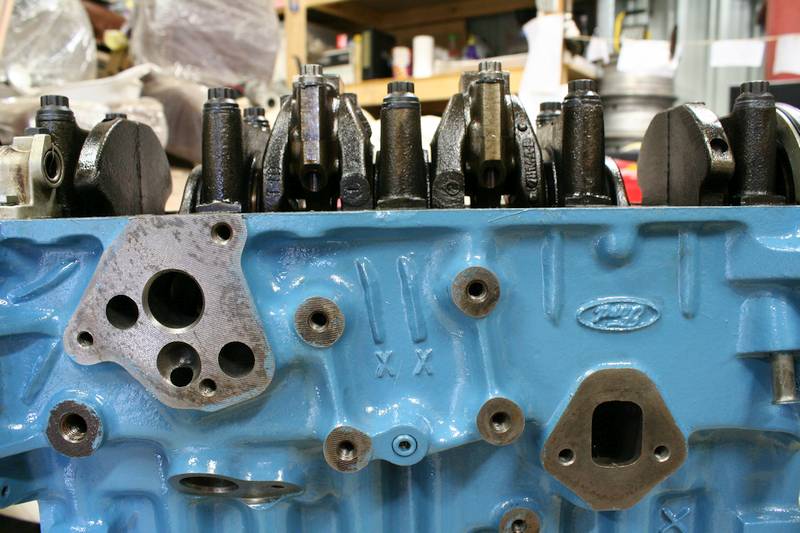
So I dug my spare cap and rotor out. But they were for the old dizzy out of Betty, so didn't fit the electric one in B2. Won't fit Betty now either seeing as she has electric as well. But then I remembered I had the side exit cap for the new engine, so whacked that on and plugged some leads in just to check (they were too short to reach the plugs). Still no spark. But that was with the old rotor in there. So should get a new one of those before forking out for a new dizzy. I also managed to swap the old bolts out of the bottom end of the new motor. Lubed up the ARP ones and torqued them down to spec. Now to work out what the next job is. Probably pull the cam back out cause I forgot to lube it up and also more critically, forgot to put the new cam followers in!
 |
 |
 |
 |
 |
 |
10 December 2015
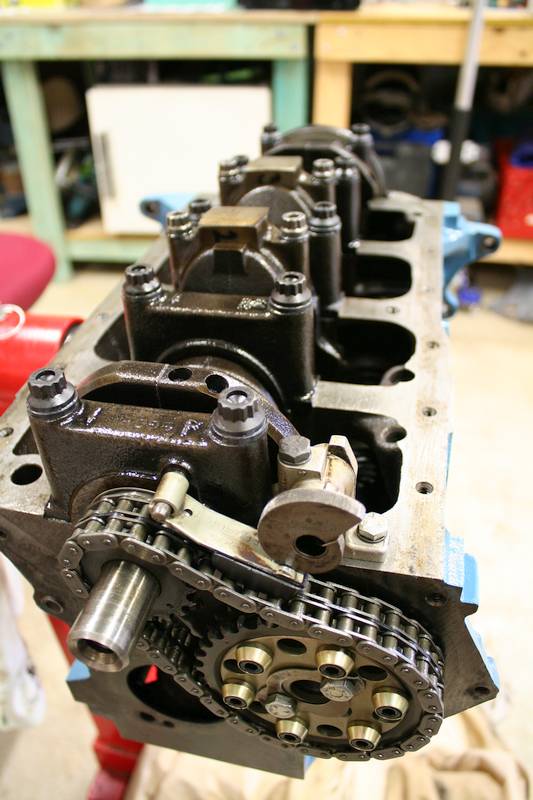
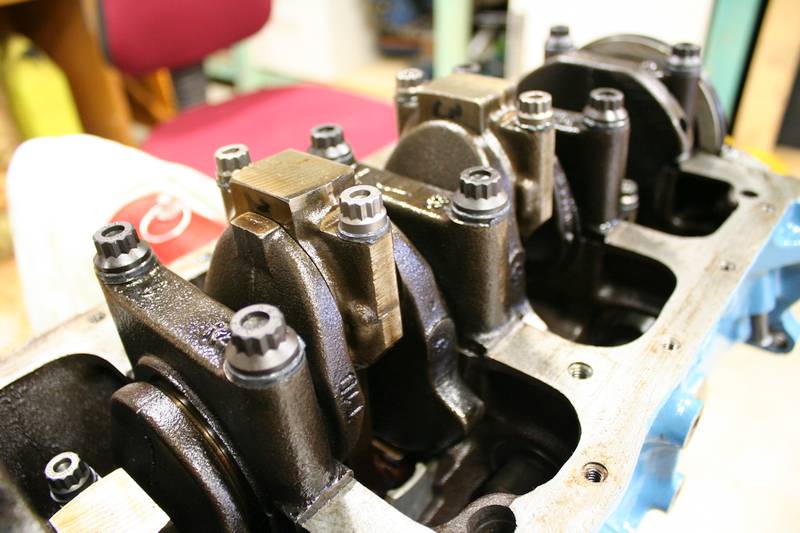
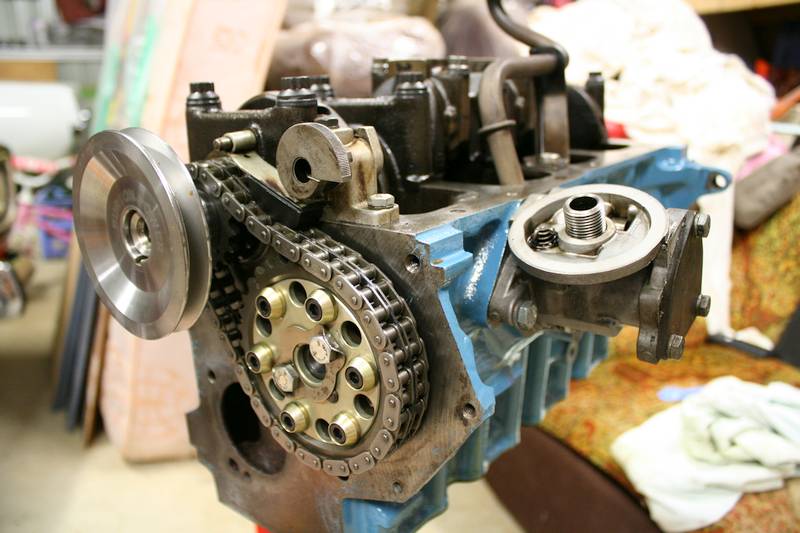
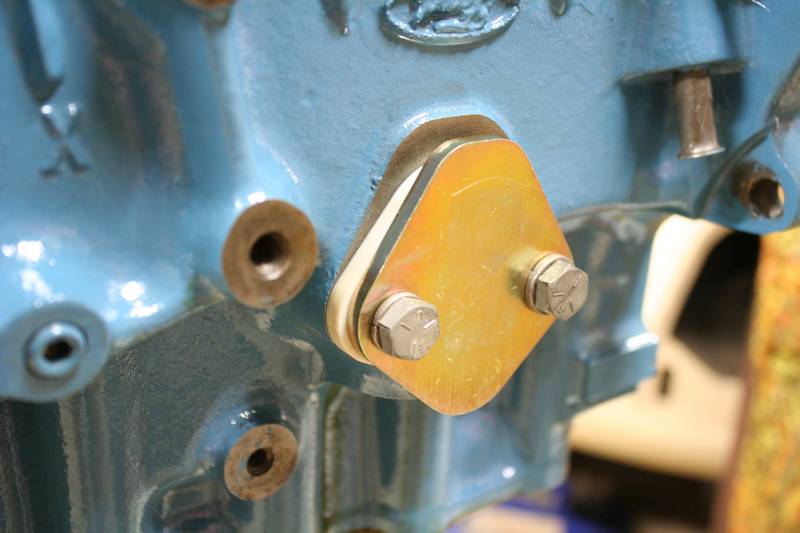
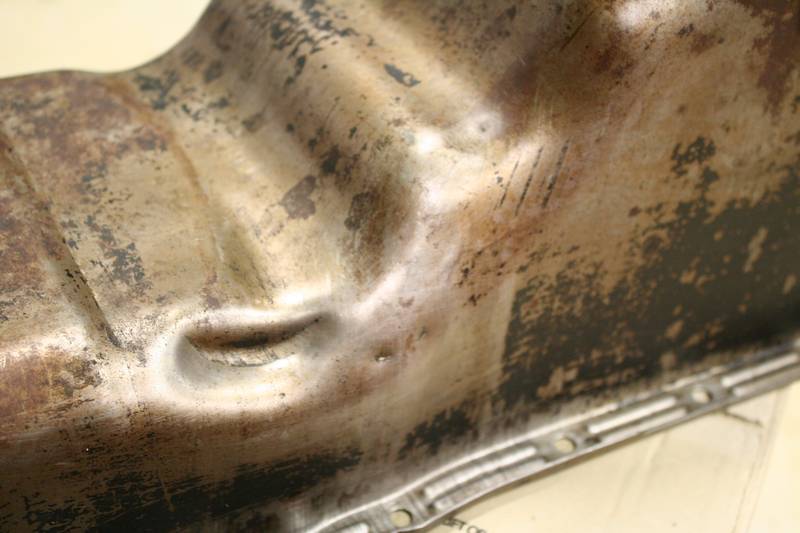
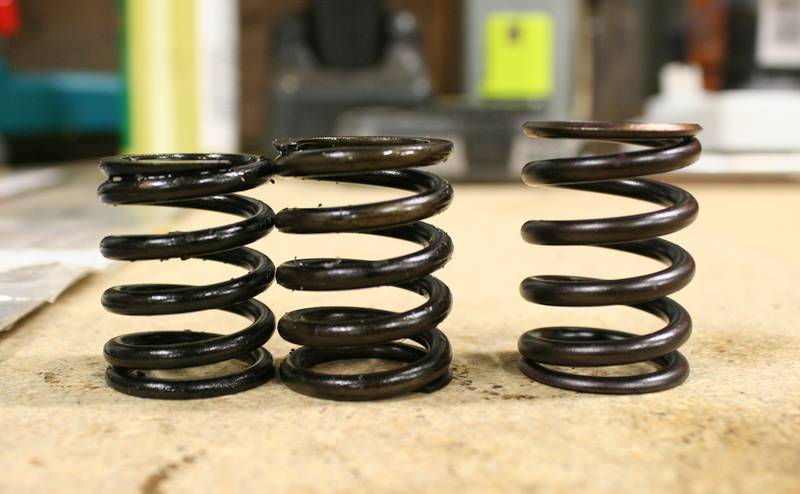
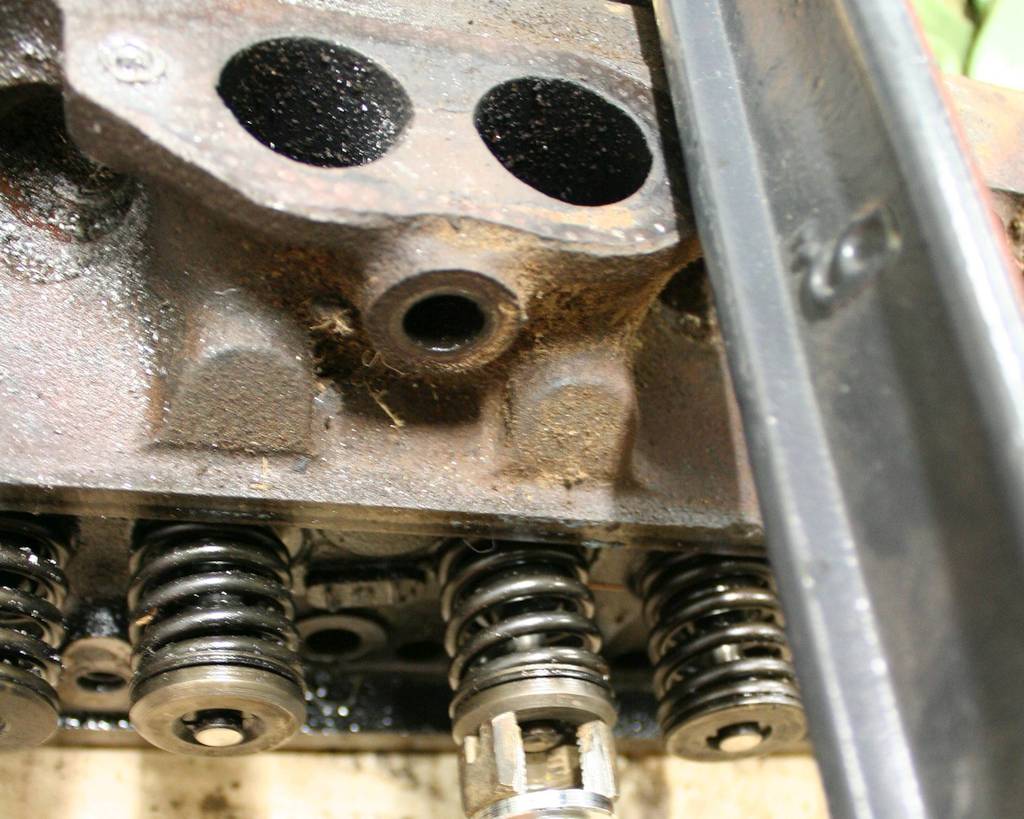
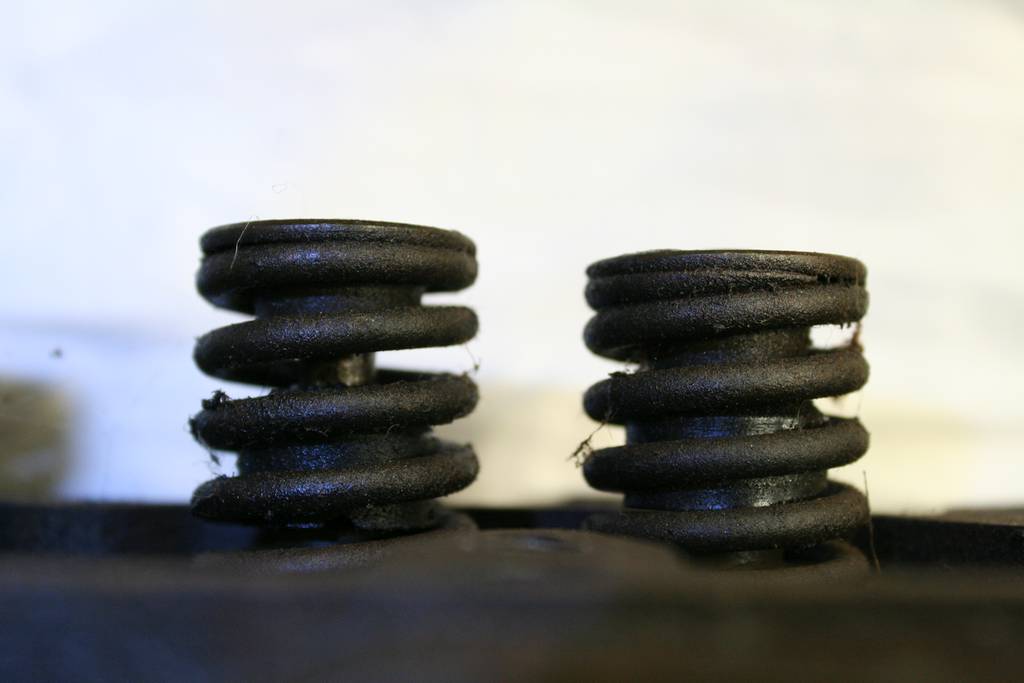
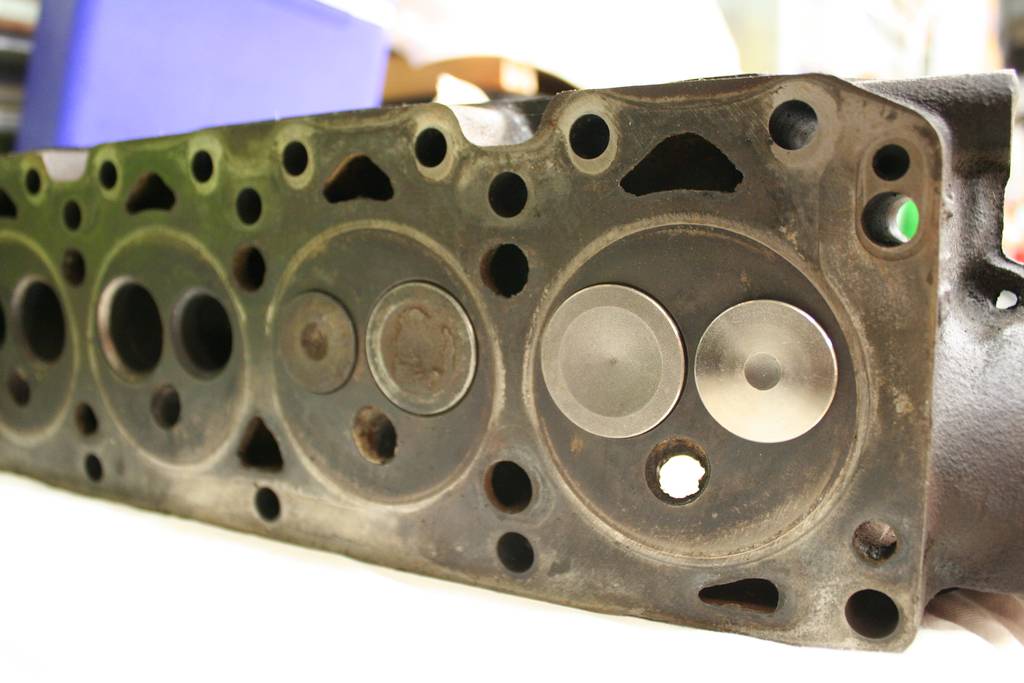
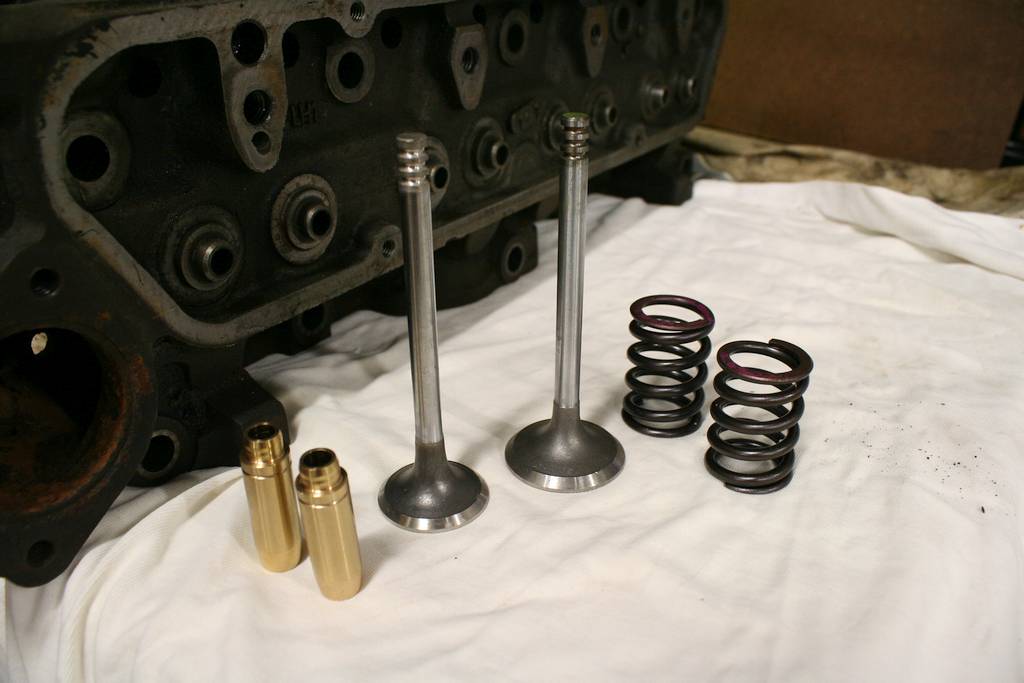
I pulled the cam chain sprockets and cam back out again. Lubed up the followers and dropped them in. Then lubed the cam and put it back. I hadn't torqued up any of the bolts the first time around, so this time I di the job properly. All sorted. Tensioner on too. Test fitted the oil pump and fuel pump blank. Need a gasket for the oil one, and some shorter bolts for the fuel blank. Don't want to run the funny plastic spacer thing. Then got motivated and dragged the old sump out and started cleaning that up the other night. Decided that was an outside job though, too messy for in the shed. Its had a nice big hit at some stage too, fair size dent in the bottom of it. I'll test fit it to make sure everything clears before spending the time prepping and painting it. Finally, thought I'd check the new valve springs out. Turns out the new ones from the kit are a bit longer than the old ones. Not sure if that is cool to just use, or is going to give me issues. More questions for the experts. I'm still trying to find some valves too.
 |
 |
 |
 |
 |
 |
 |
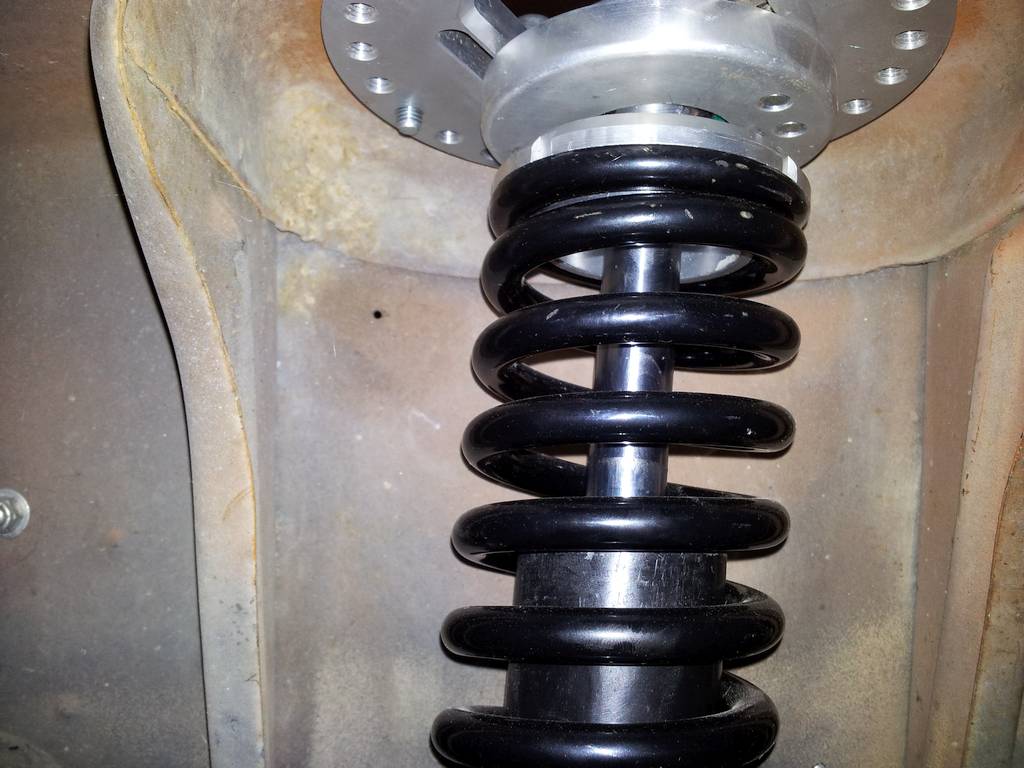
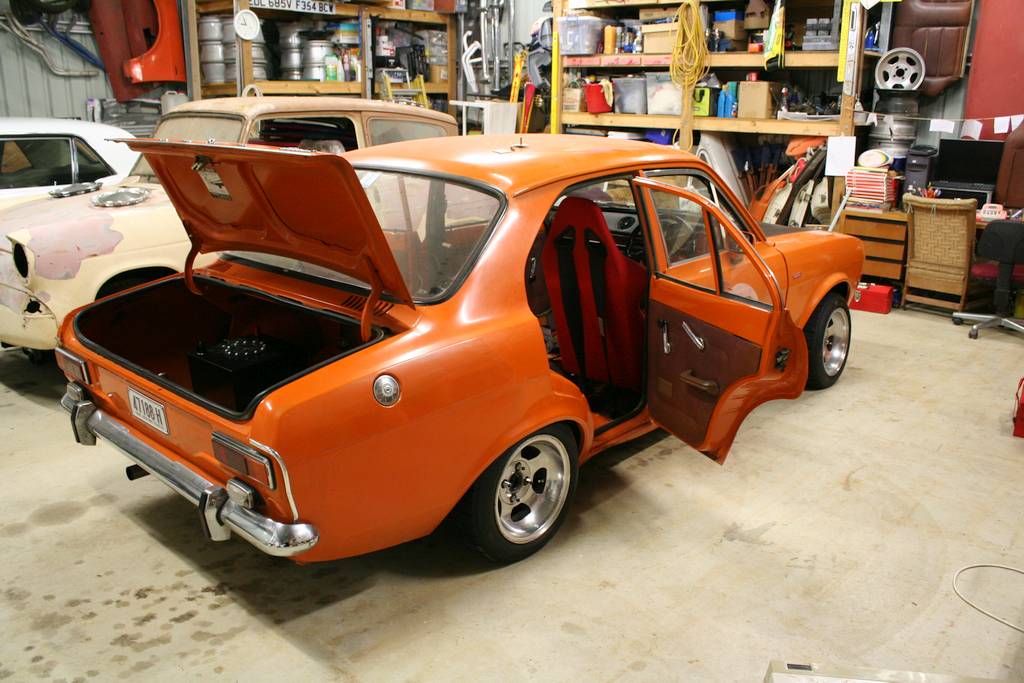
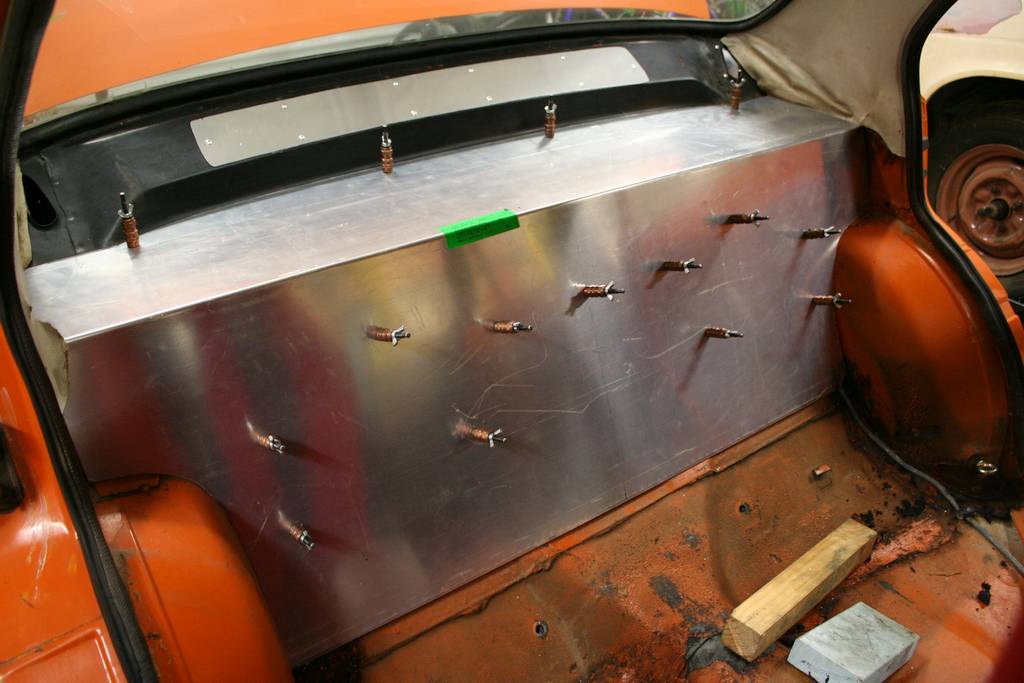
1 February 2016
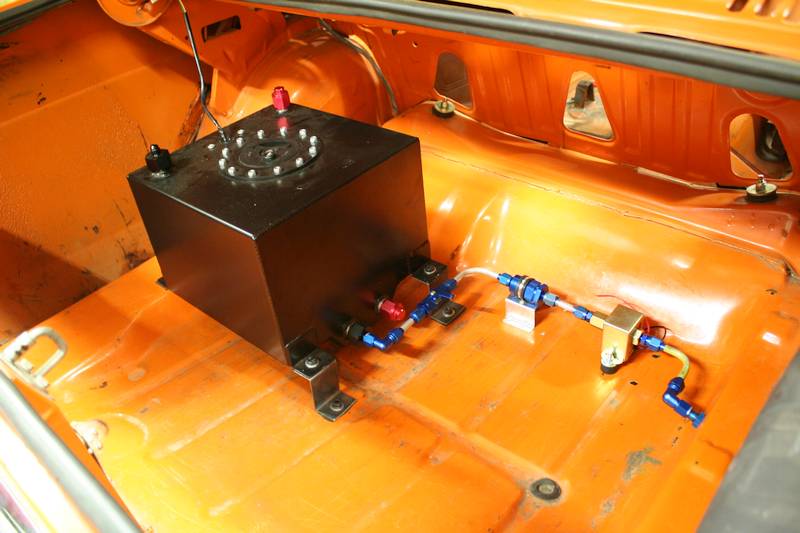
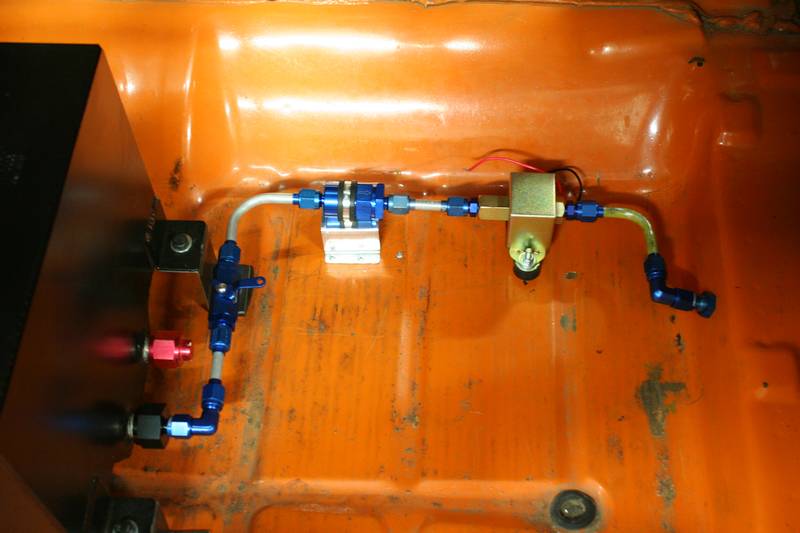
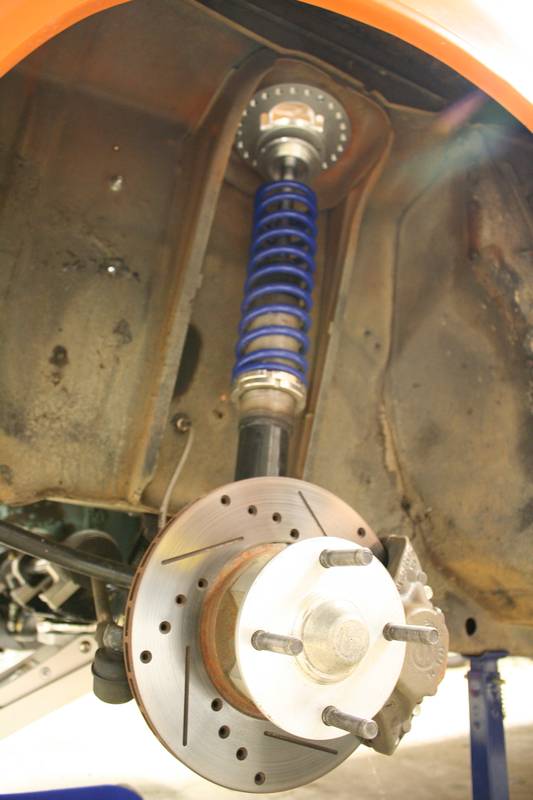
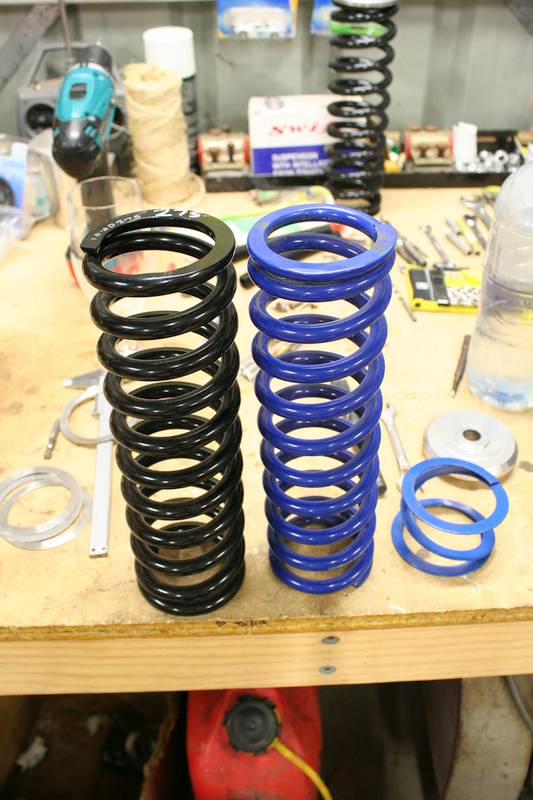
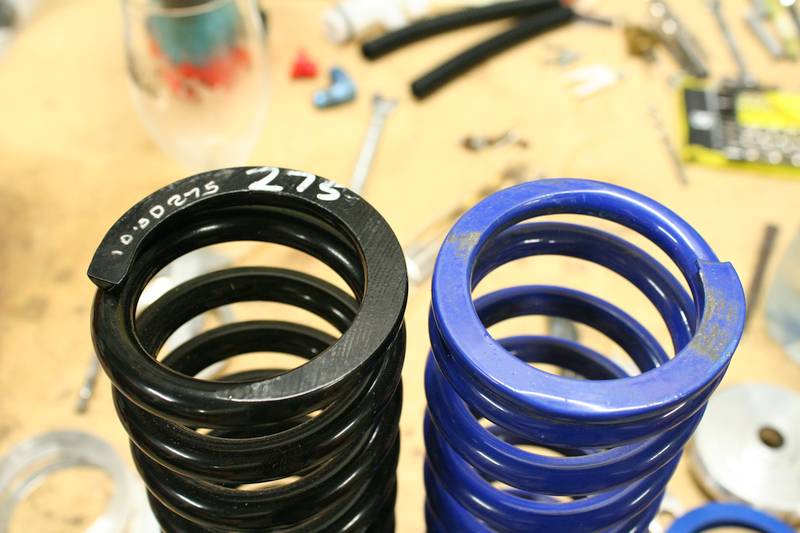
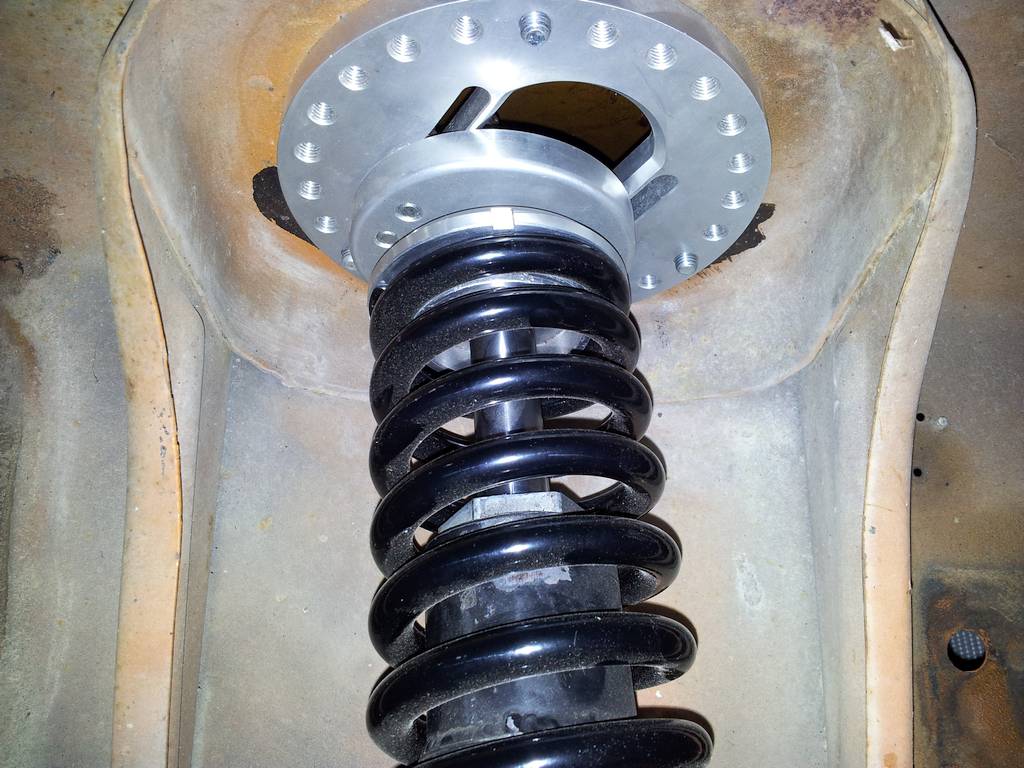
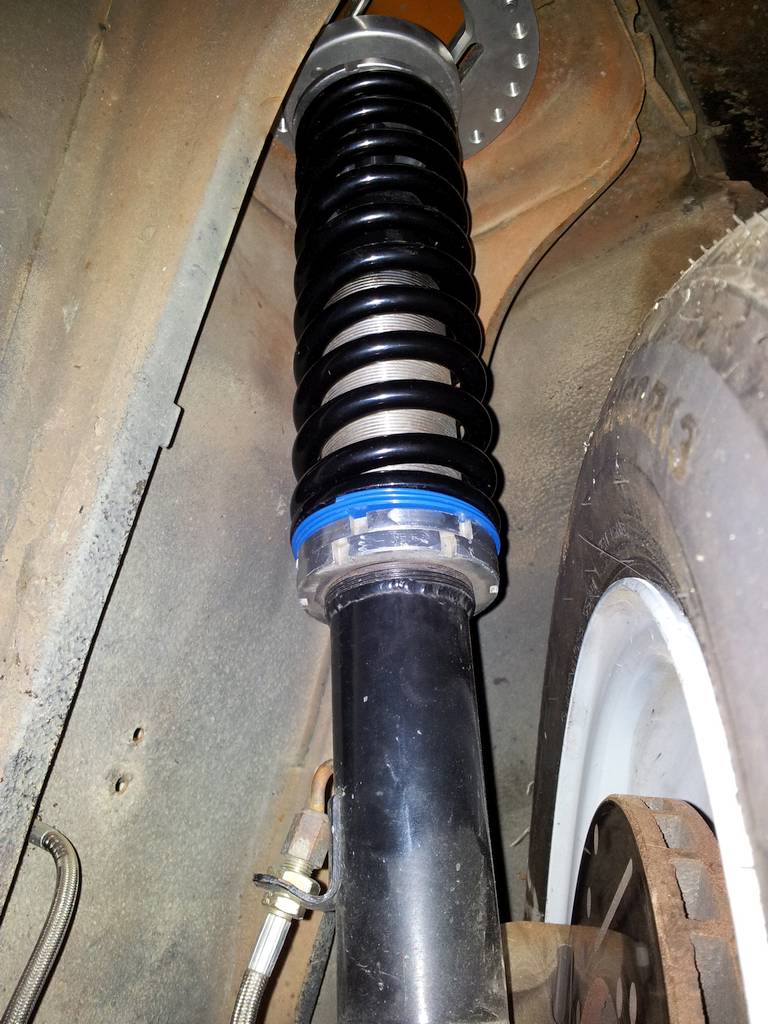
I bought a couple more 90 degree fittings and then had another go at the fuel system in the boot. Its all done now, got it screwed to the floor and it fits pretty well. Shame about the couple of extra holes in the boot floor. Then I figured its been way too long, so I pulled the old front springs out and chucked the new ones in. Being a bit stiffer they seemed to sit a little higher once back on the deck. But I can have a fiddle with the adjustments later. Then I sat in the back and pondered the rear firewall some more, trying to come up with a plan for the side to keep it all neat so it doesn't look like an amateur did it!
 |
 |
 |
 |
 |
 |
 |
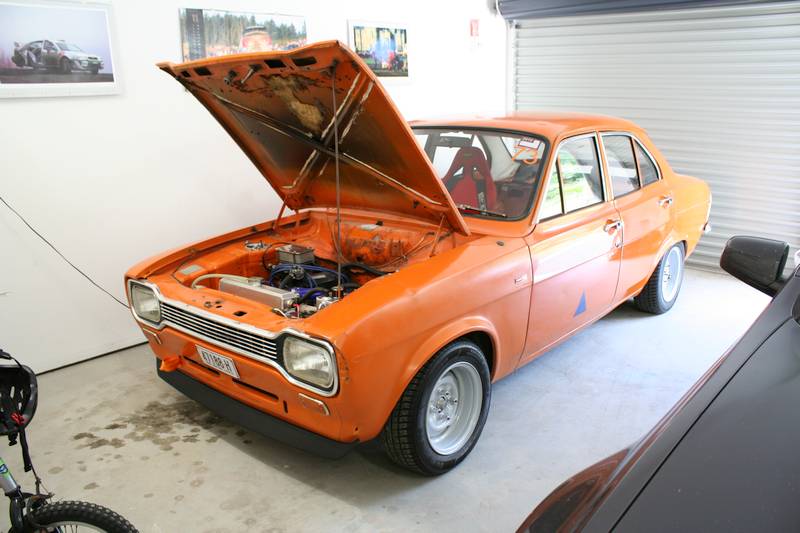
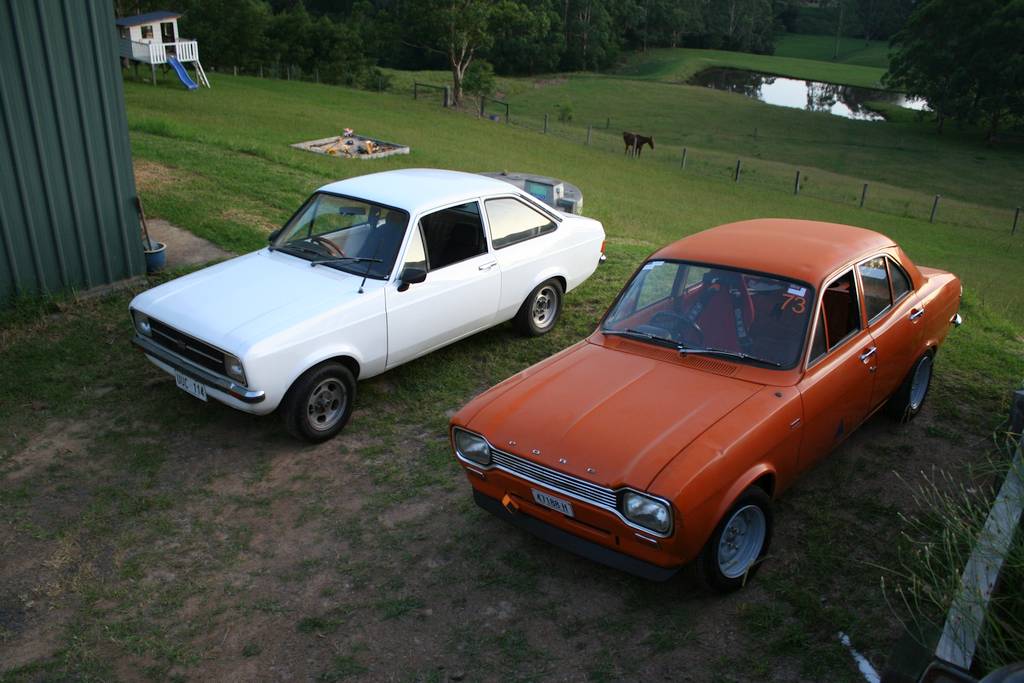
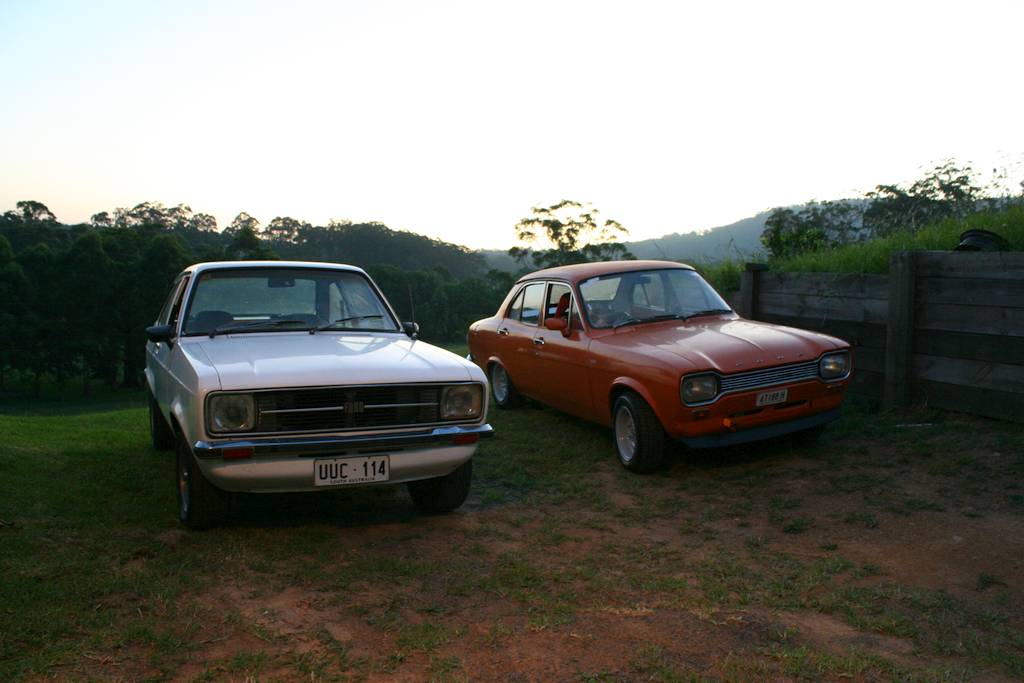
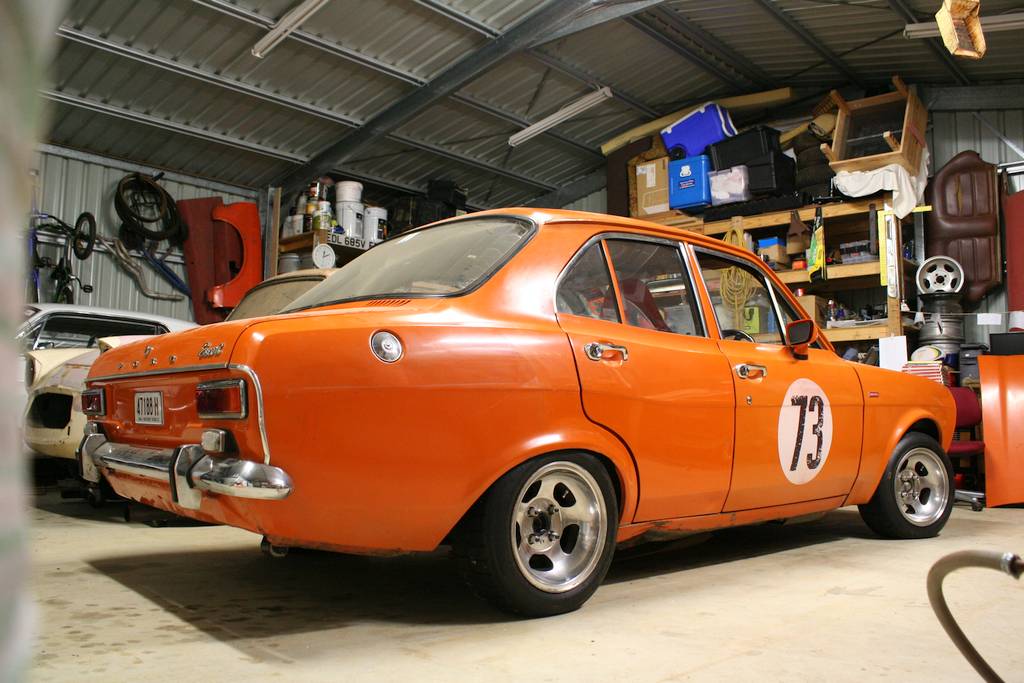
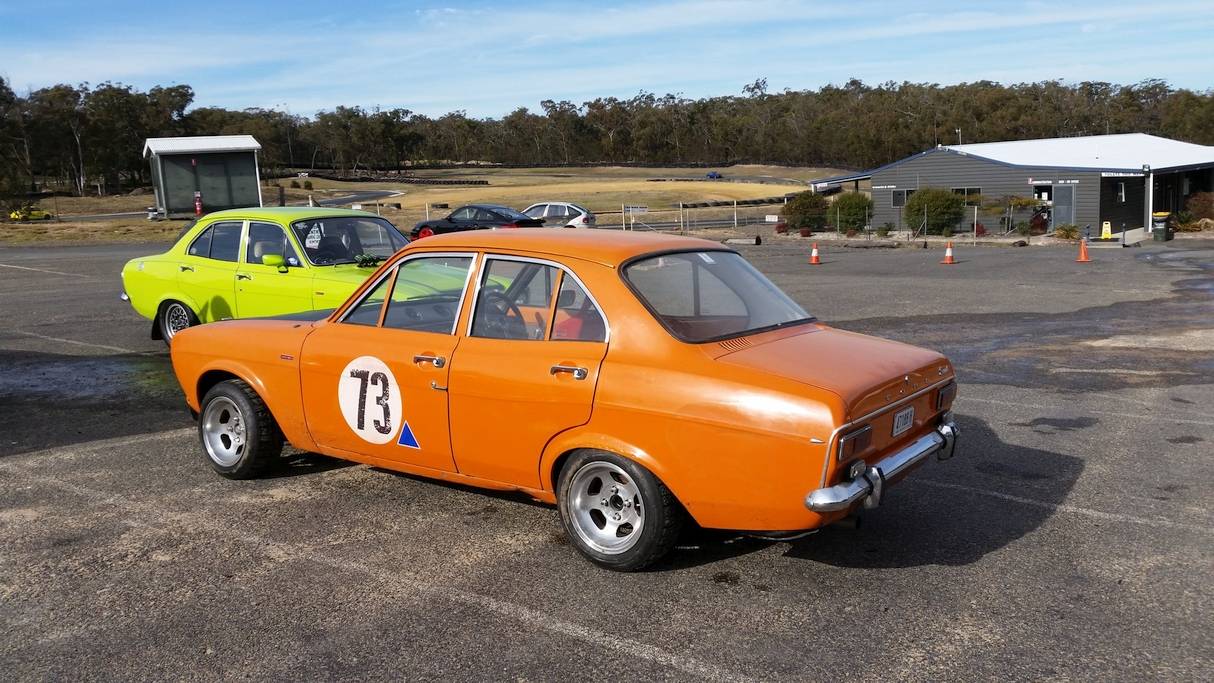
2 March 2016
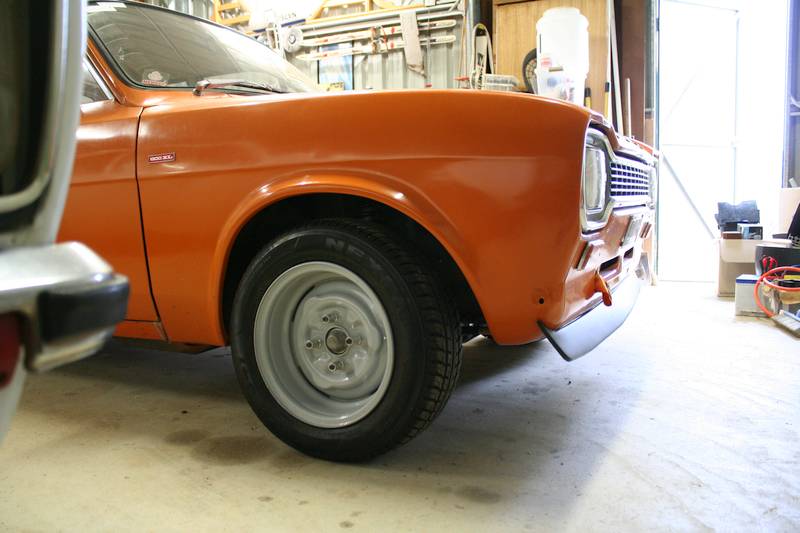
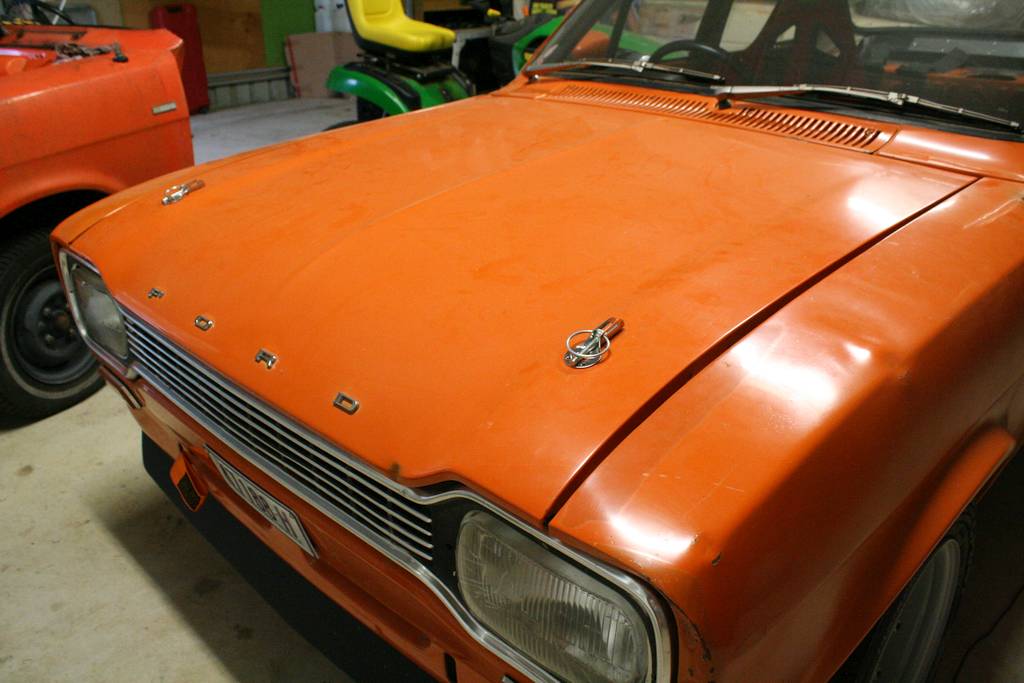
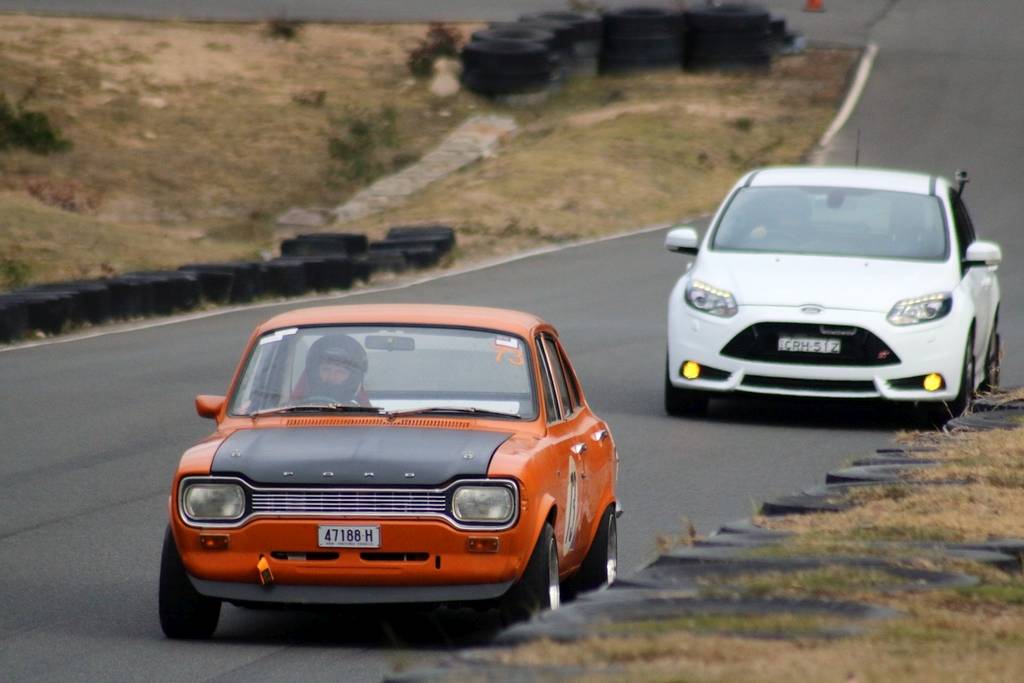
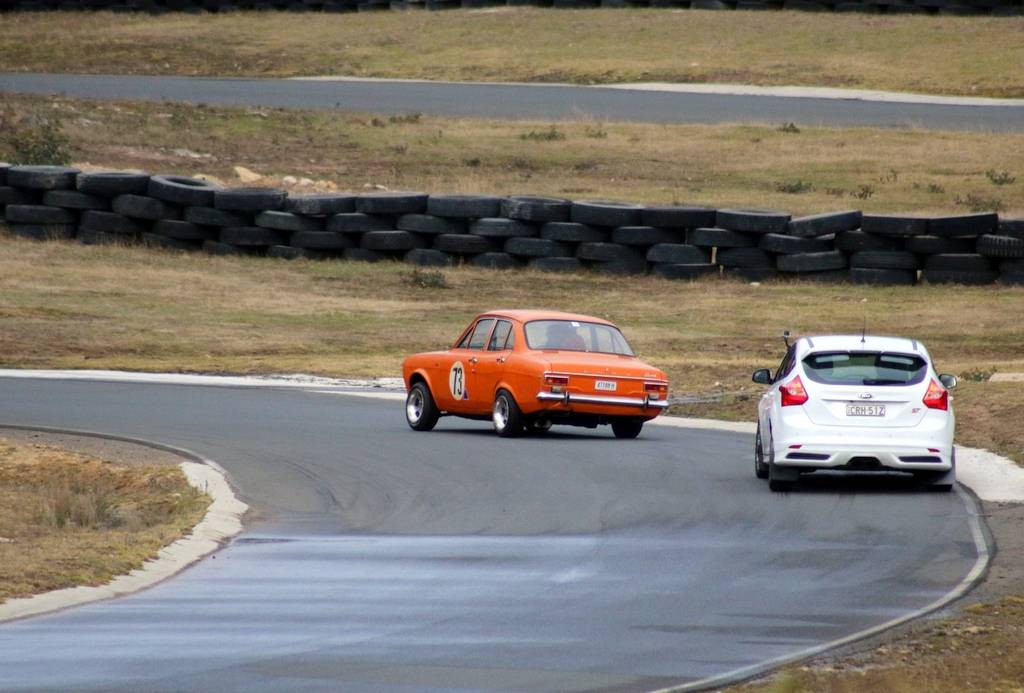
Brendan came back from the NT for a couple of weeks, so I got his Mk2 out for him to bomb about town in. His plan was to drive it back to SA on his way back home, so he came over one night to use the shed and the tool to do a couple of jobs on the old girl. Got a couple of pics of the 2 cars together, probably the last time that will happen cause after spending a bit of time in Adelaide he's going to take it back to Darwin to get the body sorted out. He drove it from Nowra to Adelaide in one day, and only had 1 minor brake issue. I had a fiddle with the spring seats to lower the ride height on the front of B2 as well. Need to work on the shorter struts, I'm running out of travel on the threads, and still don't have as much travel as I want on the shock.
 |
 |
 |
 |
 |
 |
 |
10 March 2016
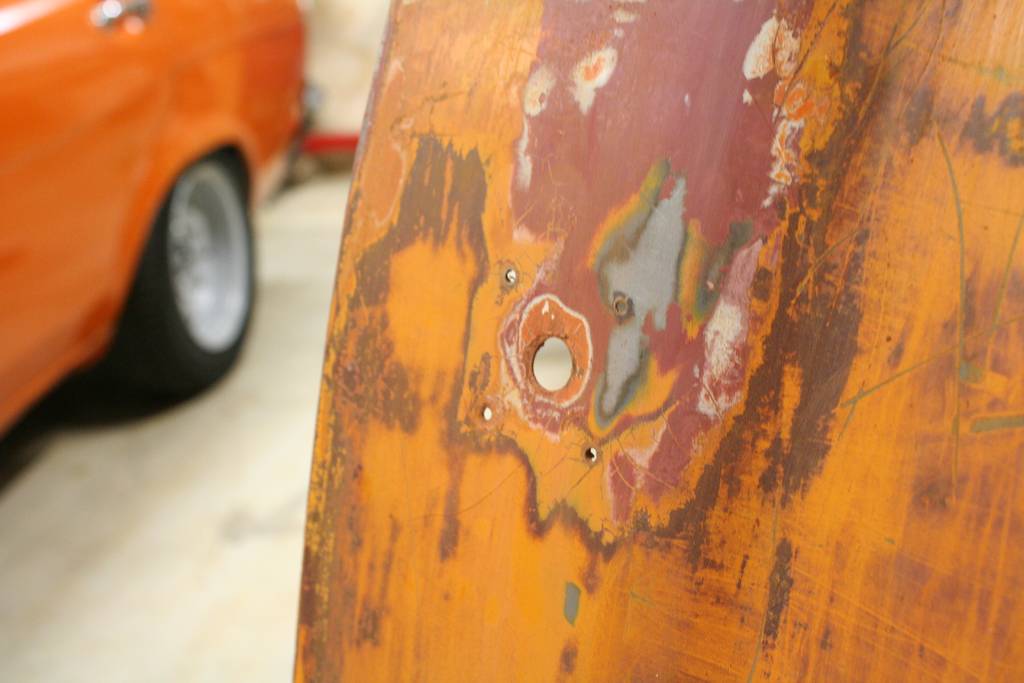
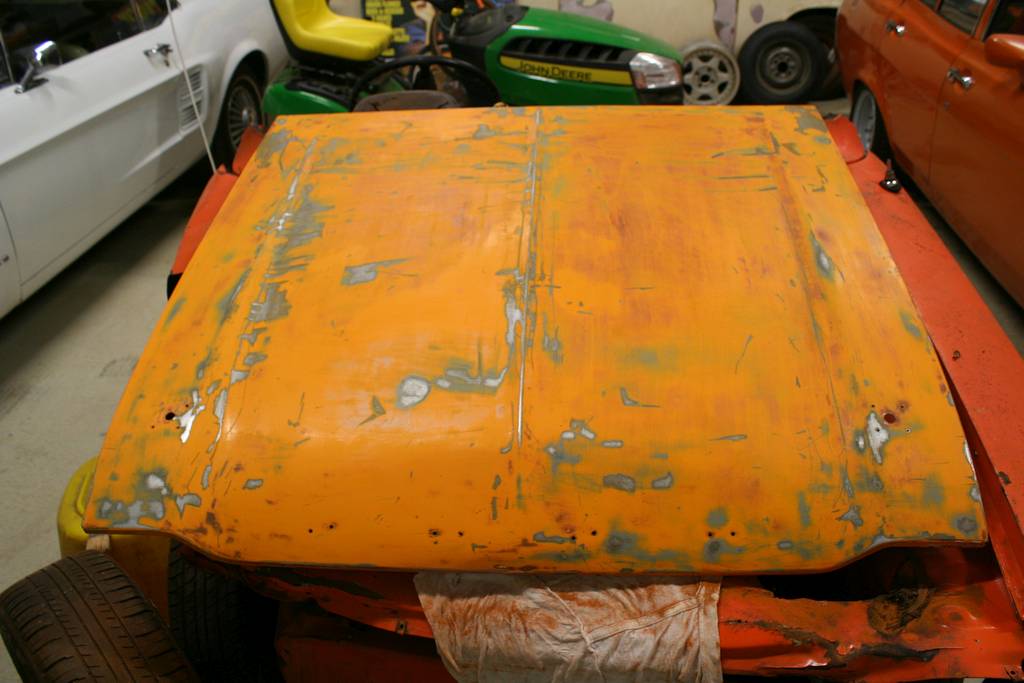
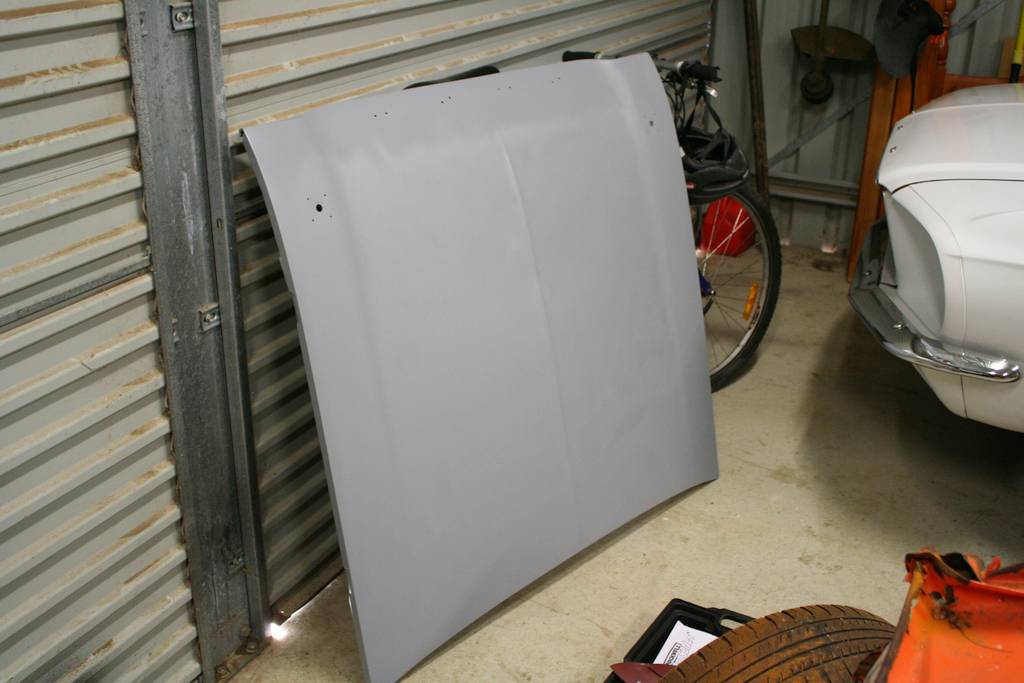
Doing a bit of thinking on the bonnet pins. Not an essential job, but I've got them so might as well put them on. Just working out which way around I like them, think long ways and facing backwards is the go. Next decision is the bonnet. I really shouldn't go drilling holes in my good bonnet that is on there now. Especially when I have a spare with holes already. I might keep going on the clean up of that one, then rattle can it matt black to see what it looks like.
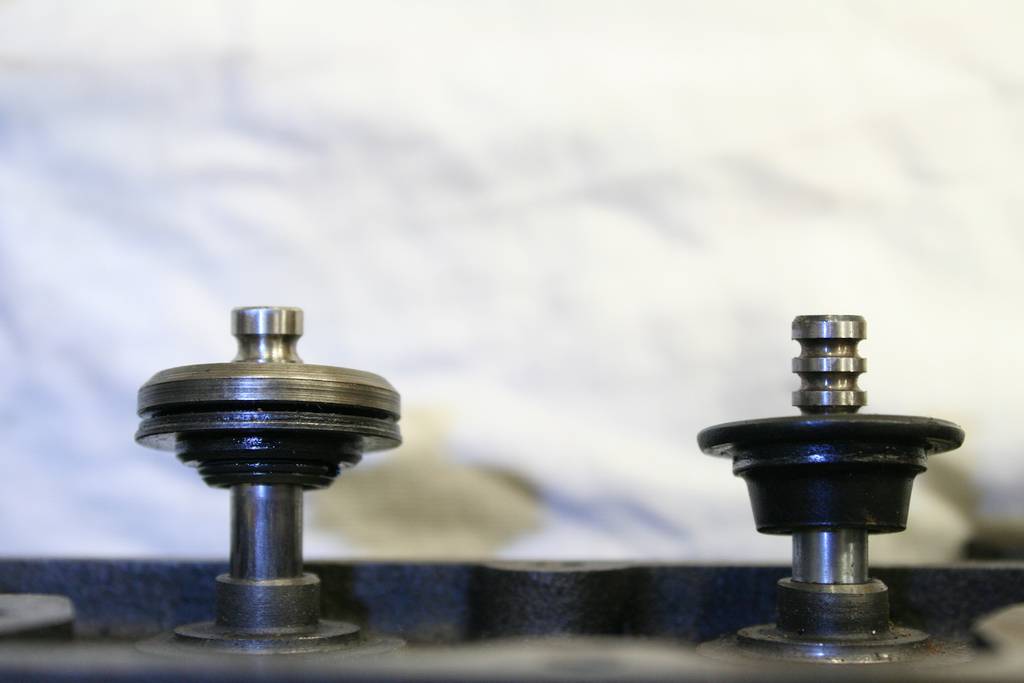
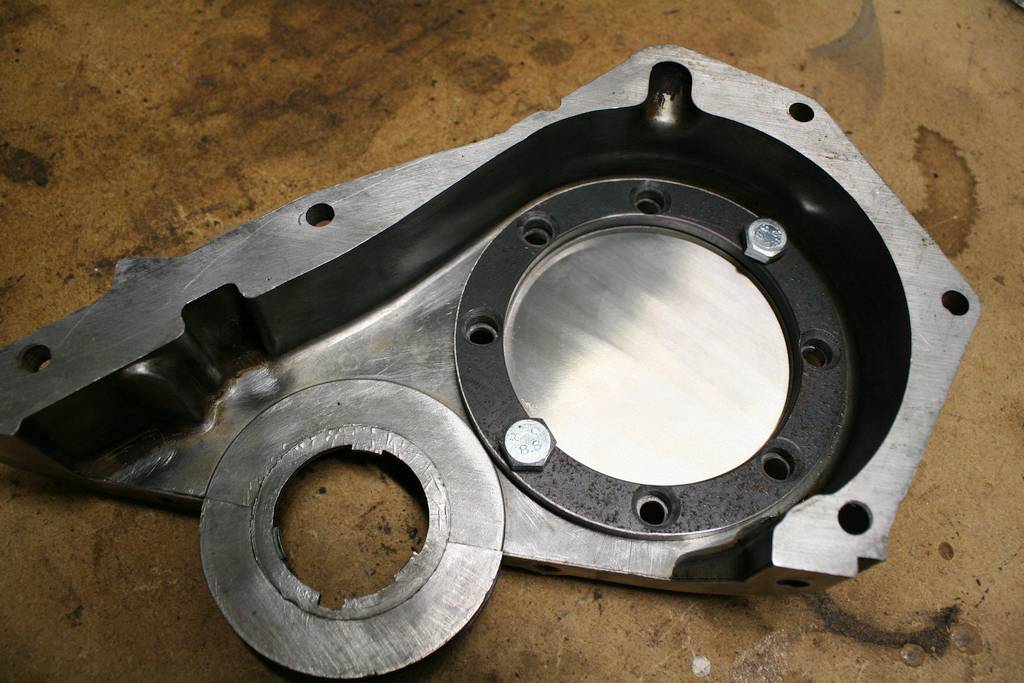
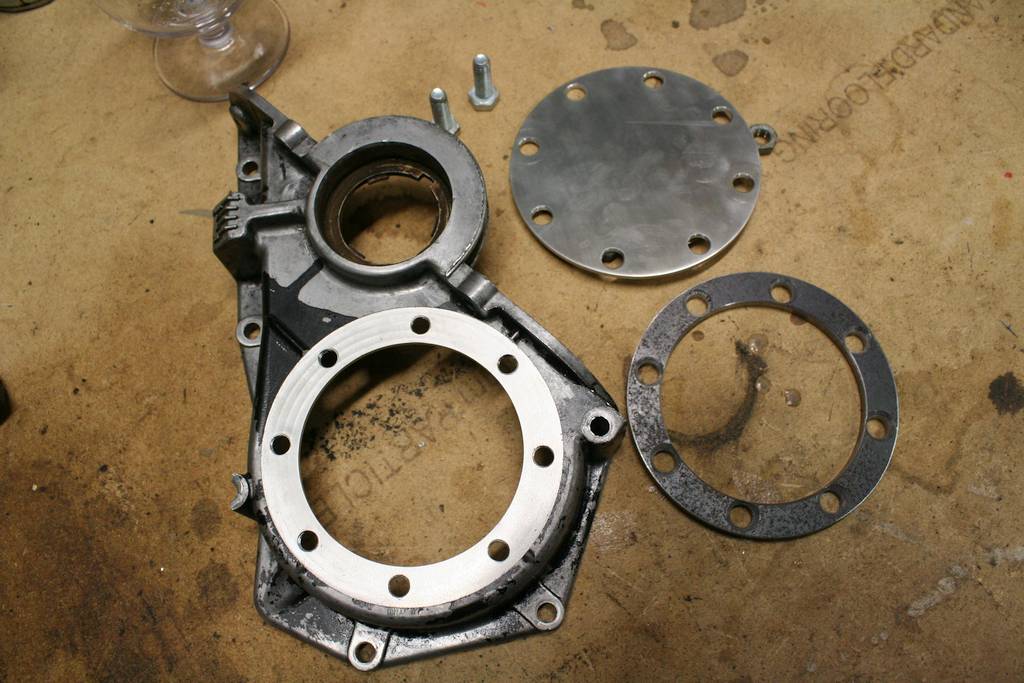
Also got my new valves in the post from Specialised Engines in the UK. Forgot about valve guides, so paid for more postage to get a set of them out too. Then realised that the new valves have triple grooves for the collets, so have order some of them from Burtons. But I think that's it and all I need. I was wondering about the spring caps though. The spare head and the ones under the shelf have all thin ones on them. But the ones I pulled off the head I'm using had the thicker ones on the exhaust valves. Not sure why, time to ask the experts. I took my timing cover in to Jamie to see about making the front opening like Classic Ford magazine did. But he noticed a crack in it, so I've gotta pull one off another engine.
 |
 |
 |
 |
 |
 |
 |
 |
 |
 |
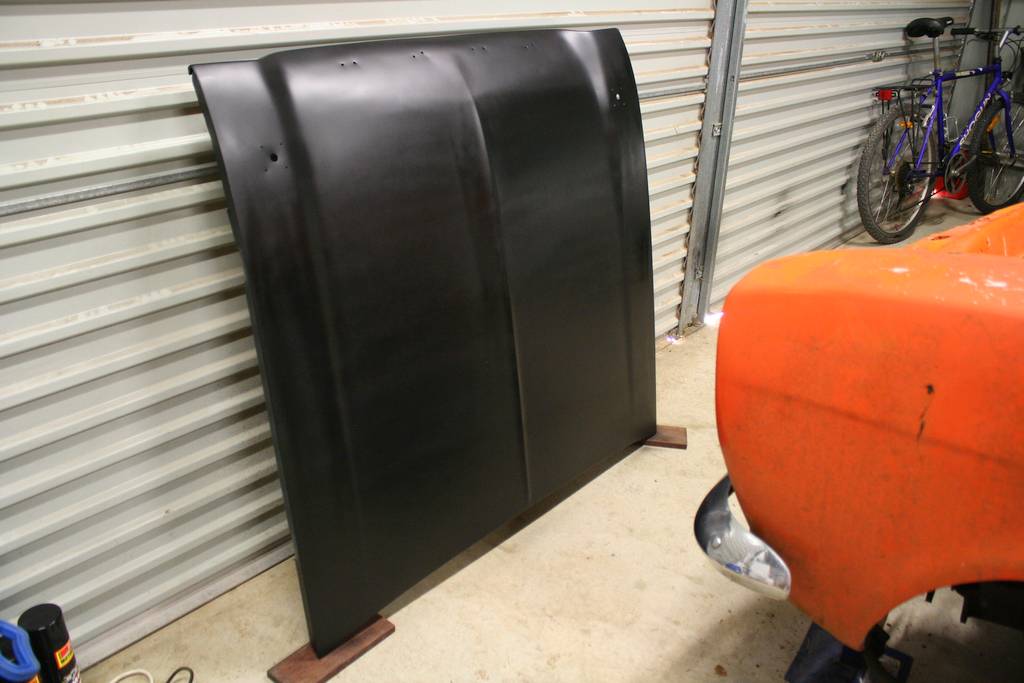
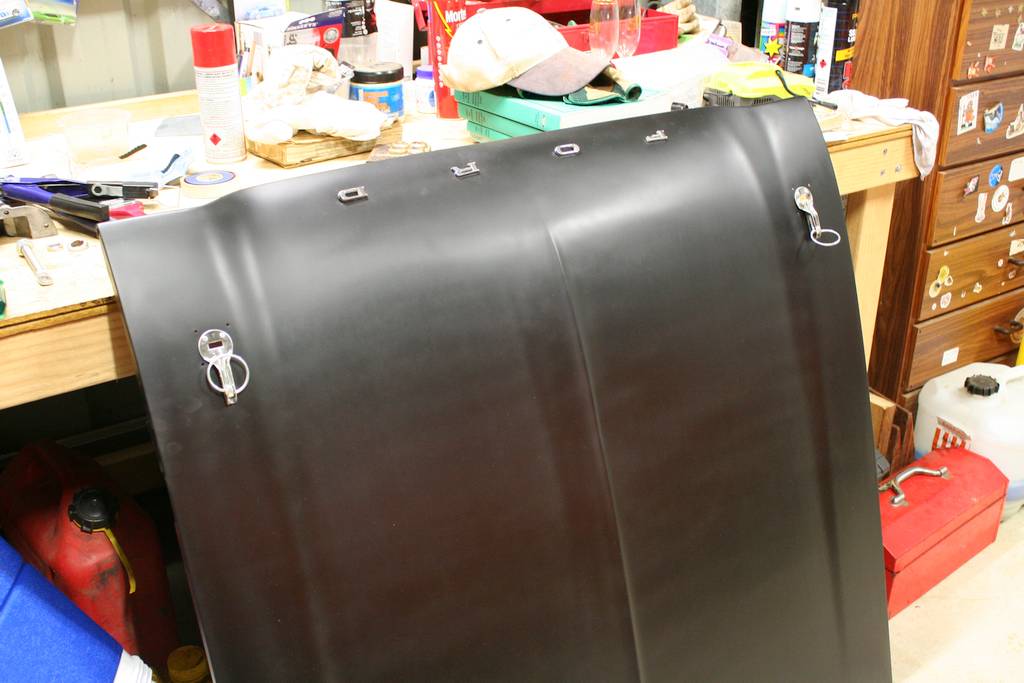
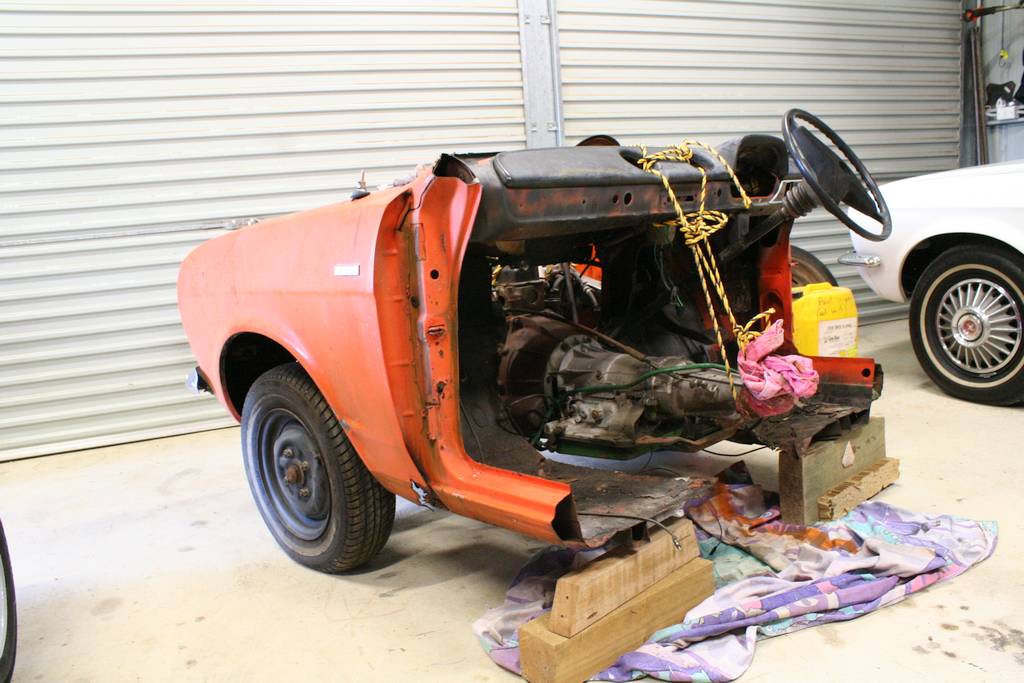
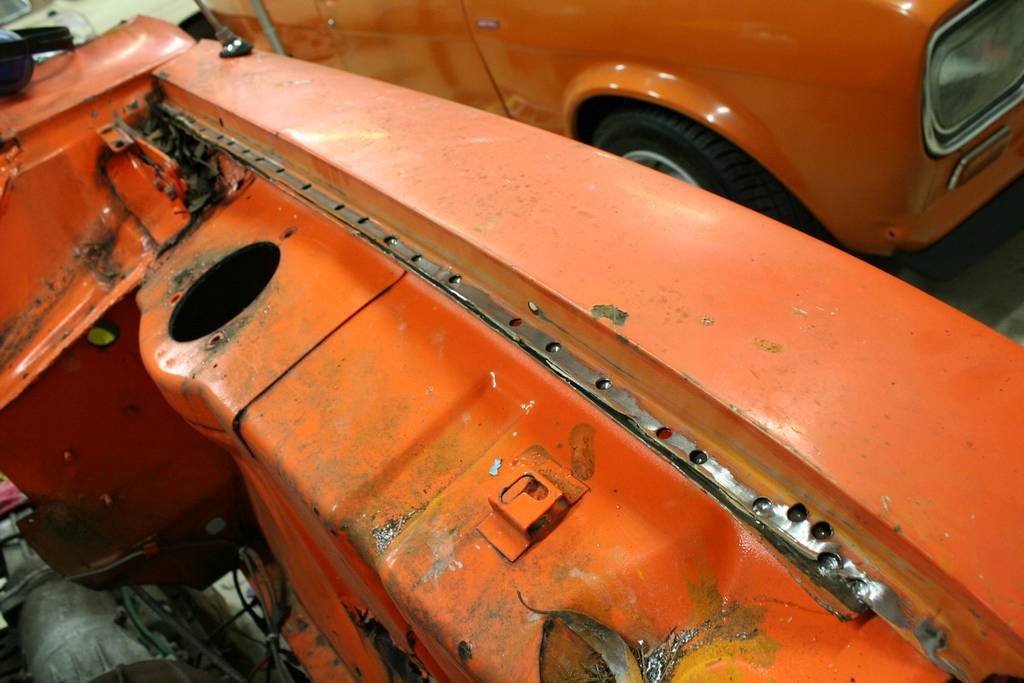
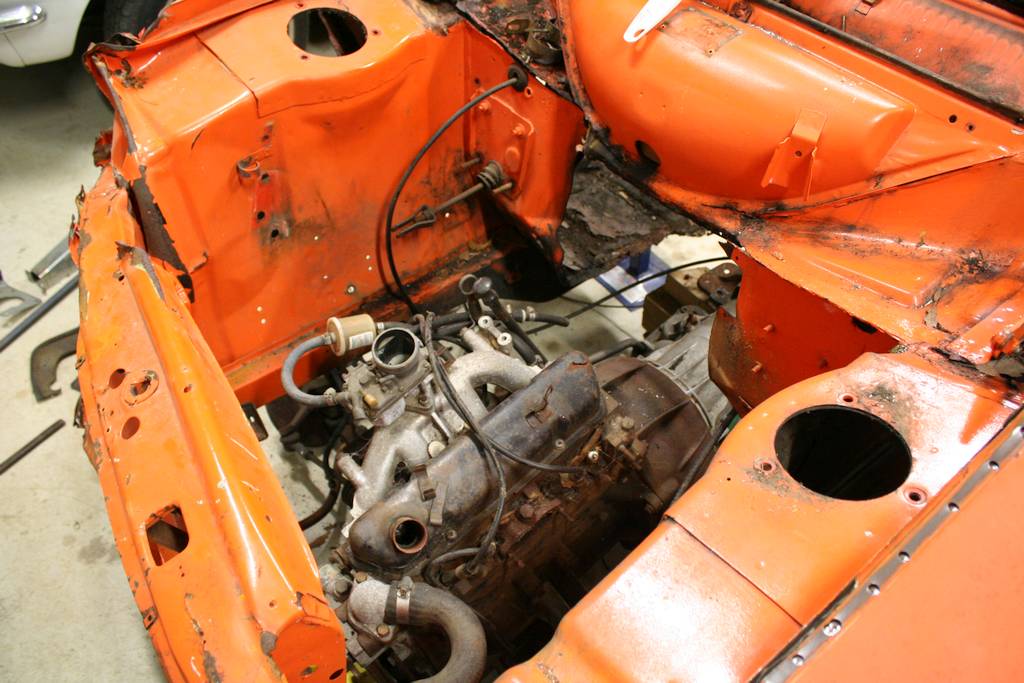
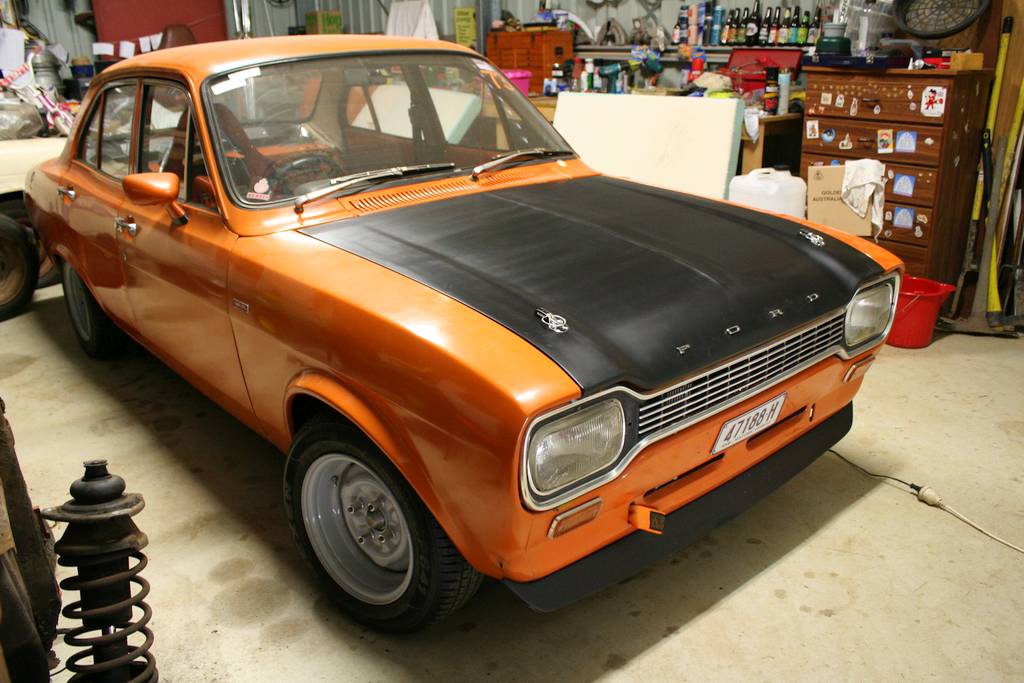
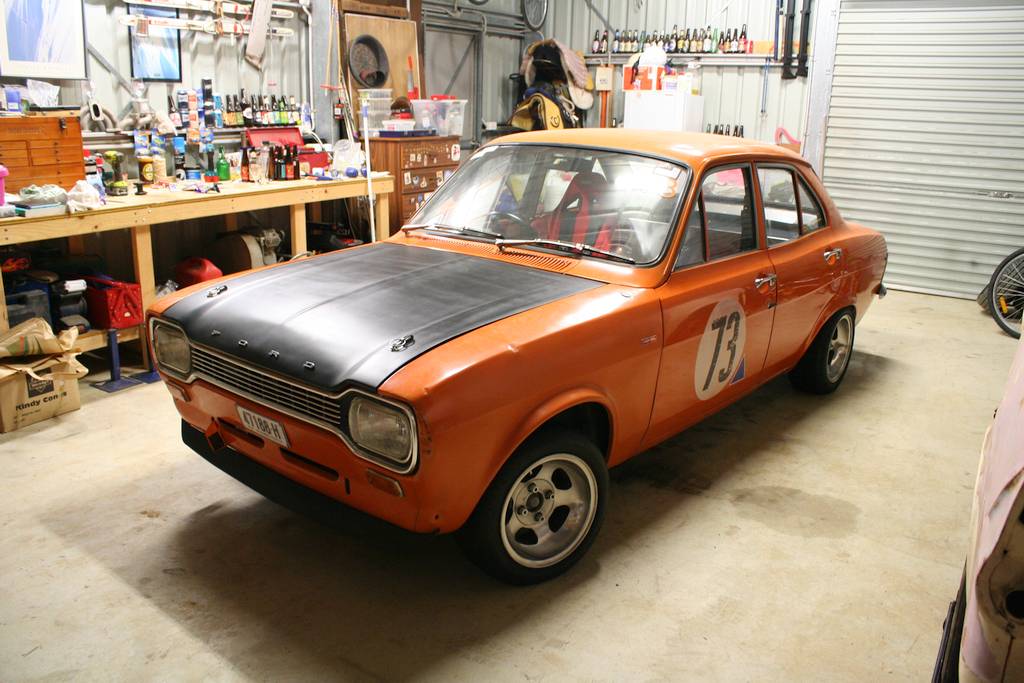
31 March 2016
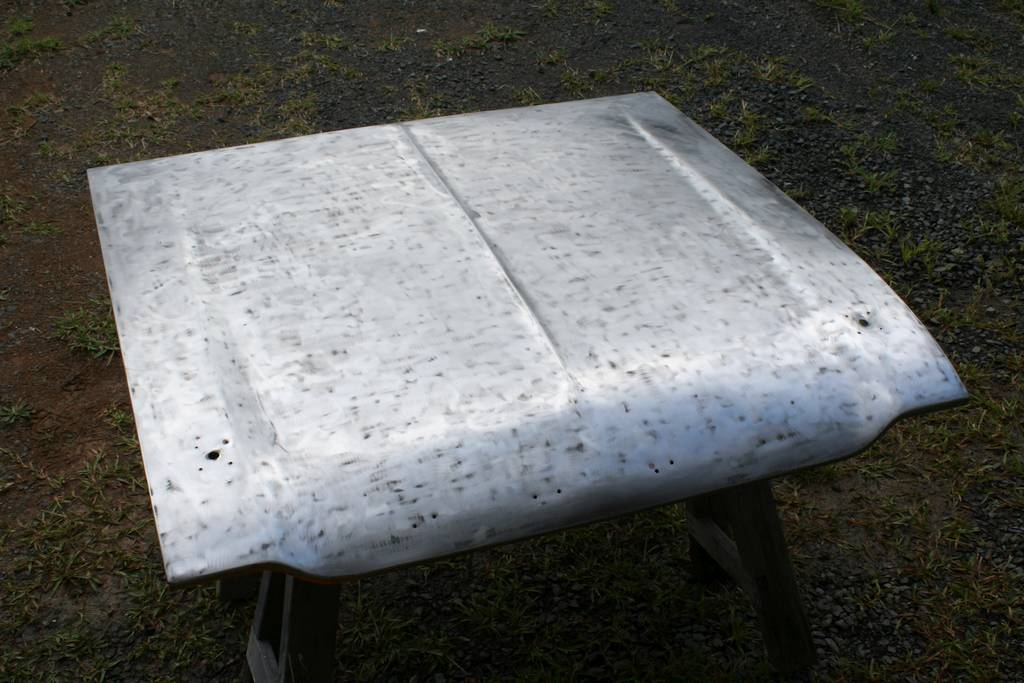
I've been doing some more fiddling with the bonnet. I hit it with the paint stripper. Once cleaned off and dry I sanded it back. But it was still a bit tacky from the stripper. So next plan, break out the old angle grinder and take all the old paint off it. Probably the better way to go really. Then undercoat, bit of a sand. And then a couple of cans of matt black. Could probably have gotten a 3rd one, but 2 coats will have to do it. Came up ok, bit stripy though, cause of the way the paint comes out of the can. The last night I drilled some more holes in it and mounted the pins. Dug out the old F-O-R-D letters and they went on too. The R needs sorting, its a bit loose. Now to actually put it on the car and see what it looks like.
 |
 |
 |
 |
 |
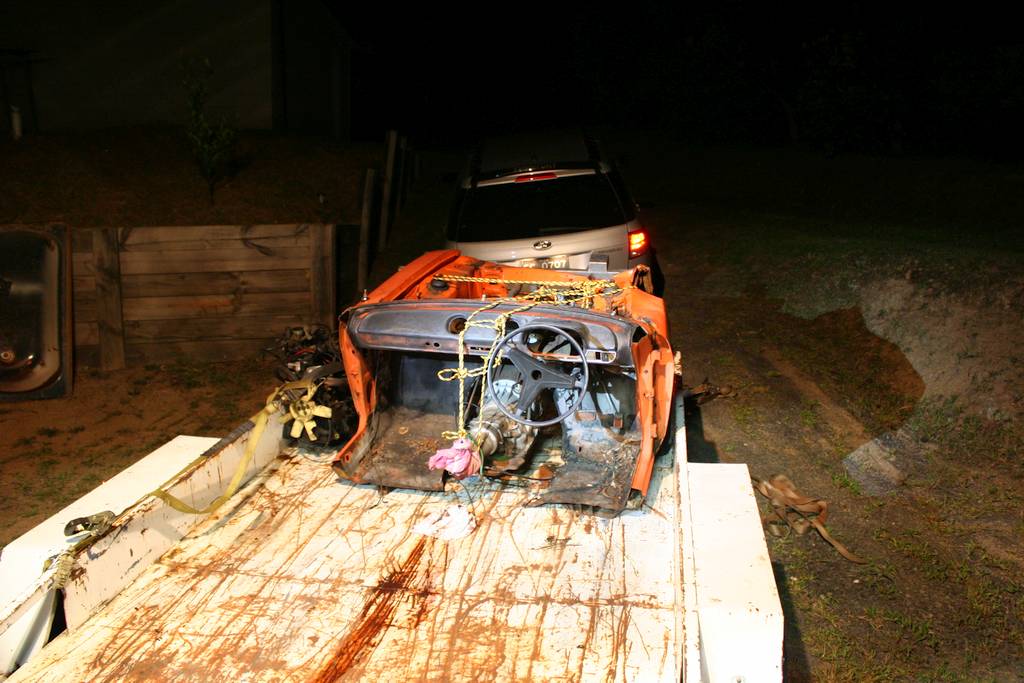
In other news, Steve and I headed up to Sydney back in early March to pick up this front cut that Smcka had sitting there. Really just wanted it for the auto trans in it, so I can do a swap in Betty and get hers serviced. Its had a massive whack in the front, so the panels are a bit shot. But I'm keeping the front guard and heater bubble. And I'll take the section of sills in case they're big enough to fit on the rear bit of B2 where its all smashed in. So engine and 'box were dropped onto blocks. Guard is now off. I just need some muscle to help me lift it straight out onto the trailer now. Will probably bin the struts and things too. I already have a few sets of those under the shelf.
 |
 |
 |
 |
 |
 |
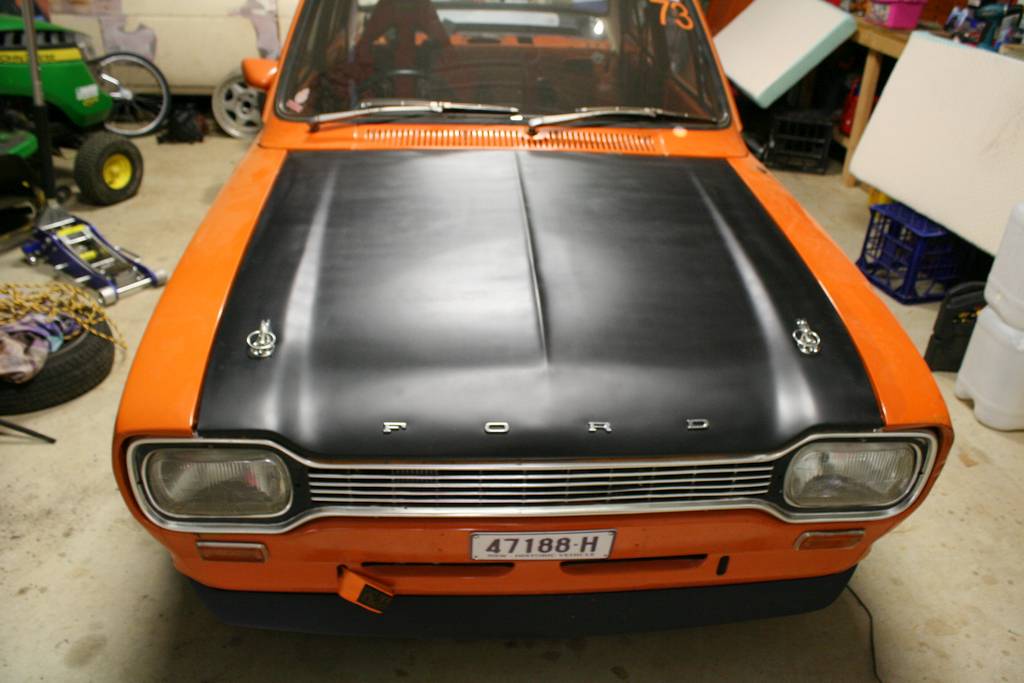
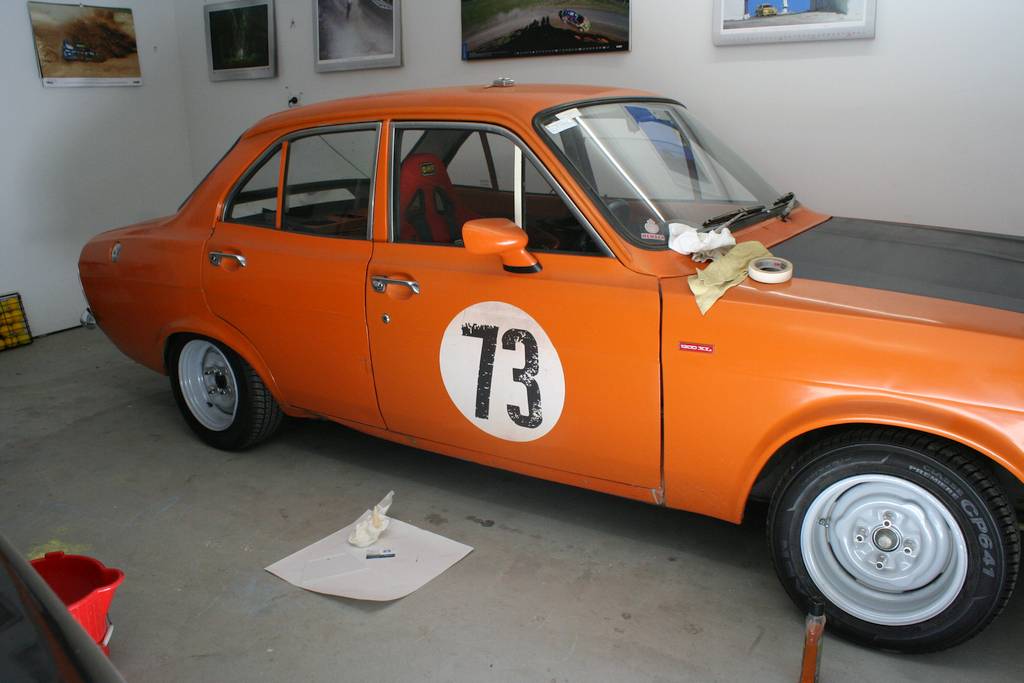
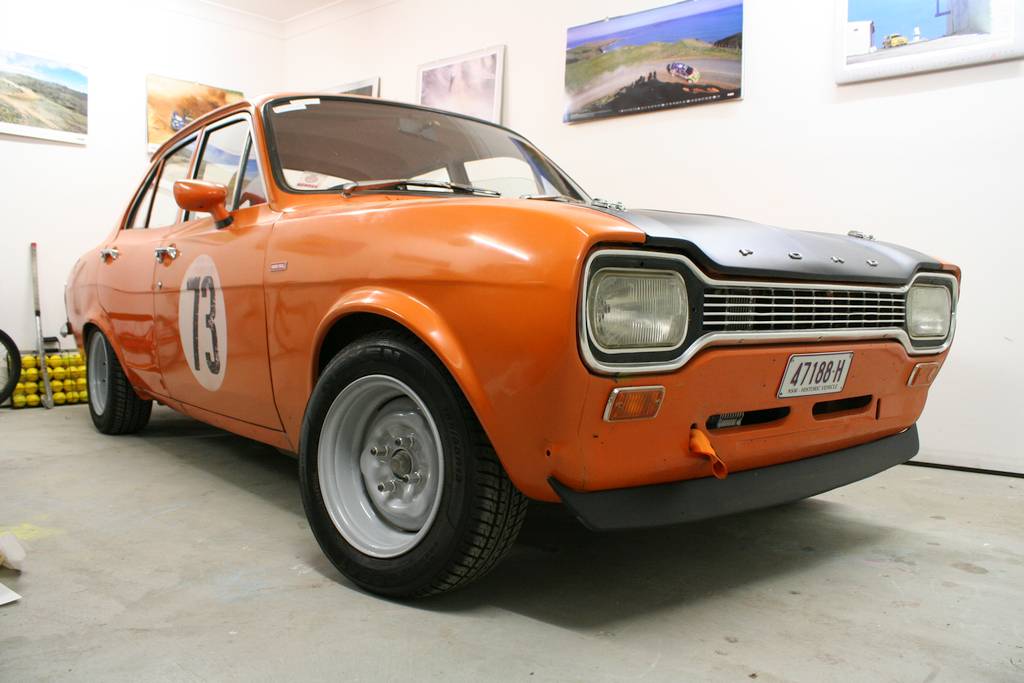
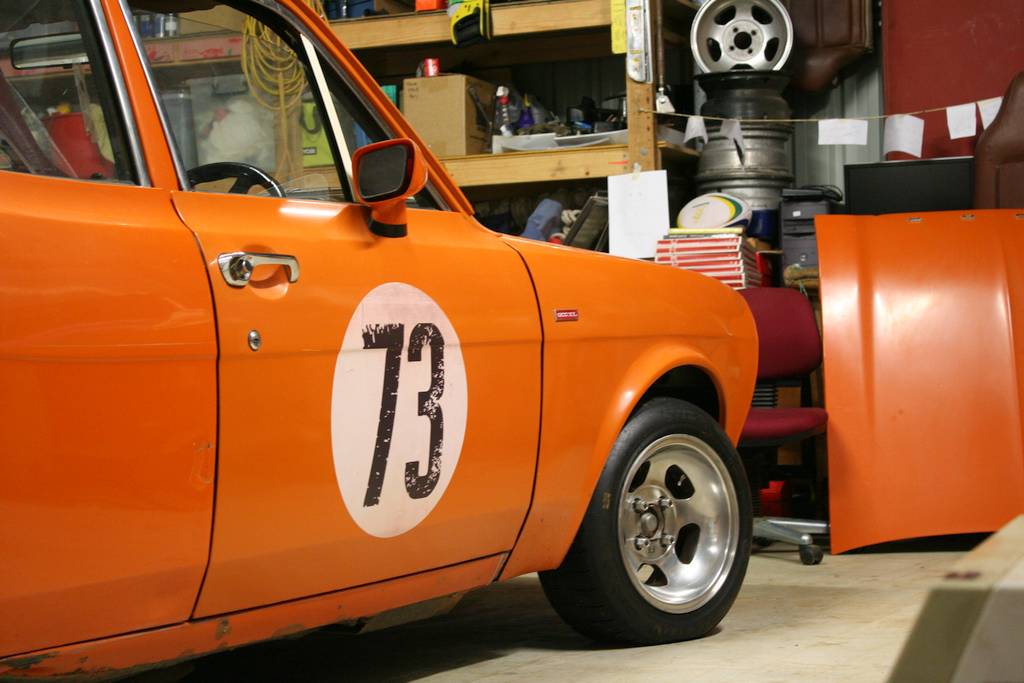
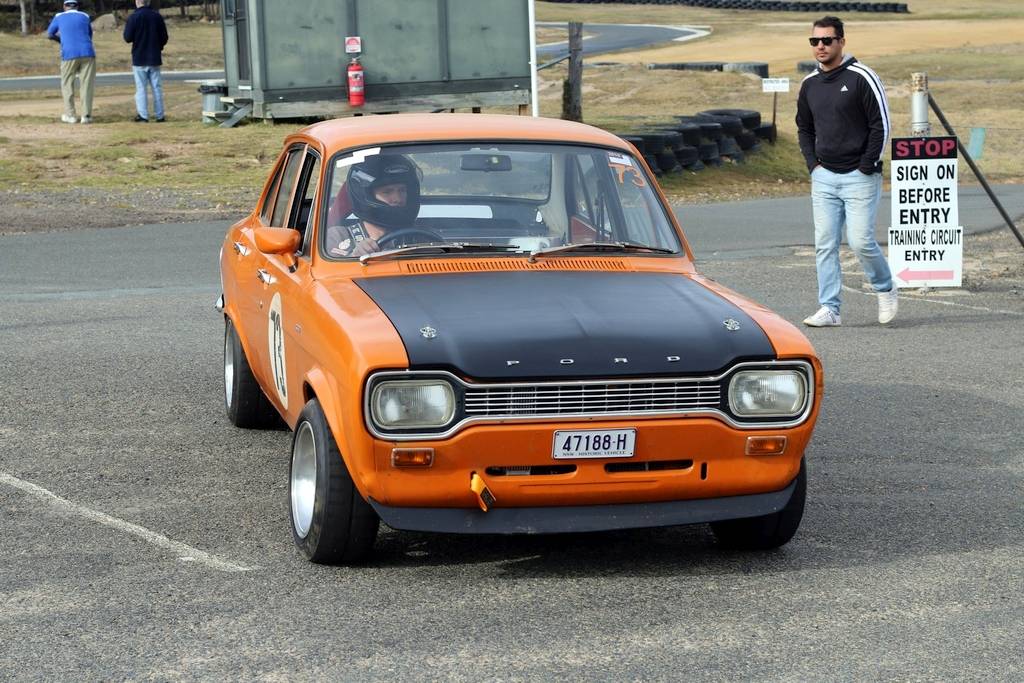
4 May 2016
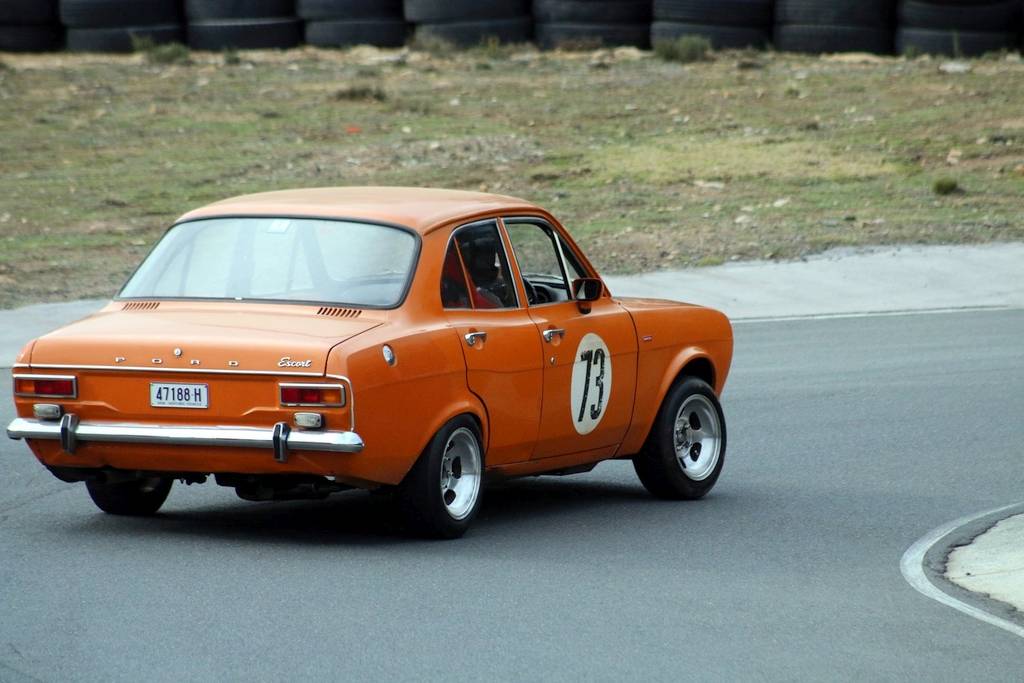
A couple of weeks back I managed to get the bonnet onto the car. Drilled the holes for the pin posts and it was all done. The fit was pretty good too. Need to get a stay onto it so it stays open. Or maybe some gas struts, I've seen that done before. And just for a bit of fun, and cause you always need numbers at the track, I bought some stickers for the doors from the UK. Hopefully number 73 is available where ever I go racing! I watched a few youtube clips, then had a go. they went on well, but I did manage to get a couple of small air bubbles under both sides, even though I was trying to be super careful. A bit annoying, but acceptable. Booked in for the SFCC track day at Marulan on June 26 too. So need to do a couple of other jobs on it before then. Like find more power!
 |
 |
 |
 |
 |
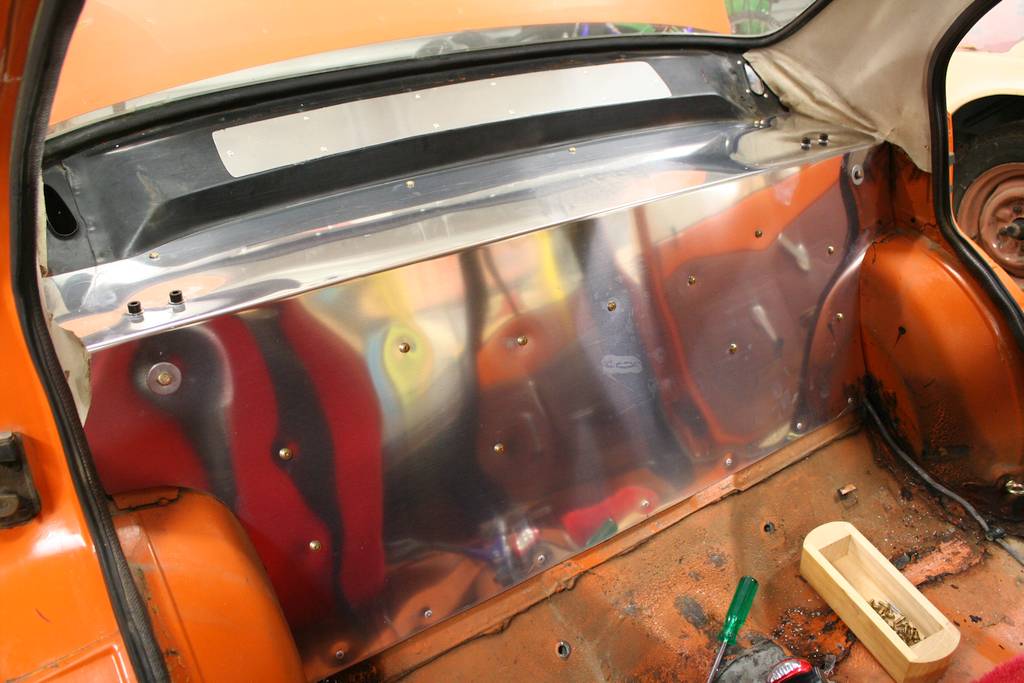
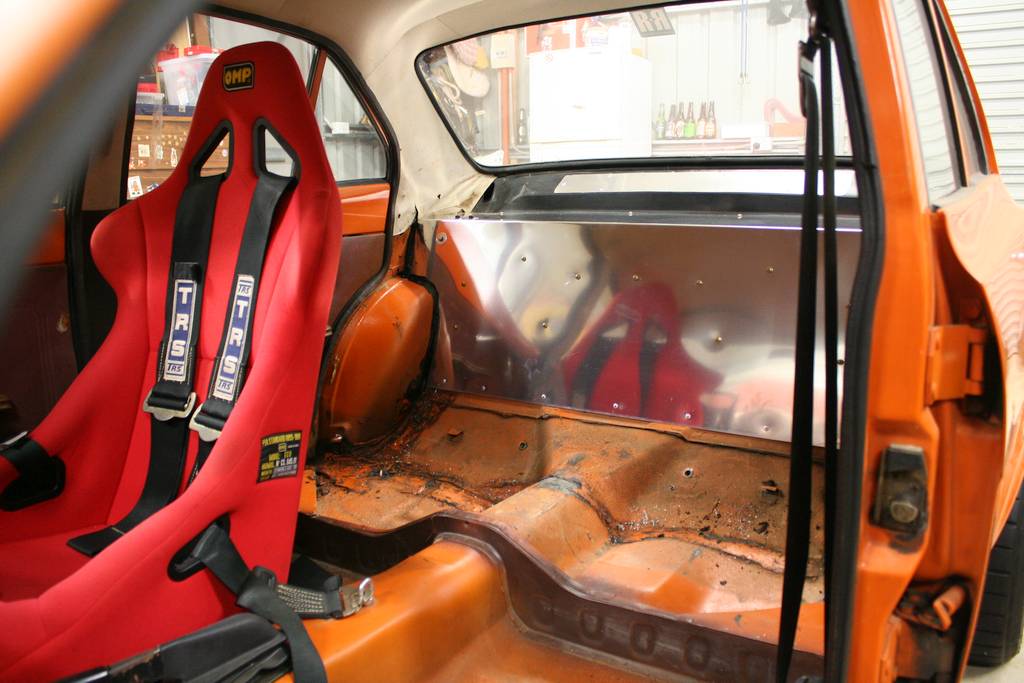
20 June 2016
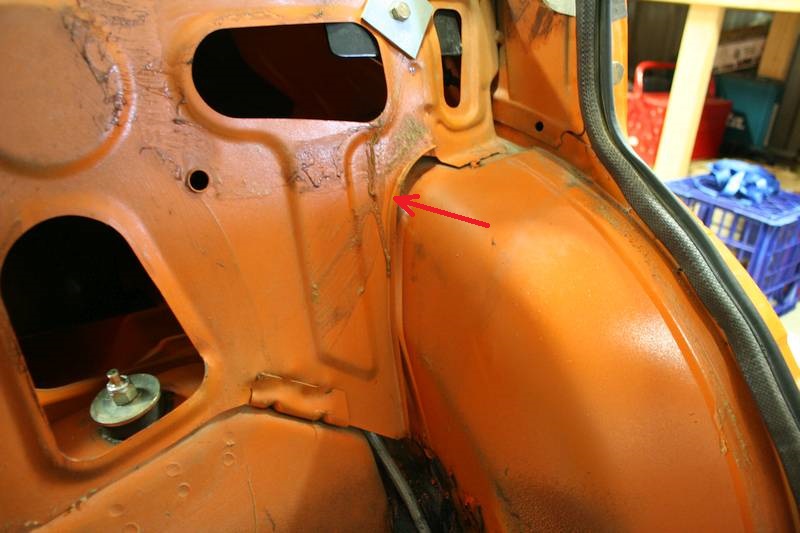
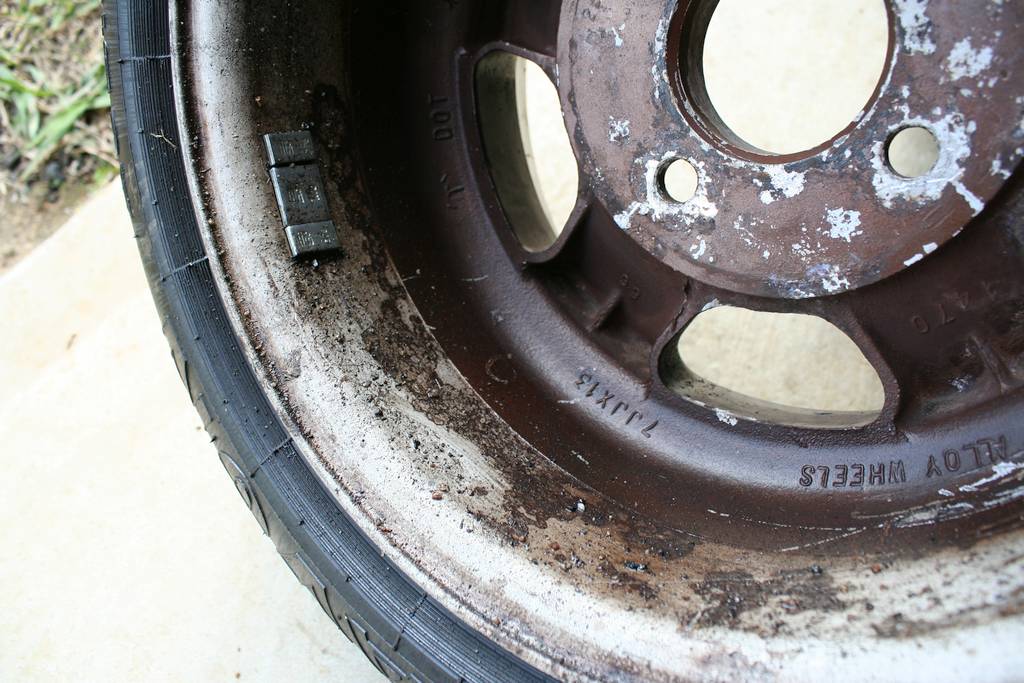
Back in May I finally got around to puling off another front cover and giving it a bit of a tidy up. Wasn't cracked like the first one but didn't come up as tidy. I dropped it back out to Jamie for him to see if he could work his magic on it. I also cleaned up the sump ready for paint, but somehow managed not to take pics of that. Then, with a SFCC track day at Marulan coming up, Matt and I finally got around to fitting the rear firewall. Went in fairly smoothly, there was a bit of pulling where the surfaces we're mounting it on aren't exactly flat, and the harness bar bolts pulled a bit too. But its all good. Just need to drill a couple of holes for the harness eye bolts now. I did the old nut and bolt check while swapping the wheels over. I must have leaks in them, cause all were only around 10psi. Raised the front coilovers up again to try and get a little bit more travel on them. Just need to start it up and give it a rev, and then we're good to go.
 |
 |
 |
 |
 |
 |
 |
 |
 |
 |
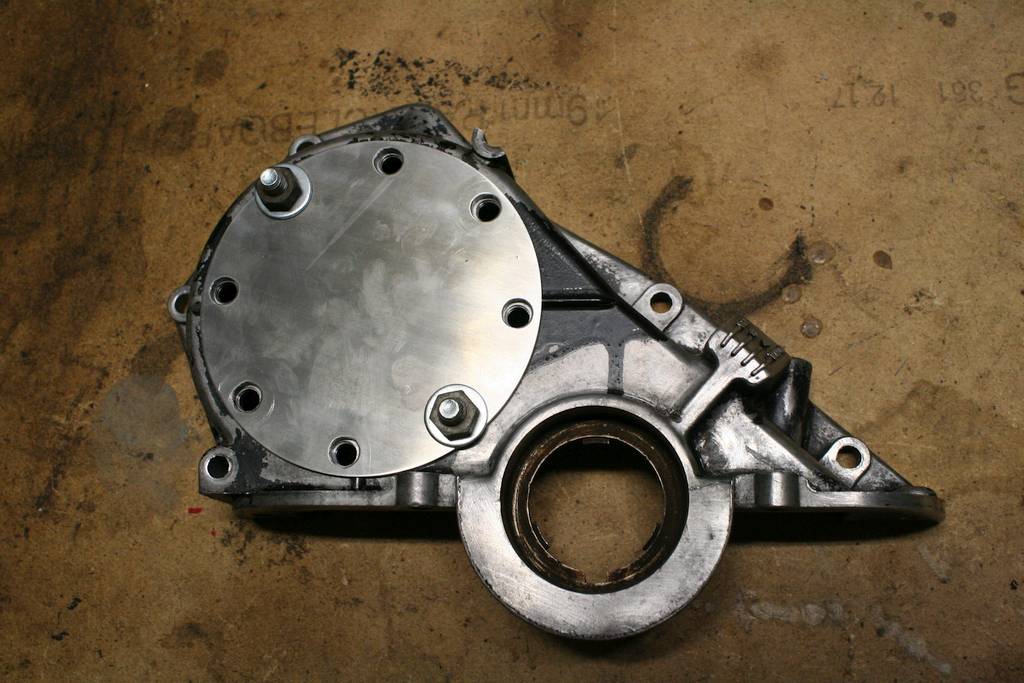
24 June 2016
Jamie rang and said my cover was ready to go. He's done a cracking job on getting it all sorted. Looks spot on. Just need to get some M8 countersunk bolts, spring washers and some new nuts. I'll have to offer it up to the engine to check on the clearance. But its looking awesome so far. Thanks Jamie, you do excellent work and thanks heaps!
 |
 |
 |
26 June 2016
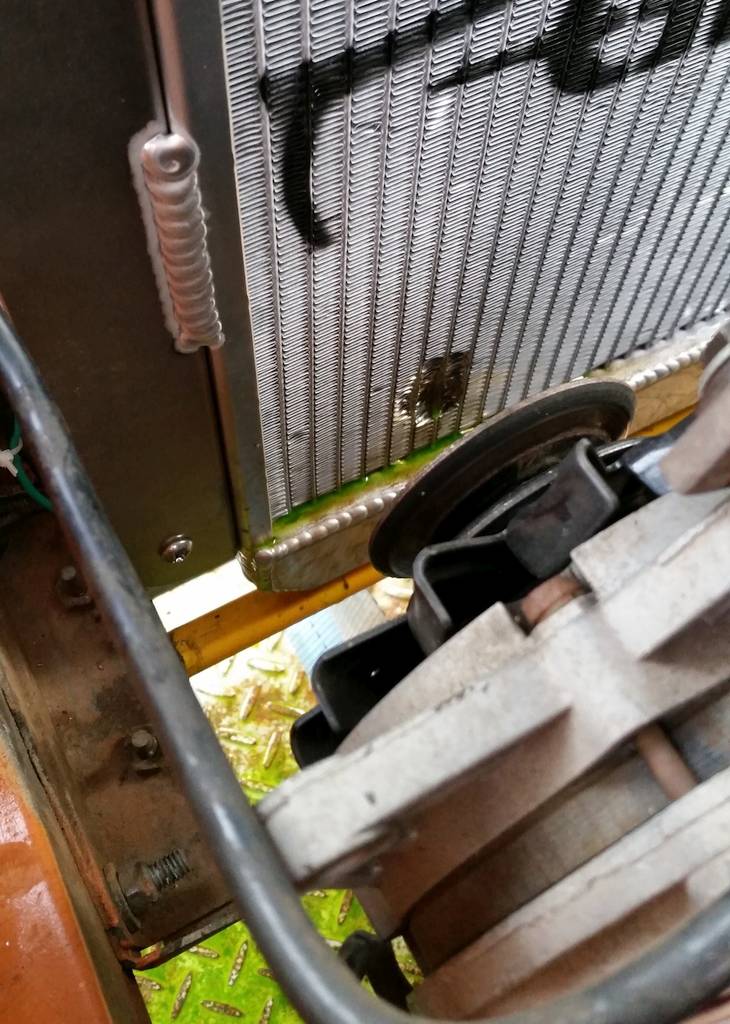
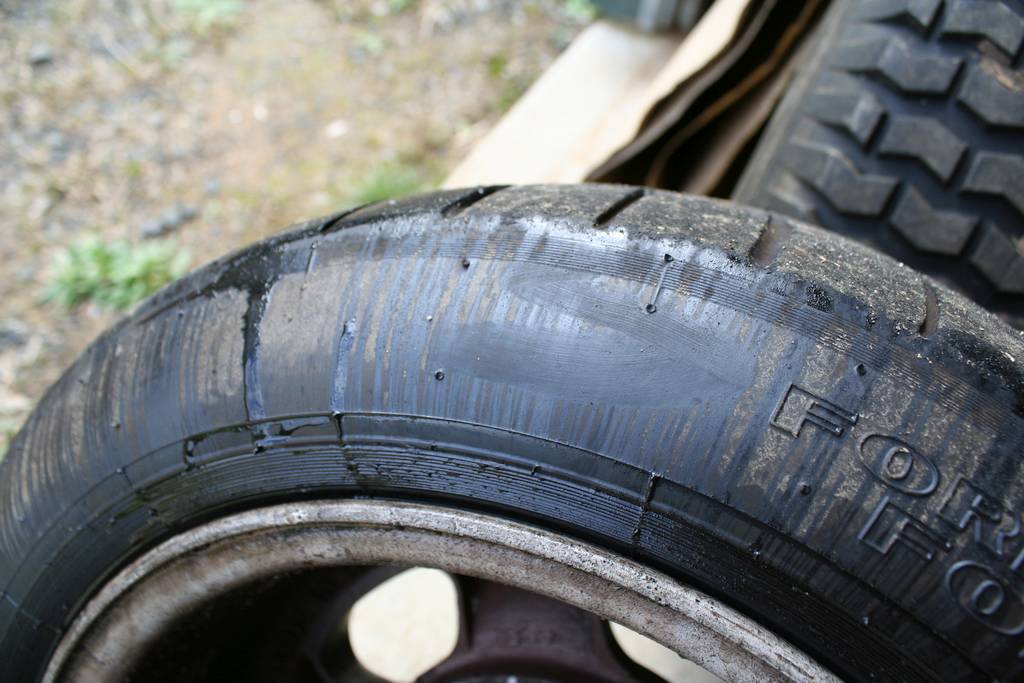
Track day time. Was a late finish the night before. We went out to dinner with the camping crew (no kids) and that kicked on till well after midnight. I was driving, so that made it a bit better. But still had to load the car on the trailer at 1am. Got to bed about 1:45am. Then back up at 6am and away we go. Was a cold start to the day, only -2, but still cold enough for there to be ice on the track. But the day warmed up a little, ice melted (was still a little wet), and we got underway. The day didn't start well though. On my first flying lap I didn't get enough heat into the tyres and diff, and grabbing 2nd at the bottom of the hill it snapped sideways big time, and I wss off into the dirt. The run off is very rough and I thought I must have broken something. Managed to extract the car from the mud and gingerly went back to the paddock. Lucky all was still ok, just a lot of mud in the crossmember. So next time out, I took it very steady for the first couple of laps to get things warmed up, and all was awesome. So stoked with the LSD. It hooks up and pivots the car so nice, and you can just keep getting on the power earlier and earlier. Cracking day, had a ball, I love it how I was driving around laughing my head off. But then on the last session there was a funny little rattle from the engine bay. I didn't think much of it. On the cool down lap I noticed my volt meter was down around 8-10, instead of the 14 it usually is. Pulled in and looking at the wires all was in order. Then I saw the bottom alternator bolt. The nut had come off it and it had worked its way forward and punched a hole in my beautiful alloy radiator. Bugger. Not sure if you can fix them or not. Also noticed I had an exhaust leak, probably from my offroad excursion in the morning, and the rear wheel bearing has strung a big leak again. So a couple of fix jobs to be doing. But a bloody fun day. I probably could have gone a bit more gentle on the car, I gave it a fair bit of curry. But it was just so much fun to throw about the place.
 |
 |
 |
 |
 |
 |
 |
 |
 |
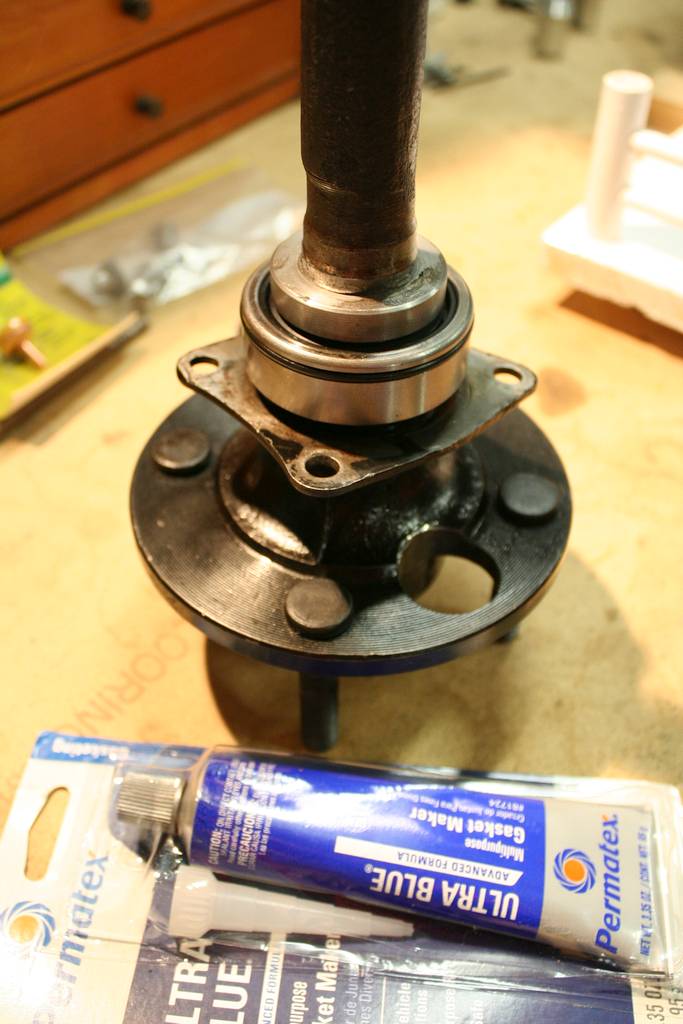
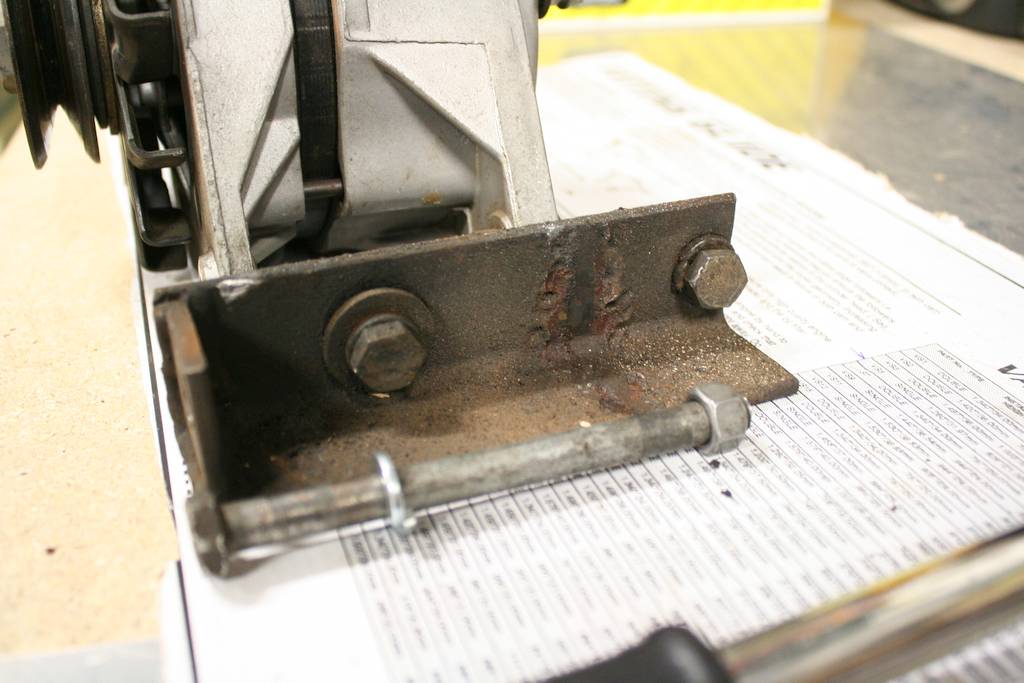
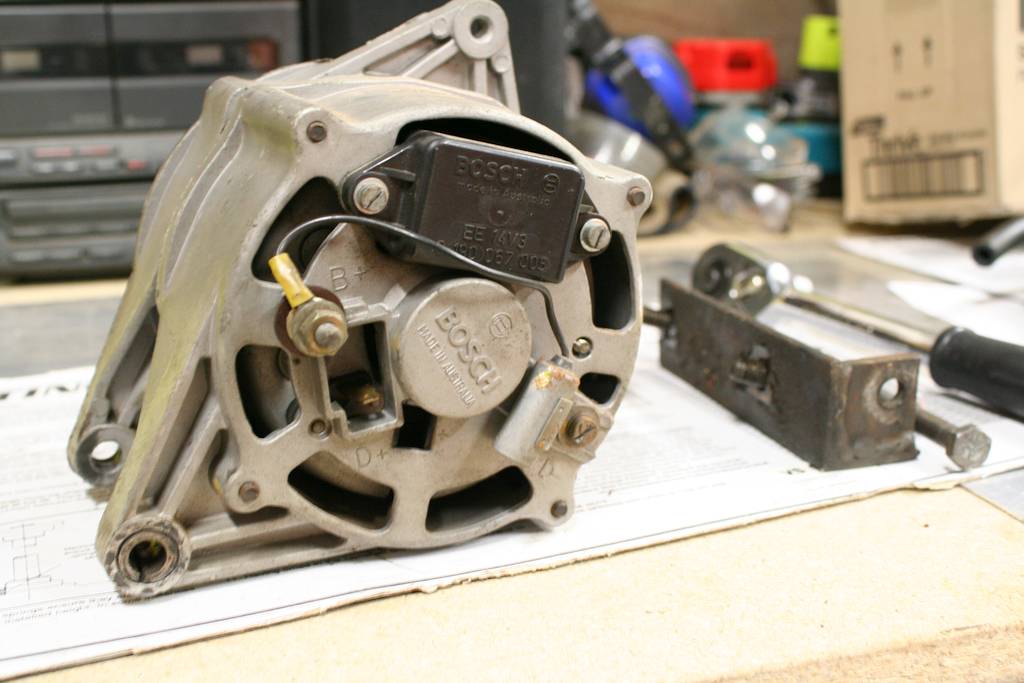
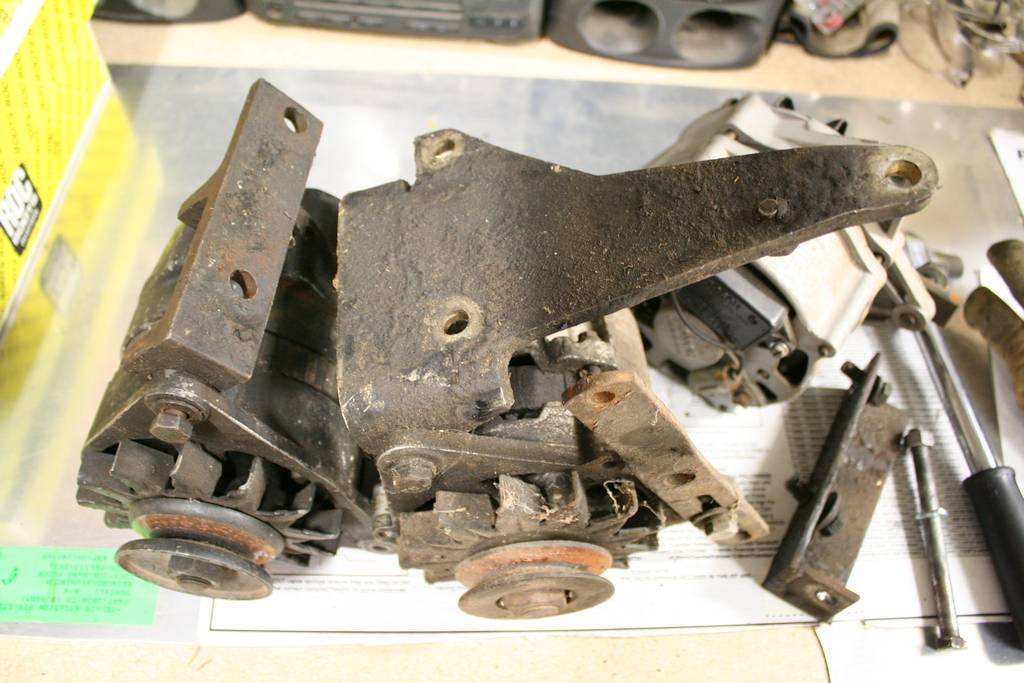
17 August 2016
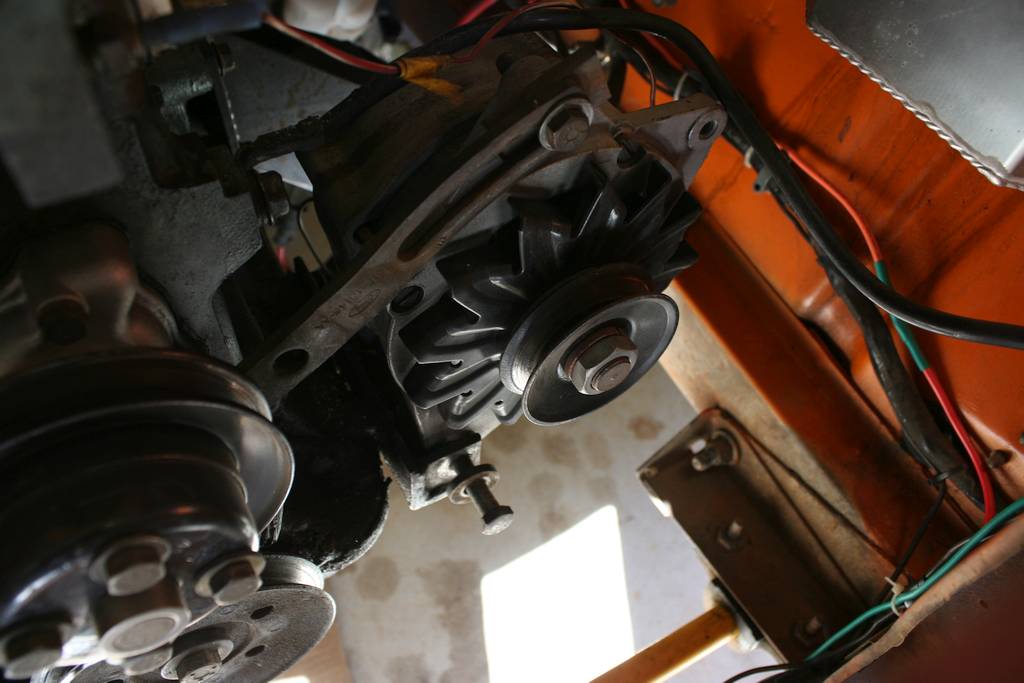
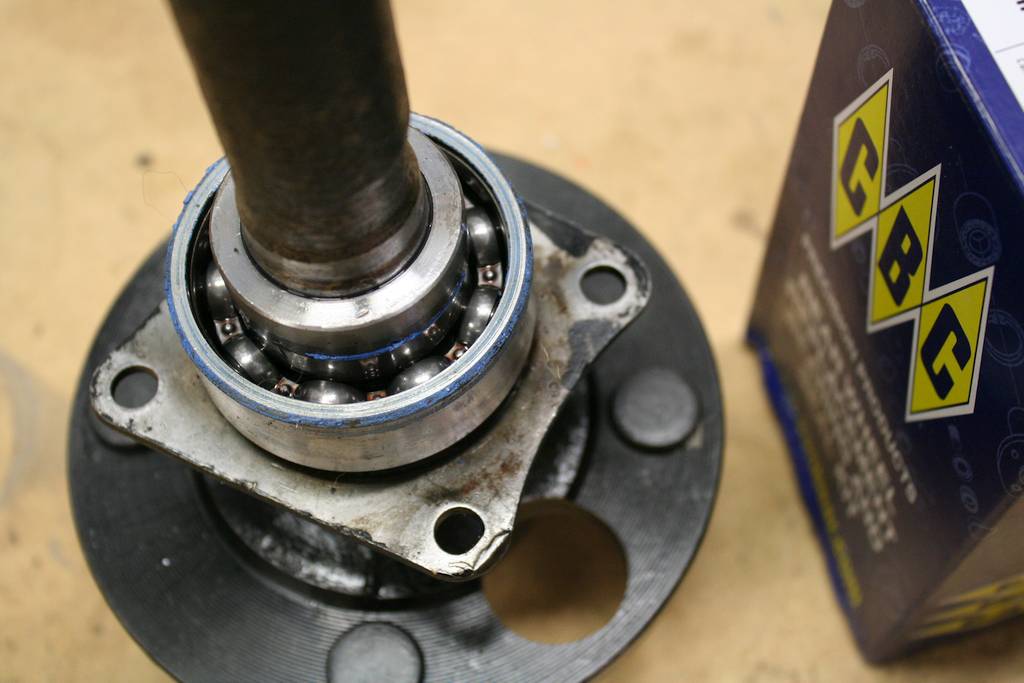
So after the track day I had a few things that needed sorting. Like most things with this car its been a nice slow process. I whipped out the radiator, and have dropped it at a bloke in Bomaderry who is a gun welder of alloy. He's still got it 3 weeks later. Rang him once last week and he hadn't started it yet. Dunno if it will be done now. Then it was the axle leak. Looks like it was a fairly major one with the amount of gunk inside the wheel, and the puddle under the tyre on the floor. But pulled the axle, got a new bearing pressed on in town, and then more blue sticky stuff and back together. I found a new nut for my alternator bolt, and went to put that back in. But still the alternator wobbled. So had a closer look. And turns out its a dodgy home made bracket to suit the bigger Bosch unit, and the welds weren't much chop and have let go. No wonder it fell off. So I dug out some spare brackets, and we'll see what works and lines up. And that's where we're up to.
 |
 |
 |
 |
 |
 |
 |
 |
 |
| < | 1 | 2 | 3 | 4 | 5 | 6 | 7 | 8 | 9 | 10 | 11 | 12 | 13 | 14 | 15 | 16 | 17 | 18 |