|
home |
back |
BANDIT2 | page 4 |

| < | 1 | 2 | 3 | 4 | 5 | 6 | 7 | 8 | 9 | 10 | 11 | 12 | 13 | 14 | 15 | 16 | 17 | 18 | > |
15 October 2009
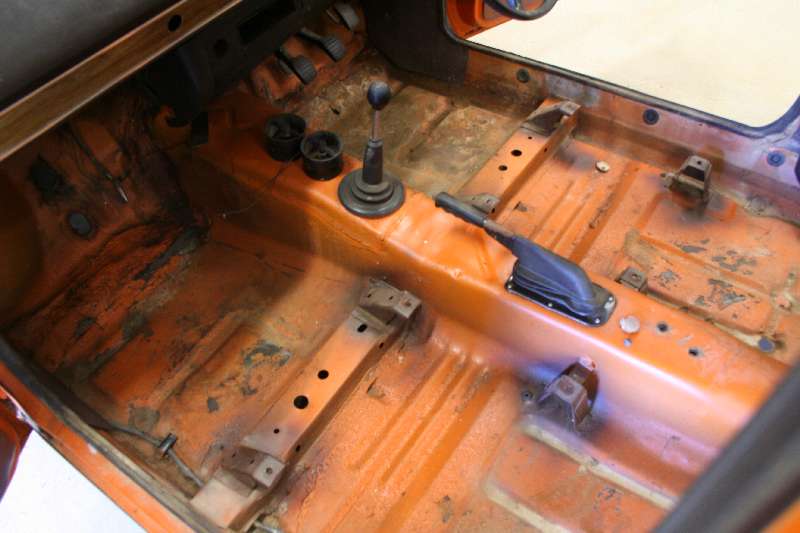
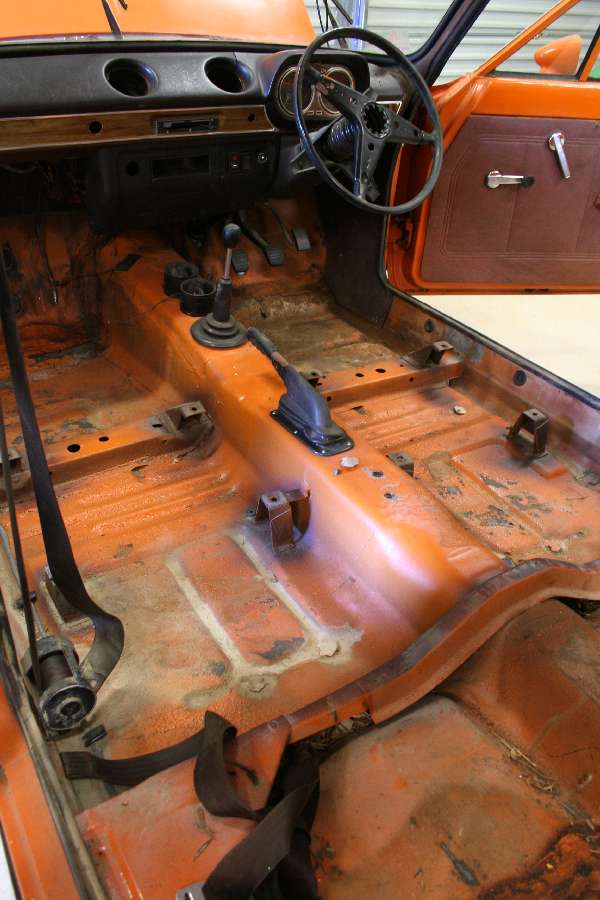
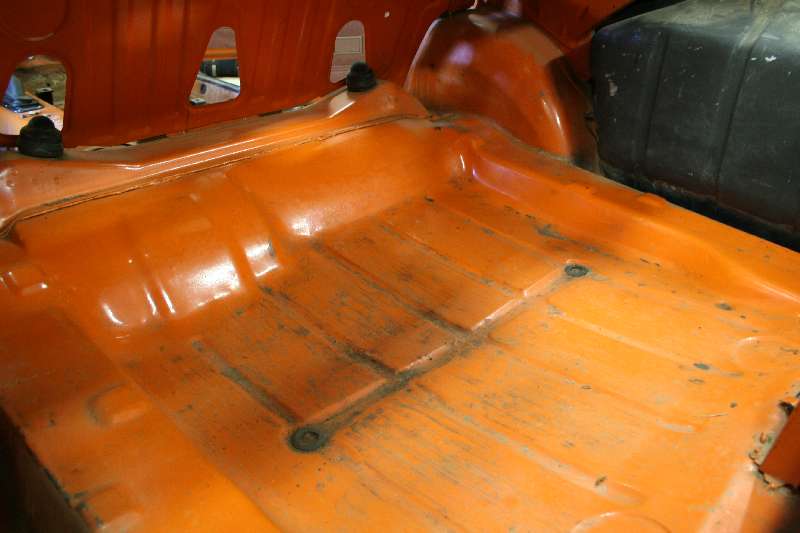
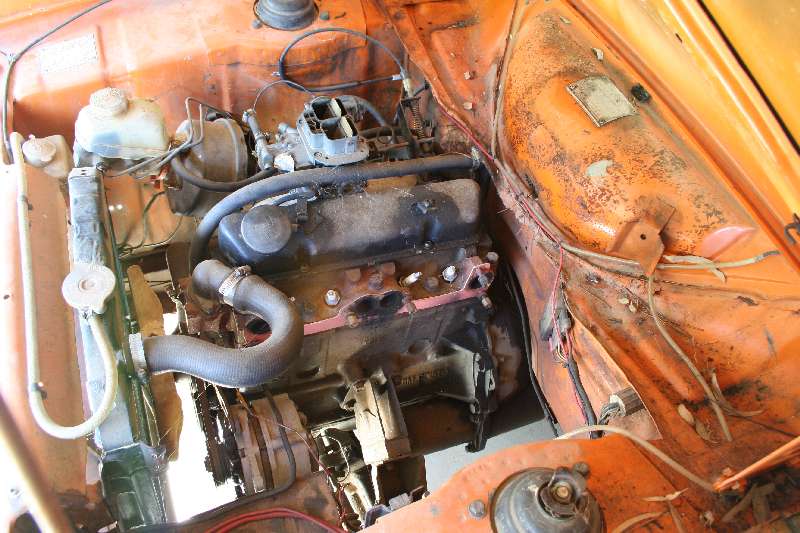
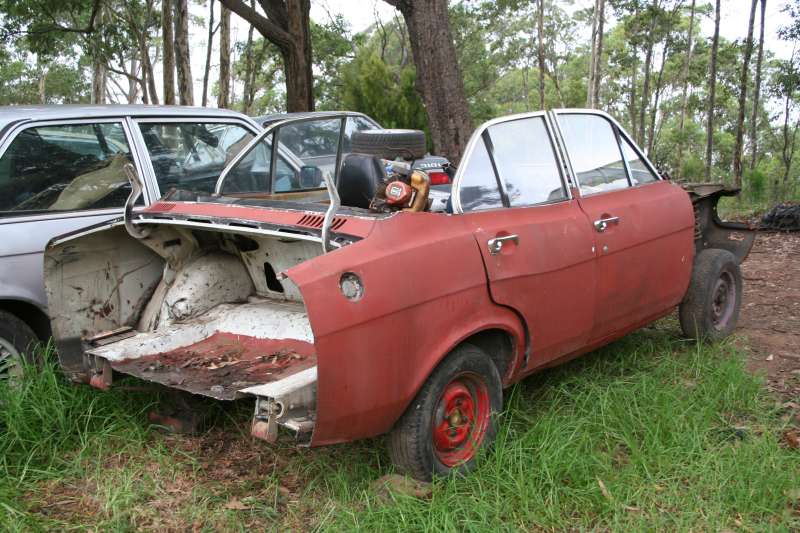
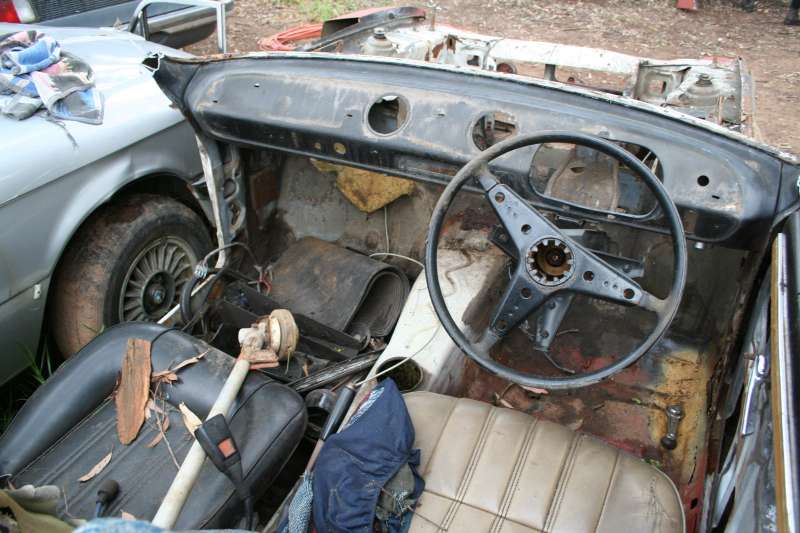
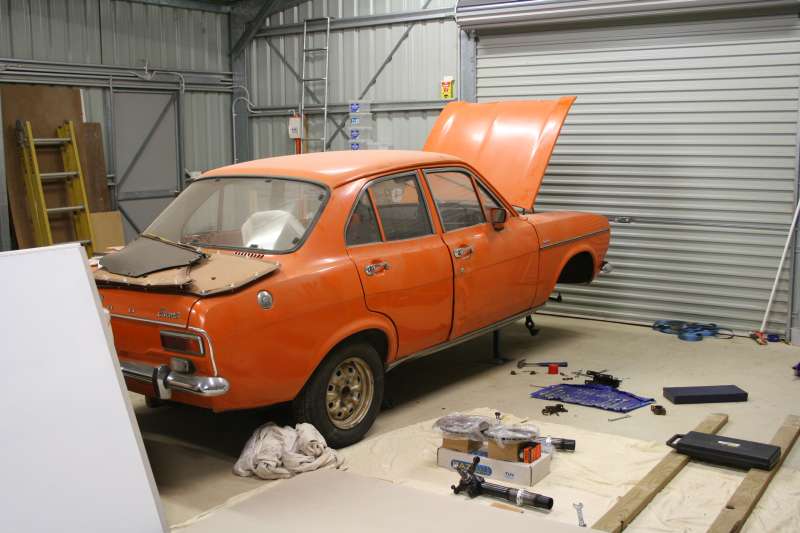
Needed to check how the floors were and get rid of the old carpet from inside, so I pulled all the seats out and ripped up the carpet. It looks really, really good under there. There was heaps of dirt and gravel in there. I was a bit annoyed that I tore the carpet as it came out. With a really good clean and shampoo it would have come up great. I just hope the rats have left my new carpet alone up at Trevs. The boot looked great too. Bit of a rust hole in the bottom of the spare wheel well, but that should be a simple fix. The engine bay still needs some work.
 |
 |
 |
 |
 |
17 October 2009
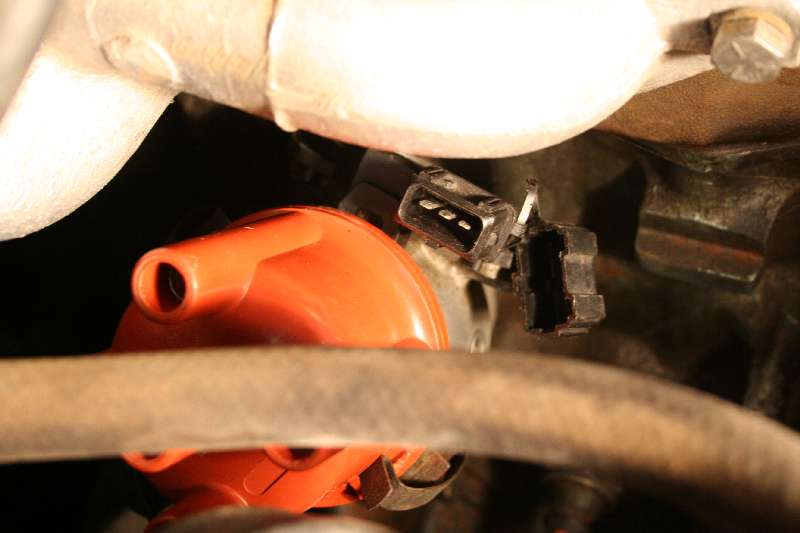
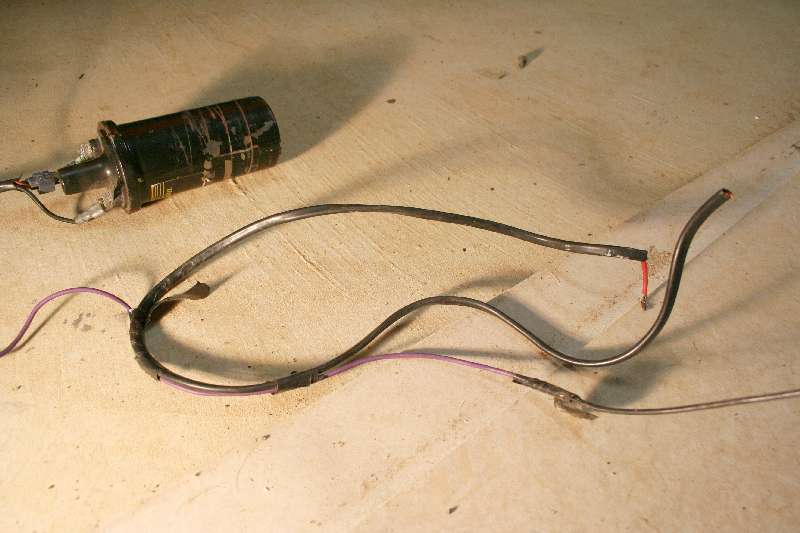
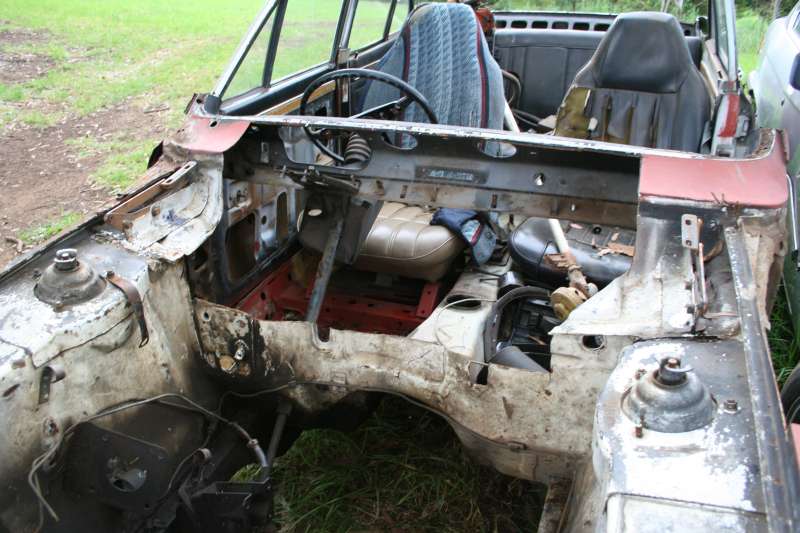
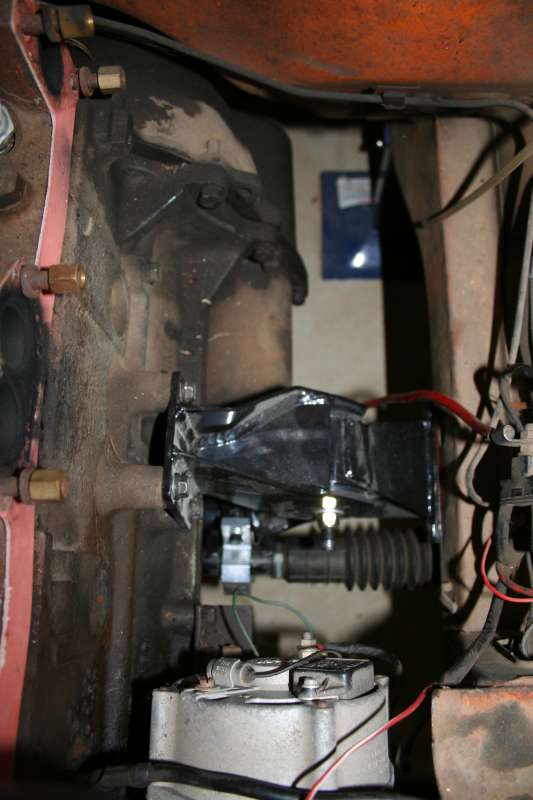
After Drew was hassling me to get the thing running I thought I'd have a go at sticking the distributor in. First up the clamp was missing from the block. Lucky I had a couple of spare engines floating about and one had a spare. The with that on I stuck the distributor in with the vacuum advance pointing rearwards and the rotor arm pointing at number 2 spark plug. And it slid into place beautifully. No idea if its in the right spot. Now I need to work out whats doing with the coil and the wires hanging off it. I have no idea where they go, except for the 3 pin one.
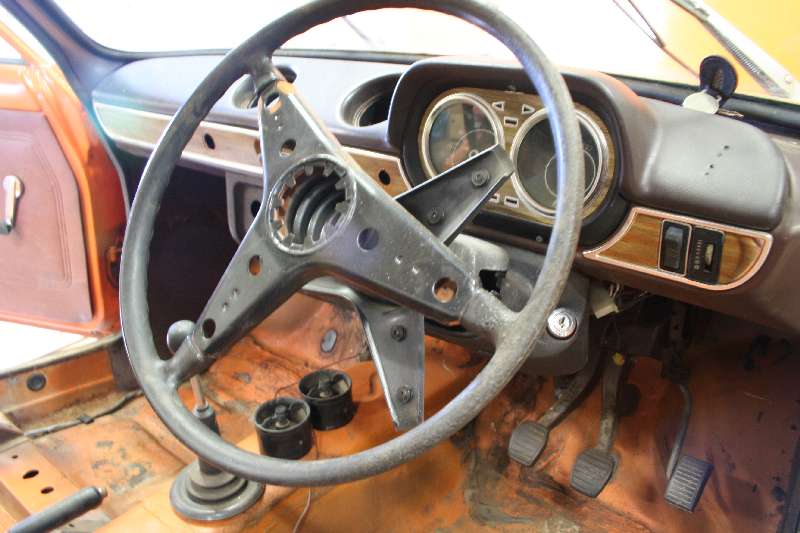
One thing is for sure though, that brake booster has got to go. Horrible thing that just gets in the way. Hopefully my Subaru Leone master cylinder will sort that issue.
 |
 |
 |
29 October 2009
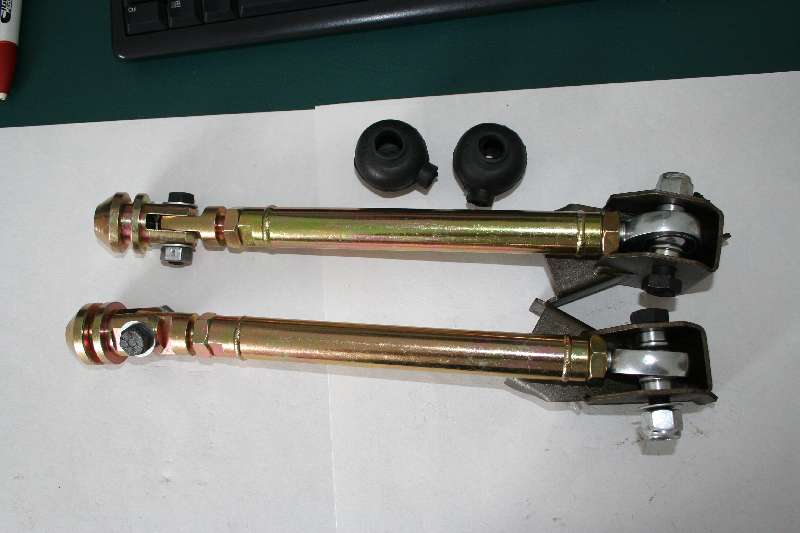
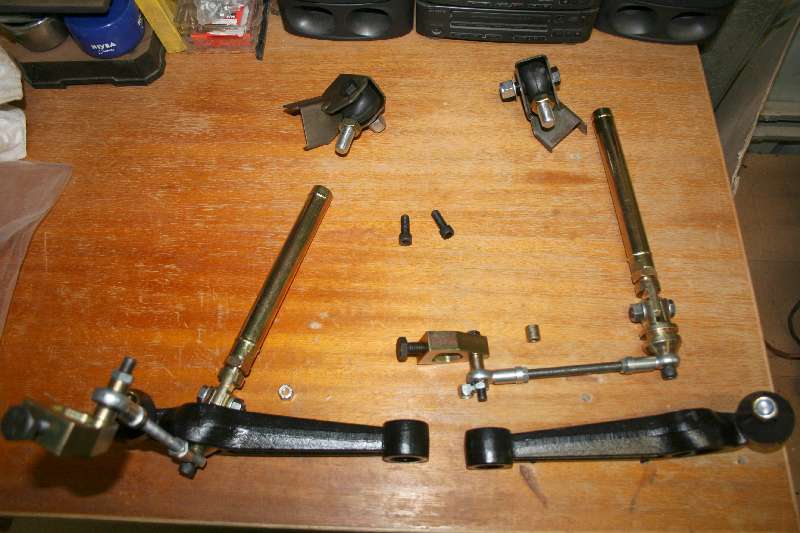
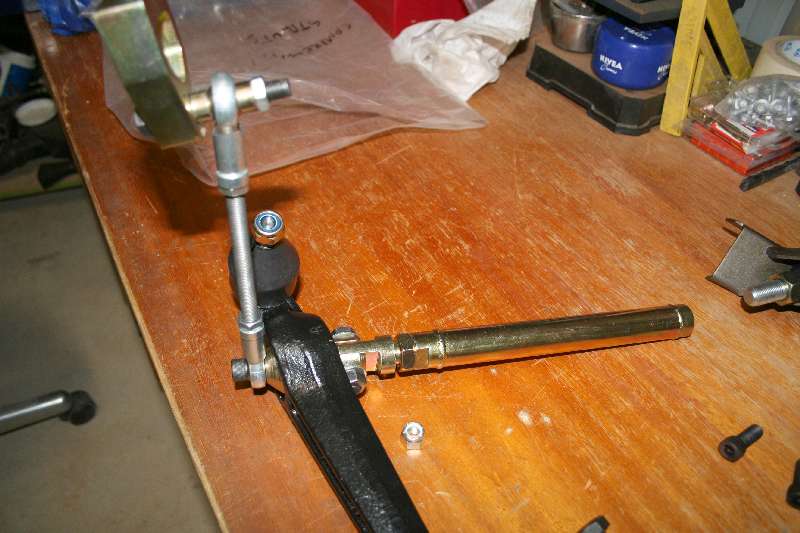
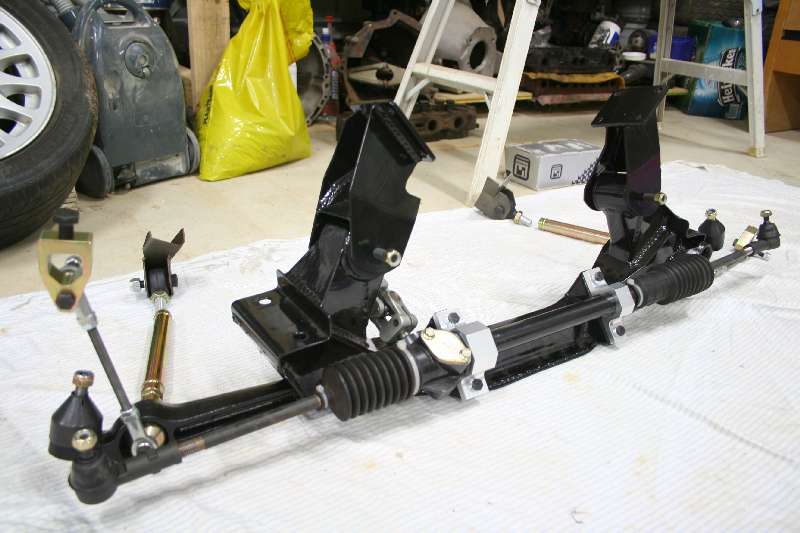
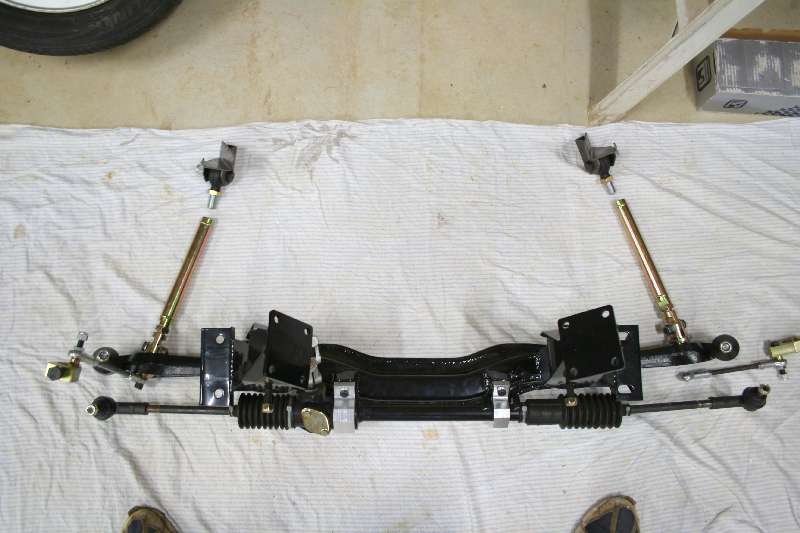
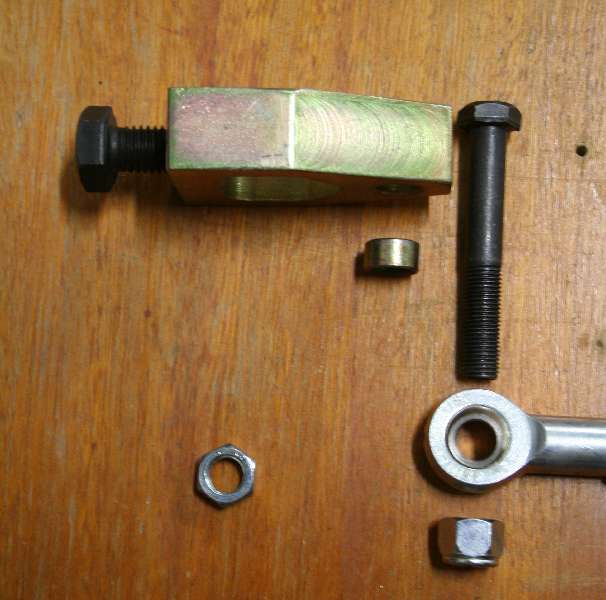
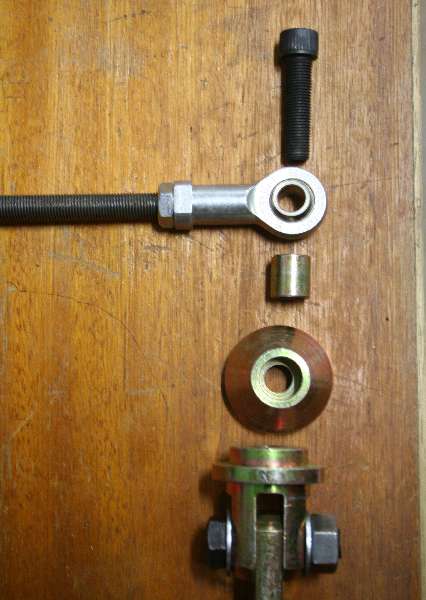
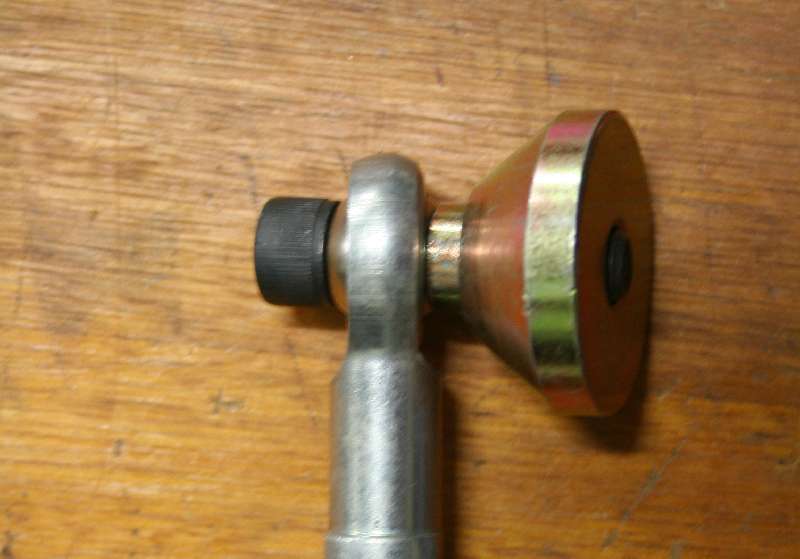
I've been playing around with the compression struts and drop link kits. Got all the nuts and bolts out of the packets and put them together. Took a few emails due to the lack of instructions about how it all fits together and where all the bolts/spacers/nuts go. Think I got it sussed in the end. Although the drop link will have to be shortened as its actaully for a Sierra. As it is now the ARB will not hook up cause it would hit the chassis. I've also put the anti dive kit together and sussed out the world cup crossmember too.
 |
 |
 |
 |
1 November 2009
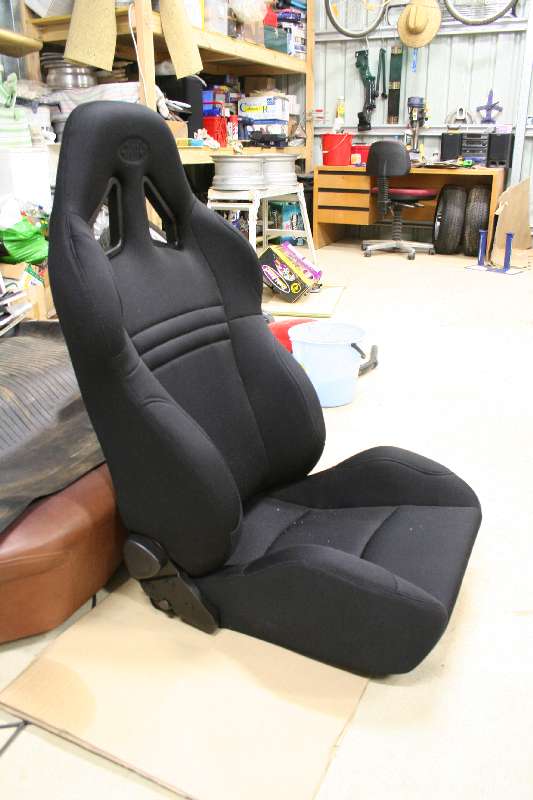
Found a seat on ebay too. Didn't think I had much chance cause it was a brand new one. I ended up being the only bidder and got it for $100. Well pleased. Pete was tops and went and picked it up for me on his way down here. Fits nice and snug, although I'd better lay off the pies, Its a tight fit around the rear end!
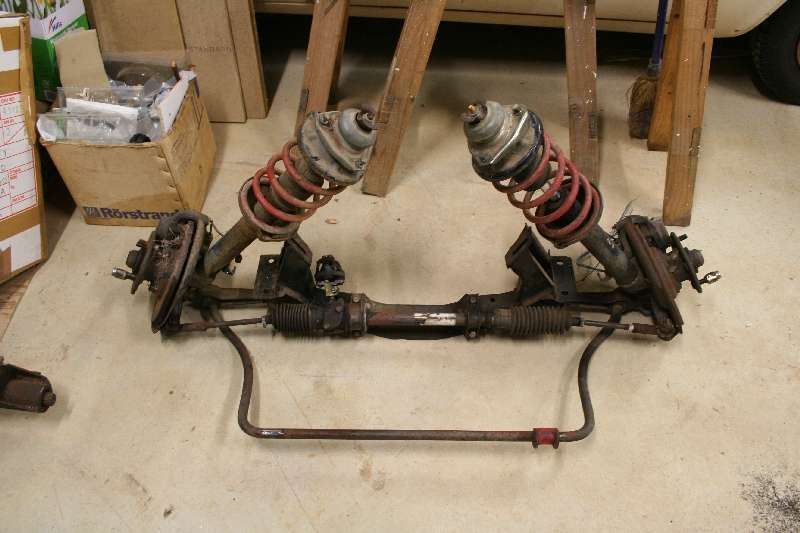
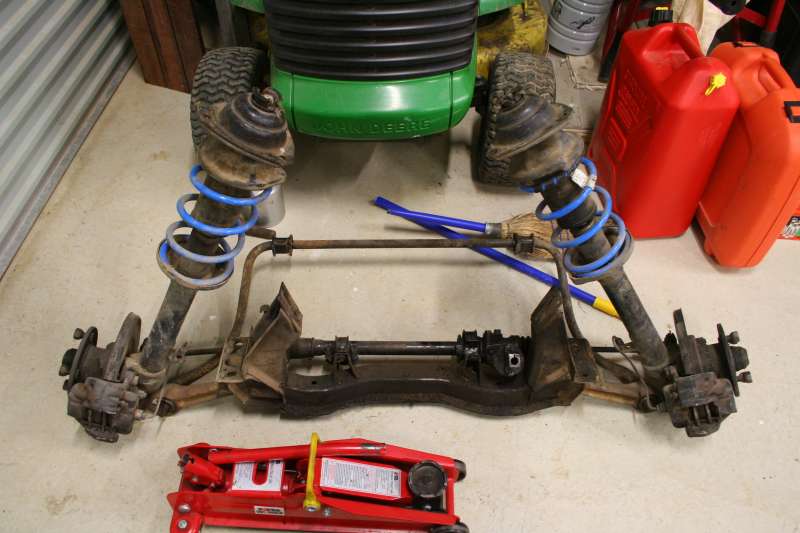
And on Sunday Pete and I found a spare hour (after installing the hoist in Trevs shed) and we managed to rip the front end out of the blue Mk2. It all came out neat, although I think every bolt and nut was a different size. And we forgot to disconnect the brake lines. Not to pull it all apart and sort the struts.
 |
 |
12 November 2009
Finally got to town and bought a bunch of bolts that I needed. So threw together all the new front end bits. Just waiting on a couple more longer bolts for the compression struts, and some inner TCA poly bushes. Then it'll be out with the old, in with the new for Bandit2! I also got some stainless screws to attach the steering wheel to the boss. Its a mk2 boss so now I also need to grab the steering column from the blue car.
 |
 |
16 November 2009
Couldn't find the right length bolts for the compression struts in town. The ones they had were too long. The ones in the kit really should have fitted properly the first time. So much for "bolt on" mods!
 |
 |
 |
17 January 2010
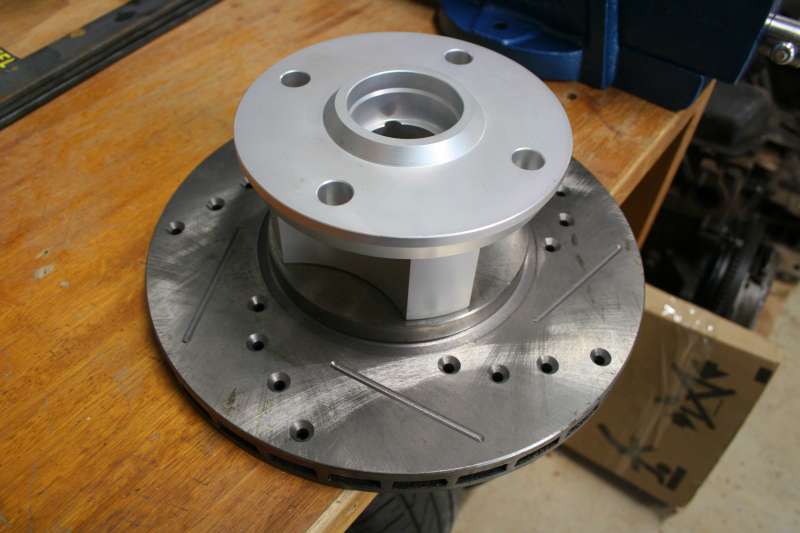
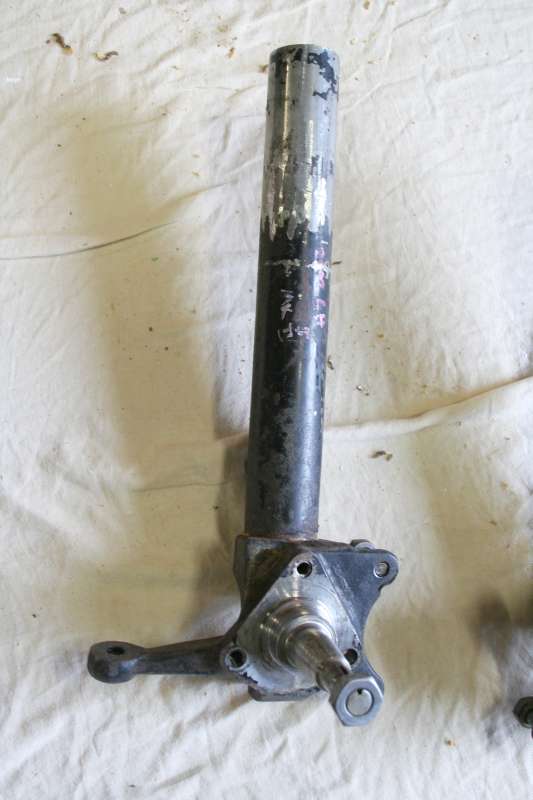
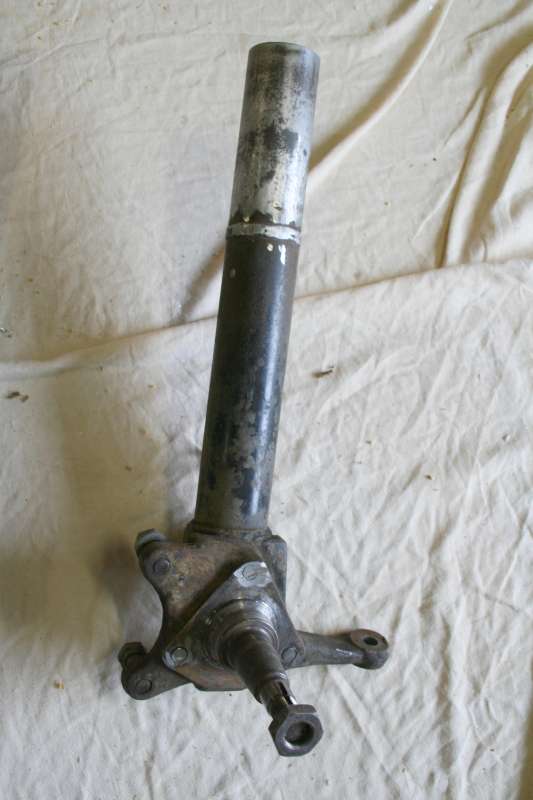
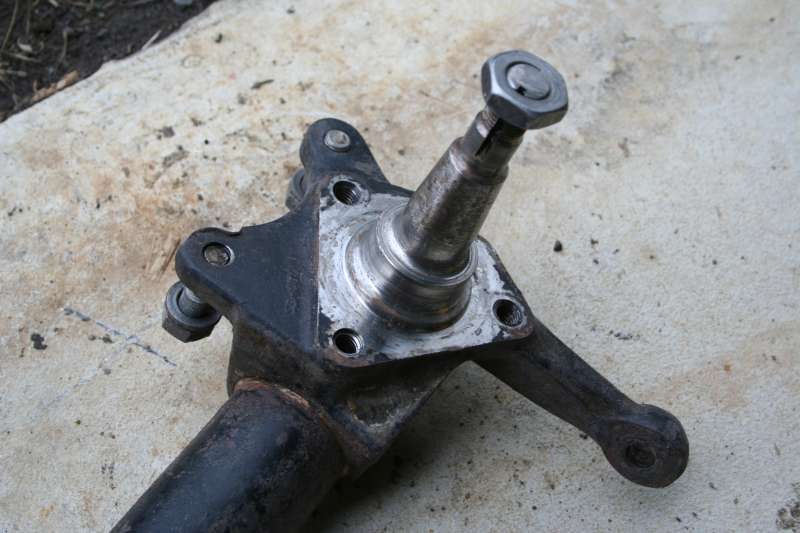
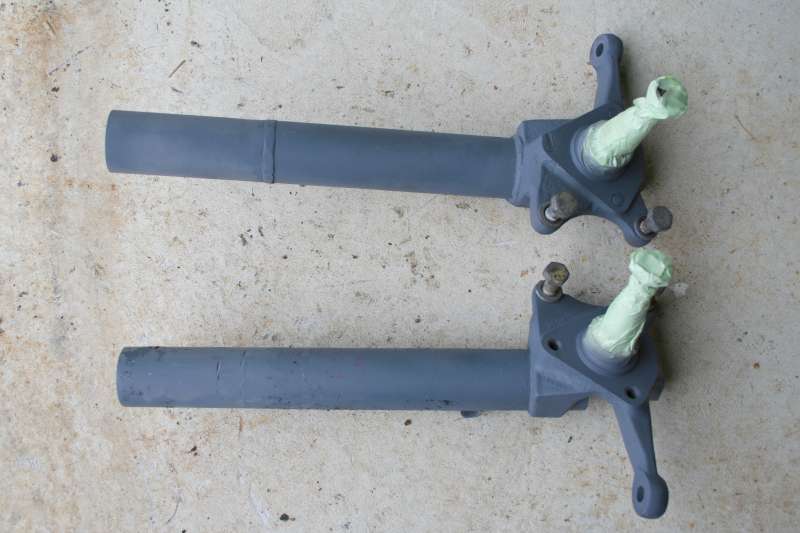
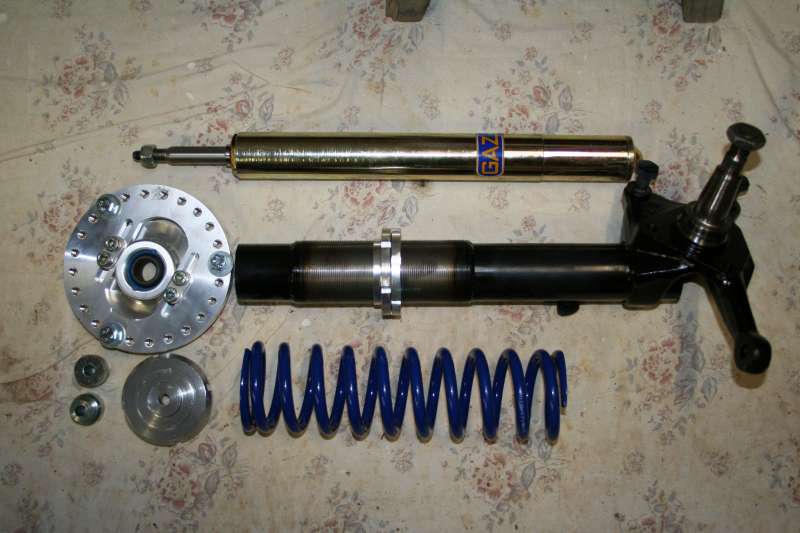
I got some bolts to attach the brake rotors to the new hubs. Had to shorten them all by 10mm so they'd fit. But they're all good now. Just need to get the wheel studs pressed into the hubs and get some bearings and we'll be good to go with the round bits. I also stripped down the struts, got the angle grinder out and cut the spring seats off, degreased them and gave them a coat of primer to stop the rust getting them before I play with them next time. Looks like one of them has had some sort of repair before. I hope that won't be an issue. I can get the coilover sections on now, just need to find someone who can weld them on for me. I doubt my welding skills would cut it under big suspension loads!
 |
 |
 |
 |
 |
 |
 |
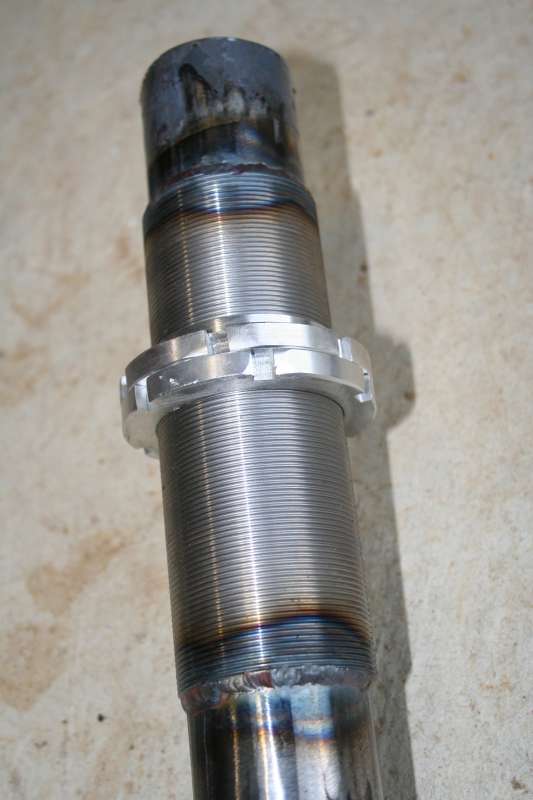
25 January 2010
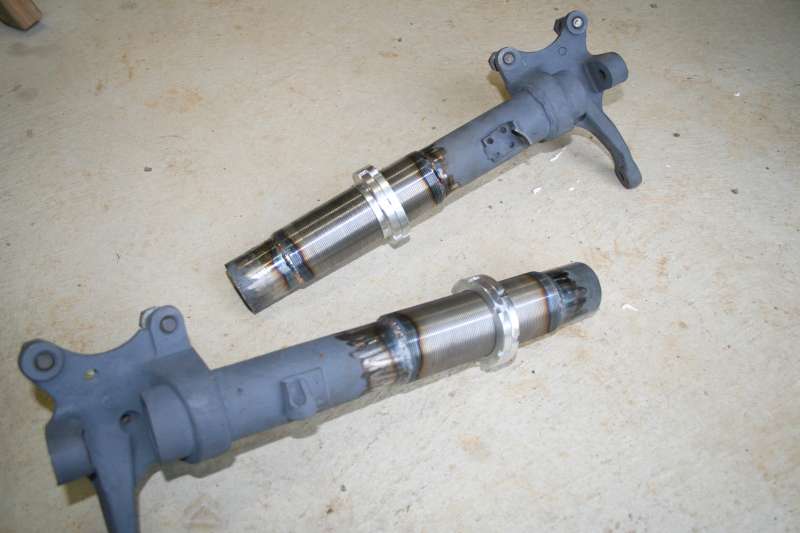
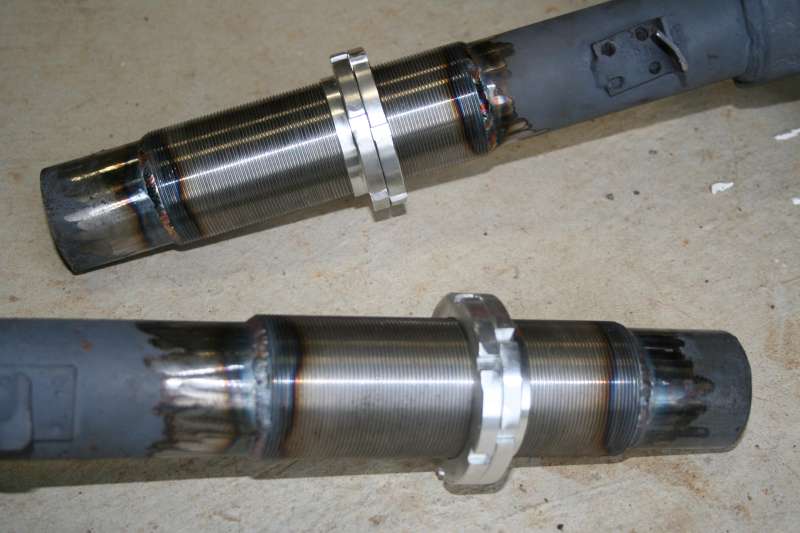
Dropped the struts at a welders on Thursday afternoon. Saturday he rang and said they were ready. I'm very happy with the results. They look really neat. I'll whack some paint on there and then they're ready to go.
 |
 |
 |
30 January 2010
Bit of a sad end for old Bandit1. Al from the SFCC needed some panel bits and pieces so came down with his big angle grinder and cut them off. While he had it there I got him to chop the roof off for me to keep. Few more little bits to grab and then she can be on her way.
 |
 |
 |
 |
 |
16 February 2010
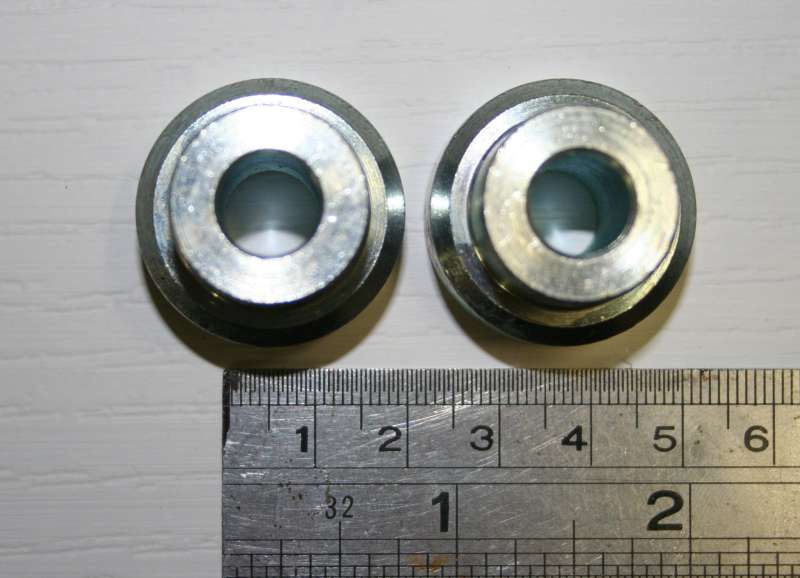
After picking up a few more bits as SFS in Melbourne I think I've got everything to put the front struts together. I need to get the top hats and spacer holes taken out to 16mm like the strut shaft. And I tried getting the new nut into the top of the strut tube, but its a real tight fit and I didn't want to force it in case I stripped the thread. Dunno what's doing there.
 |
 |
4 March 2010
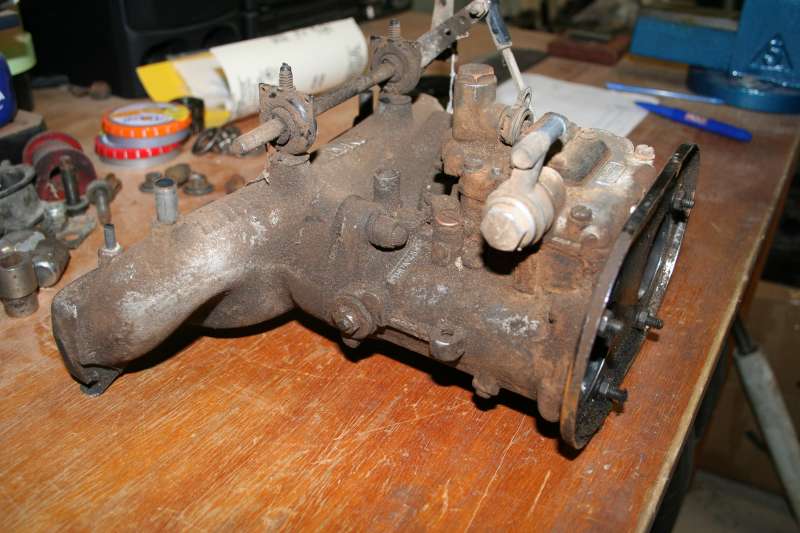
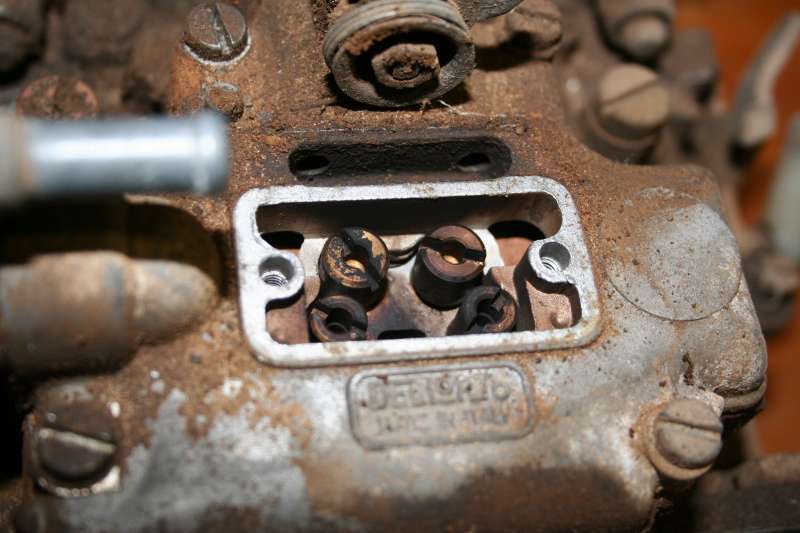
Found a bloke on ebay selling a rebuild kit plus jets for a DHLA, so I dragged the old 45 out of its box to check the choke sizes. Needs a bit of a tidy up, but eventually it'll go on the engine that will have all the good bits on it.
 |
 |
7 March 2010
Carlyn actually gave me some time to go spend on the car this weekend, so from 3:30 on Sunday arvo I could have some shed time. I thought I'd try and get the front end in, so started by pulling the old one out. I used a trolley jack and a piece of timber and a ratchet strap to hold the engine and gearbox while I dropped the old one out. It came out smoothy, with the usual swearing at bolt that were near impossible to get a spanner on. Then the world cup cross member went back on no troubles and I got the engine all mounted back up.
 |
 |
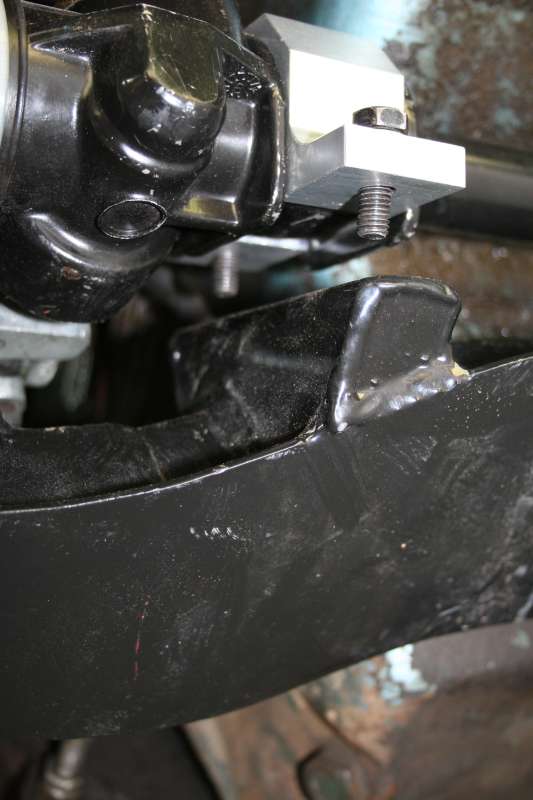
So then I thought I'd chuck the anti drive kit for the ARB on. But of course I didn't have bolts that were long enough. So I tried sticking the new steering rack on. The steel steering knuckle slid on nice, but I was buggered if I could get the rack mount bolts in. Its like the mounts are too low on the cross member. Not sure if I've somehow got a lowered rack cross member. Need to have another fiddle and play with it. So I gave up on that and chucked the new track control arms on. Easy one that.
 |
 |
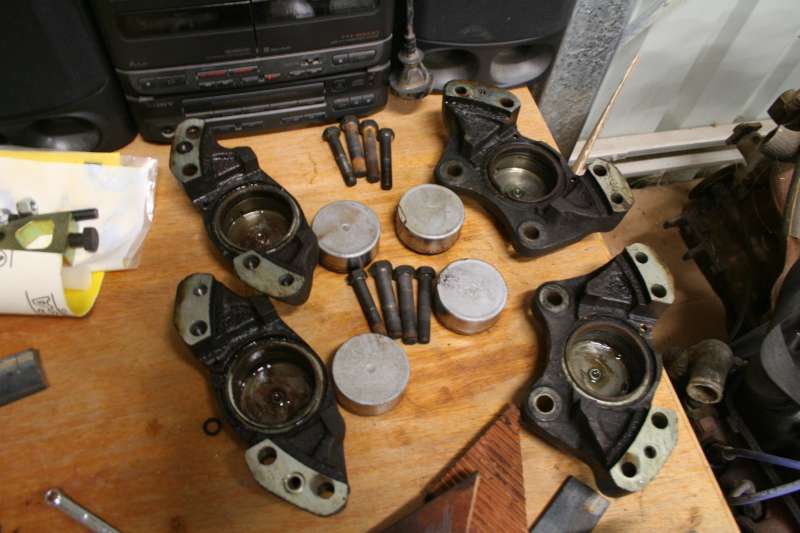
Next up, I thought I'd have another go at getting the front struts together. Tried again to put the gland nut in, but there is something wrong with the thread in the top of the tube. I stopped before I wrecked everything. So instead I went and pulled the M16 calipers apart ready to clean up and rebuild. Thankfully they came apart nice and easy. Cleaned most of the gunk off them, but they need a good cleanup with the wire wheel.
 |
 |
| < | 1 | 2 | 3 | 4 | 5 | 6 | 7 | 8 | 9 | 10 | 11 | 12 | 13 | 14 | 15 | 16 | 17 | 18 | > |