
| Towrota by Drew | page 3 |
| < | 1 | 2 | 3 | 4 | 5 | 6 | 7 | 8 | 9 | > |
19 November 2007
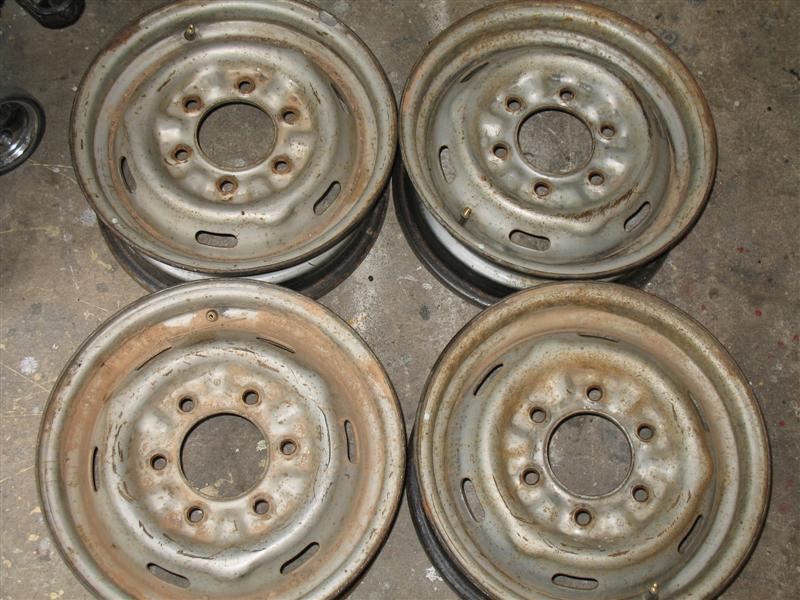
Bought these rims today for $10 for the set. The idea is to sandblast them and have them repainted in the same light green colour as the ute itself. I would then run B2000 hubcaps and maybe even have a small whitewall similar to the picture below.
 |
 |
 |
10 December 2007
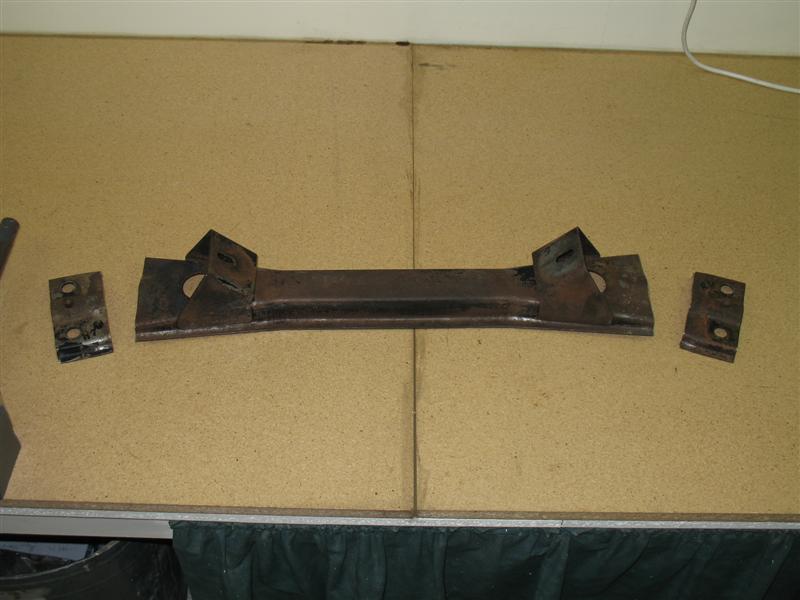
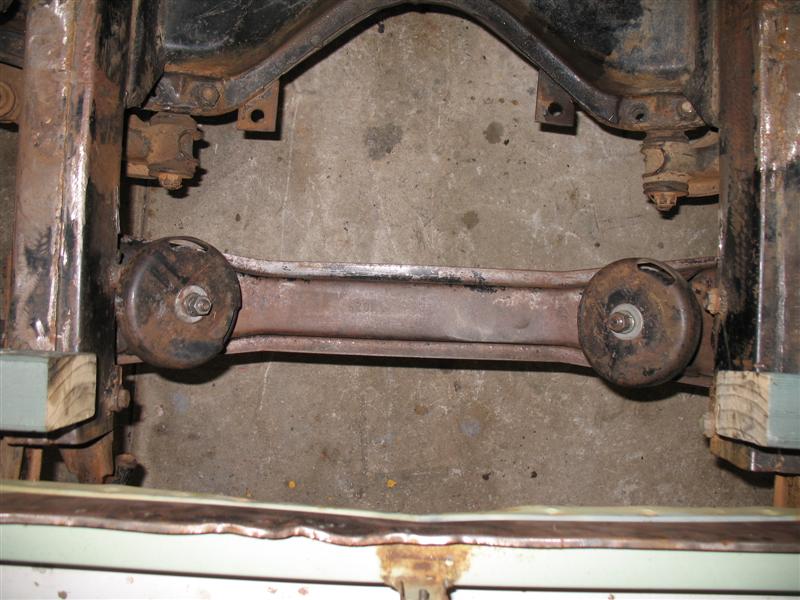
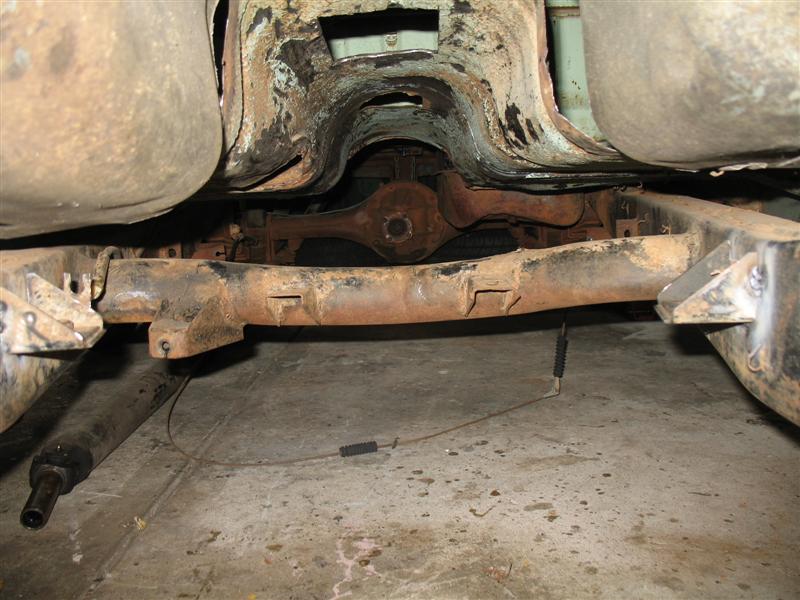
The RX4 crossmember from the donor 929 had to be cut down to fit neatly against the chassis rails of the B1500. Approximately 45mm was taken from each end and the slightly raised section on each end had to be flattened to ensure a neat, flat fit against the chassis. New holes also had to be drilled into the crossmember for mounting. Pics show the ends cut off and the modified crossmember installed. Gearbox mounts from the donor B2000 were also used. The gearbox mounts had to be shortened slightly and new holes drilled.
It was then time to start sorting out the missing firewall/tunnel section. From the donor B2000, a section of its firewall/tunnel was used to start matching up to the hole in the B1500. A gradual process of measuring to fit, then cutting some more out, then remounting then took place. This process was repeated many times to get it as close as possible to original.
 |
 |
 |
 |
.jpg) |
14 December 2007
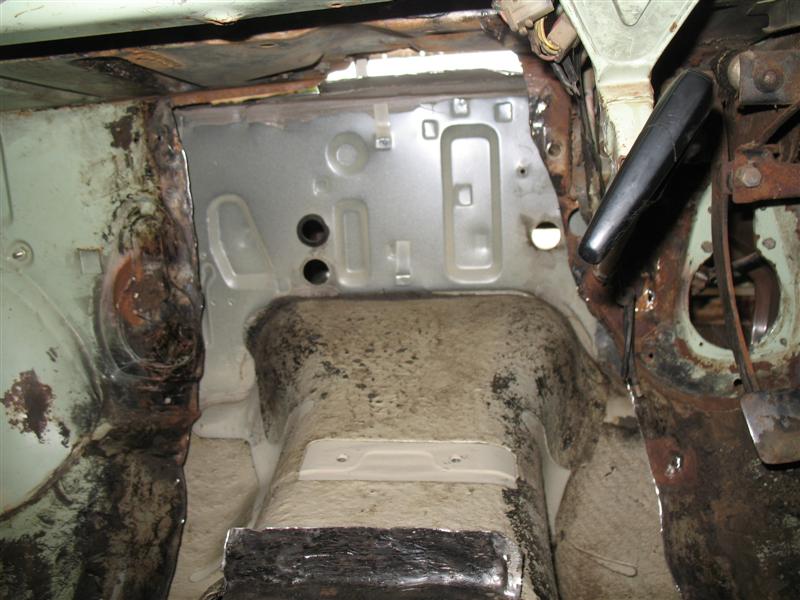
Eventually, after much clamping and pulling to and fro, the firewall/tunnel section was pretty close to being spot on. Still some slight tidying up to do, but this is good enough to gauge an indication of how the final product will sit. From here, I can now put the motor/box back in and check all clearances.
 |
.jpg) |
17 December 2007
The engine has now been put back in the hole and all looks good so far. Engine mounts line up, gearbox mounts line up, plenty of space between the firewall and the motor and the gearbox and tunnel. Very happy with progress. Now I need to start determining where things like the coils will be mounted etc, so I can get all the metalwork done and it can all be welded in one go, rather than having to go back later on and wreck the engine bay paintwork.
.jpg) |
.jpg) |
.jpg) |
.jpg) |
31 December 2007
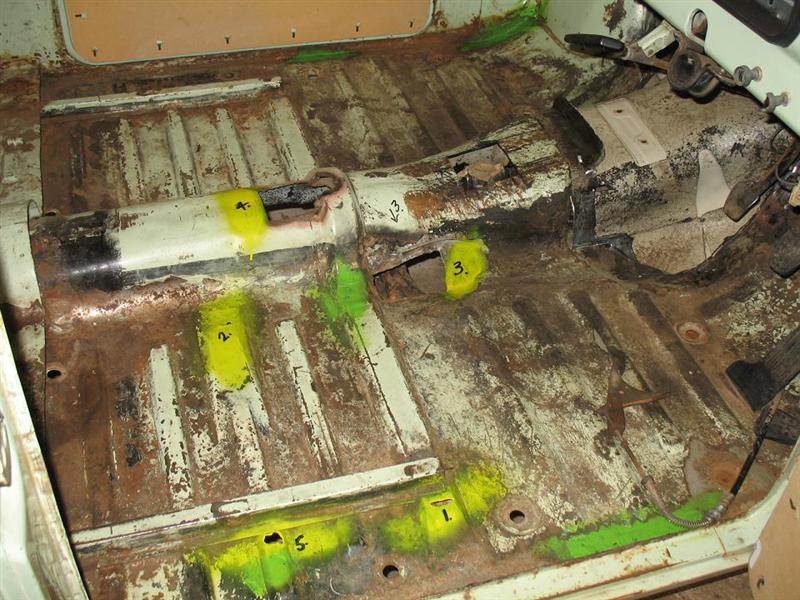
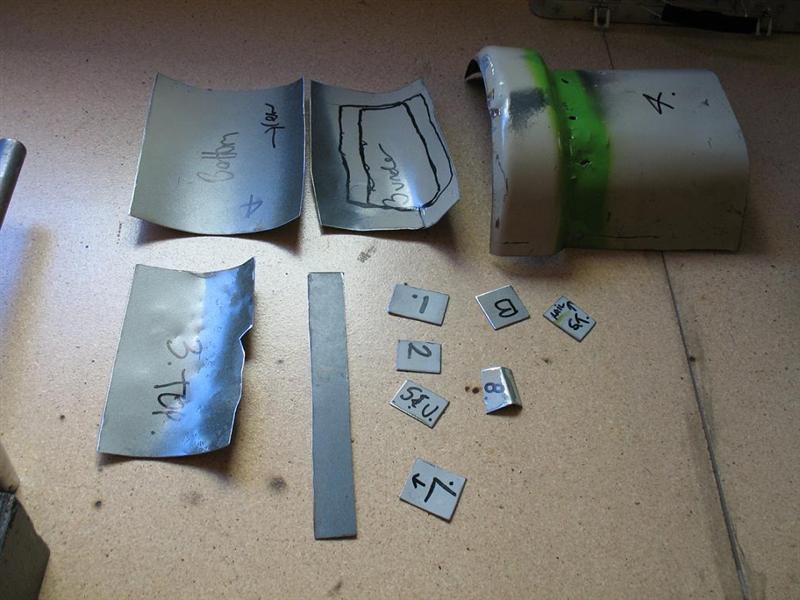
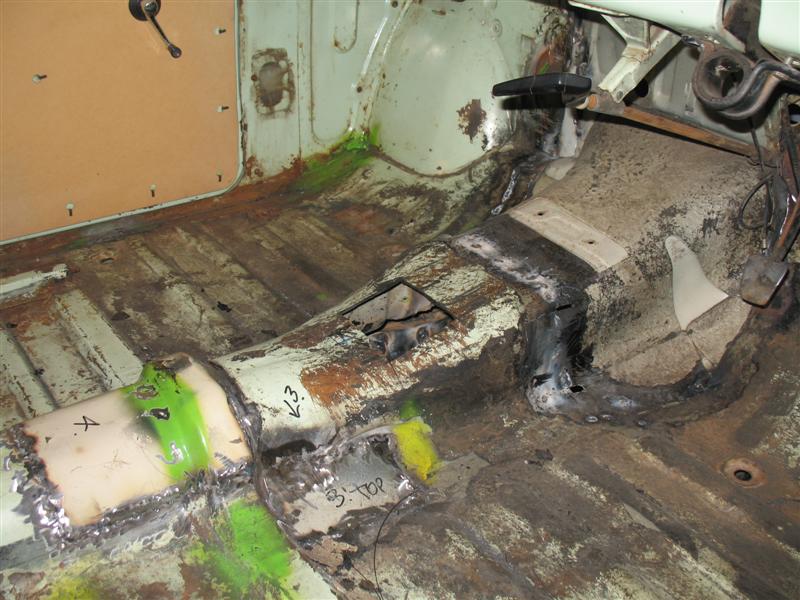
It's now time to start patching all the little holes from various things like old seat mounts, tiny pinpricks of rust from water sitting under floor mats and small holes from removing the battery cradle etc. I have made up lots of little patches that will be welded on either side of the holes, then sealed off with flexible silastic. Holes marked with yellow have to have patches welded in and holes marked with green will only need to be filled with weld.
 |
.jpg) |
 |
This now only leaves a tidy up of the tunnel/firewall insert to be done (internal and external), a new upper lip to be made up for under the bonnet release, and a once over of the motor to see where things will be mounted in the engine bay. Once this is all done. I can then weld all patches, holes and new sections and get the engine bay ready for paint.
12 January 2008
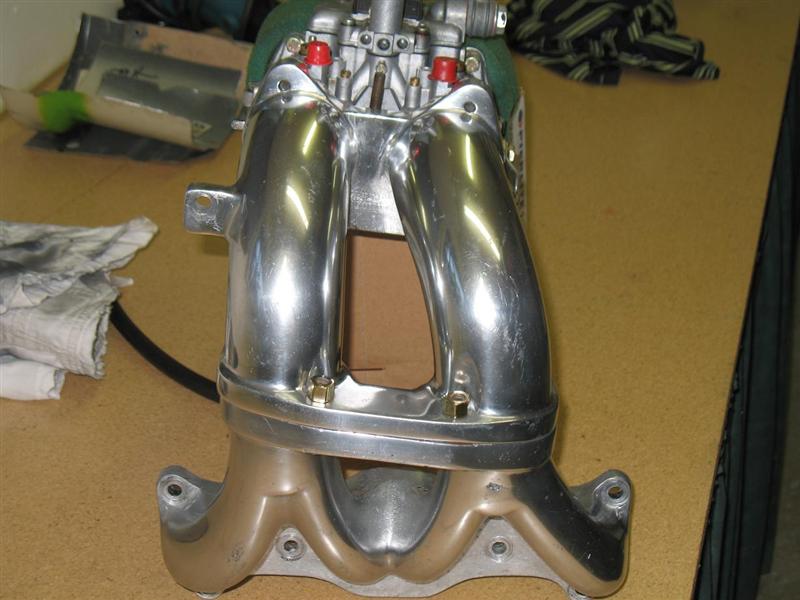
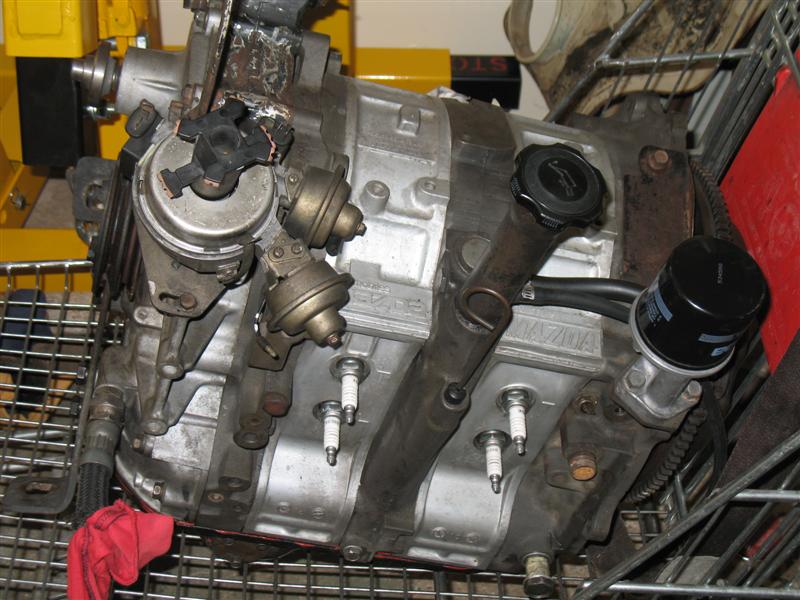
Inlet manifold cleaned and polished and Dellorto degreased and cleaned. Engine and gearbox have also been painstakingly cleaned to get rid of years of grime and oil before they go back in. Although it's going to be a rat rod, I really want all the mechanicals to be clean and serviceable.
 |
.jpg) |
 |
 |
20 January 2008
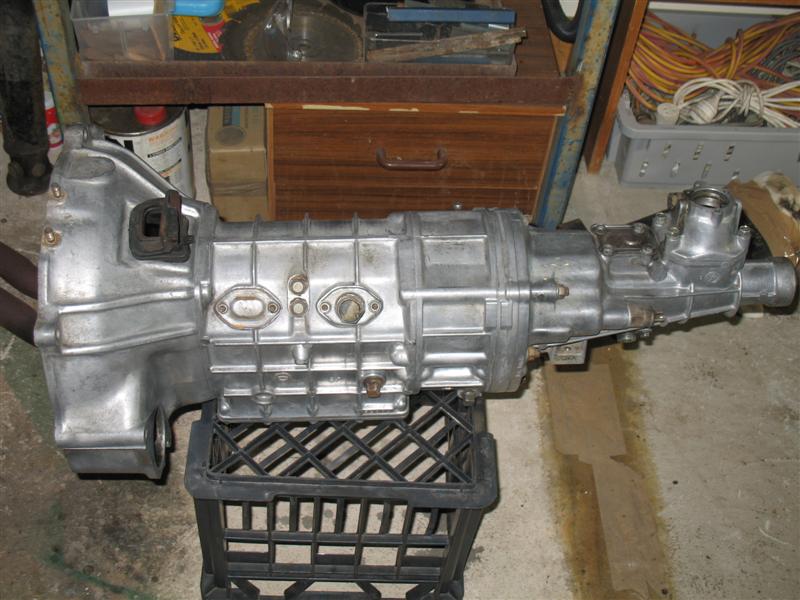
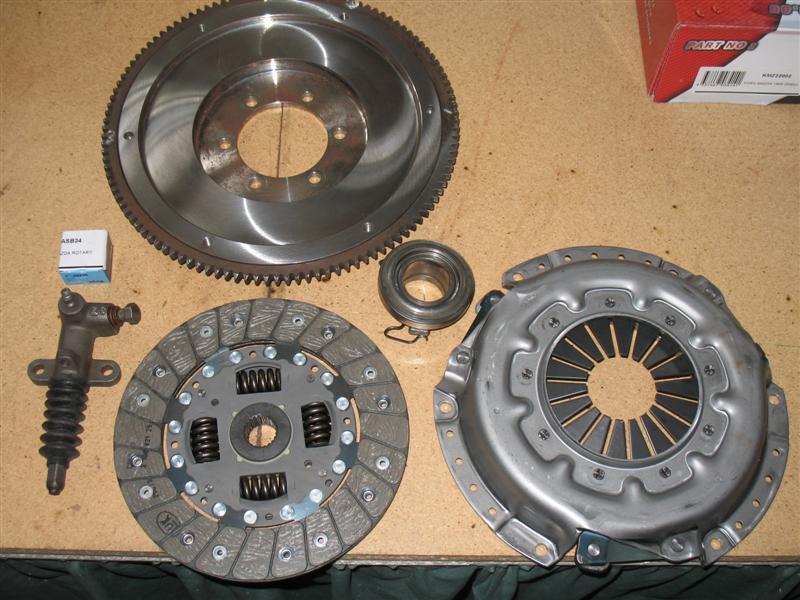
While the motor and box were separated, I wanted to check the clutch, pressure plate and flywheel. Both the clutch plate and pressure plate were well worn and the flywheel had several ridges and heat spots as well. Rather than put it back together and have it let go six months down the track, I decided to do the lot properly and be done with it. I ordered a new clutch plate, pressure plate, spiggot bearing and thrust race bearing and had the flywheel machined. I also had the slave cylinder reco'd. Hopefully now, that's one area that won't give me any trouble for a few years.
 |
11 February 2008
Having limited height and width around the radiator area was proving to be a bit of a problem. It was looking like I might have to have a custom radiator made up. However, a chap from my club who had recently done a Renesis conversion on his S1 RX7 was having trouble keeping the new motor cool with the old radiator (car originally ran a 13BBP). He replaced it with a PWR item and was selling the old one. I took the radiator and measured it up and with a little nip and tuck, it fits in quite nicely. It also has the added bonus of having two thermo fans already on it and the radiator itself was not long ago serviced. I will need to make up some mounts for it, but that's not a problem.
 |
.jpg) |
.jpg) |
16 February 2008
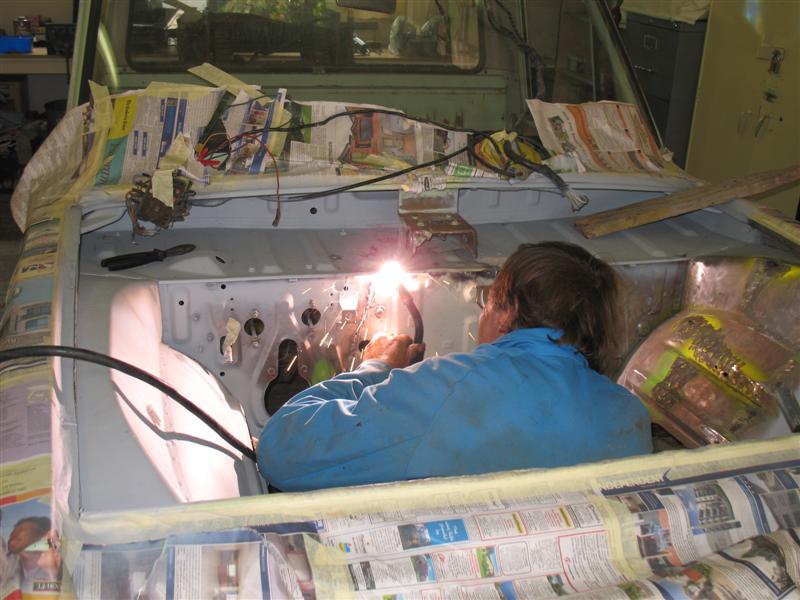
After a long day of welding and grinding, without a doubt the biggest part of the project is now completed. The day was spent welding in patches, and then welding in the tunnel/firewall section. Very happy with the end result, and extremely grateful to my father for doing the welding and providing years of experience. It's very much appreciated. Now will be a few nights of grinding and tidying up, some small skims of filler to smooth out some rough sections and siliconing the edges of all the welded in patches* to make it 100% watertight. Then, I should be ready for primer.
(* The number of patches belies the actual amount of rust in the ute. There is actually very little rust in the vehicle and the patches were for things like the holes from the two gearboxs she used to have, small holes from the seat mounts that had moved and fatigued the metal and of course the firewall/tunnel section. There were only a few pinpricks of rust in the cab floor from no doubt sitting in the paddock for so long and the deteriorated door and window rubbers most certainly letting the rain in).
 |
.jpg) |
.jpg) |
 |
.jpg) |
22 February 2008
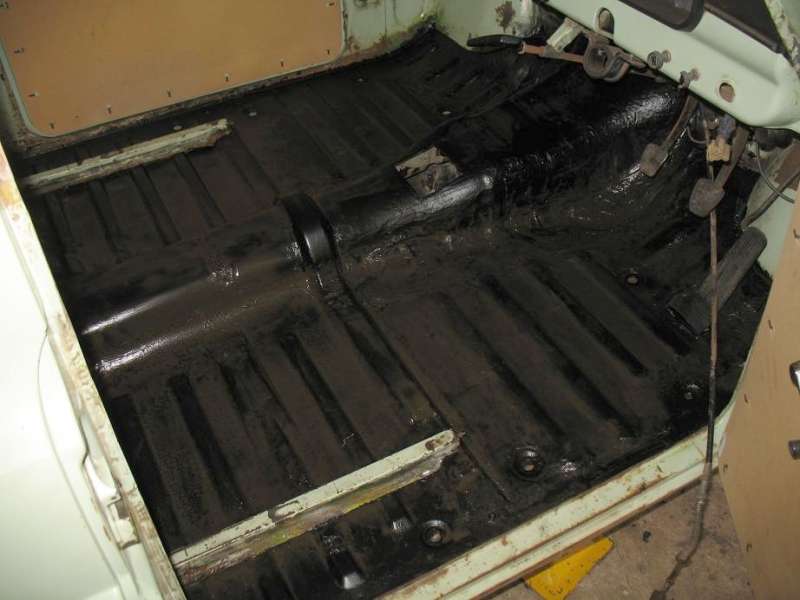
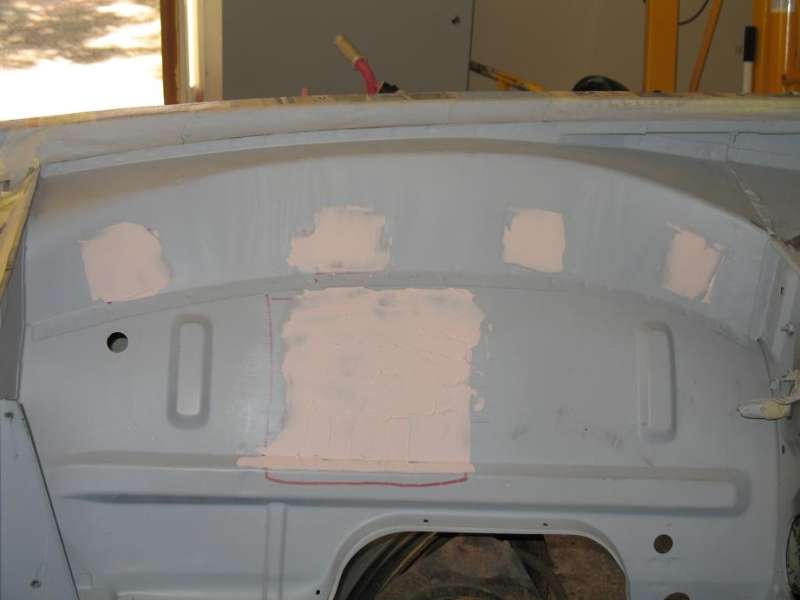
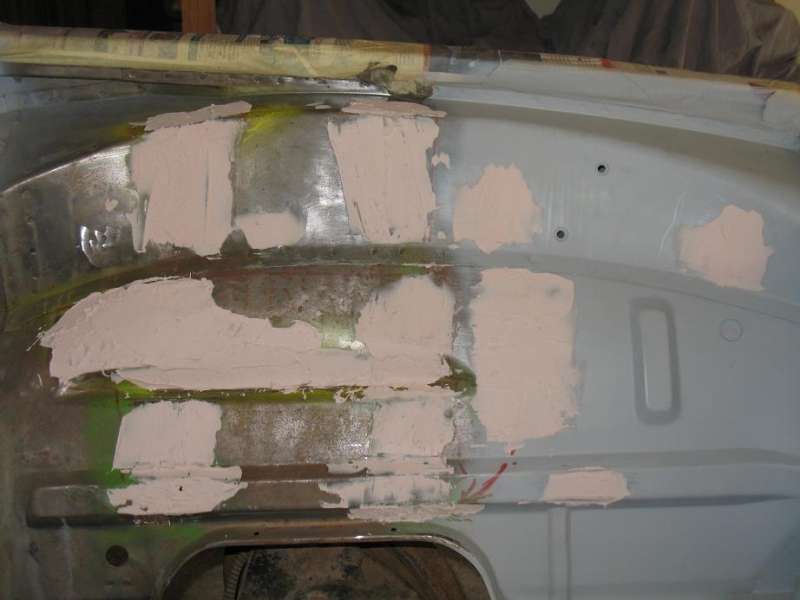
Painted the cab floor today with some bituminous type paint. Came up really well and looks neat and tidy. Should hopefully also add some sound deadening qualities. I also started putting filler in some of the little dents in the engine bay. Once dry, I can start sanding them back and see how they turned out. Next step, fabricating a small section to tidy up the bonnet release block.
 |
 |
 |